House Painting Rules That Will Give You The Perfect Exterior Look
Nothing says great curb appeal like a freshly painted home. Make yours stand out from the others with these 10 house painting rules that will give you the perfect exterior look. It's a lot of work, but when done right, a freshly painted home will last a good five to 10 years, according to CertaPro Painters.
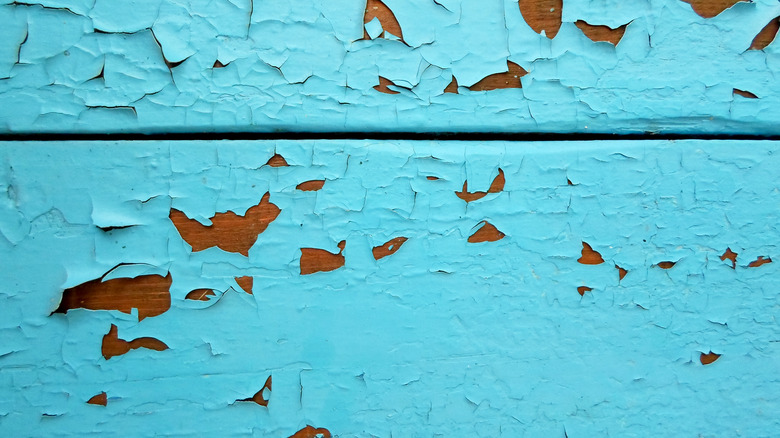
Sometimes it's obvious that the home needs painting, but it can be hard to know for sure. To see if it's time to crack open some paint cans, look for signs of wear and tear, such as peeling or bubbling paint. Putting it off too long can cause further damage and a more intense paint job. Plus, a good coating of paint helps to protect your home — it protects wood from termites, gives siding a longer life, and guards it against moisture, which can cause mold to grow and other damages (via SurePro Painting). Get your painting clothes on, and let's get started.
Timing is everything
Is it the best time to paint your home? The weather and your availability for the project should be assessed before you begin. You don't want to get started only to have it rain on your fresh paint. An average home takes about three to four days when two or three people are painting. A larger house might take five or six days, per Neighborly. It will take even longer if it's just yourself with little to no help. Don't let that stop you! You'll just need to do some serious planning.
Most areas have a rainy season. Weather can be unpredictable, but if you know when to expect more rain than usual, don't paint during that time. Look ahead to the weather and choose a week that looks sunny with no rain. Your house needs at least 12 hours of drying time before any rain shows up, so keep that in mind (via RemoveAndReplace). You'll likely need more than a weekend to get the job done, so take some vacation time on the weekdays if you can. It's risky to only paint on the weekends with lots of time in between. The weather can change quickly.
But there's more than weather to be concerned with. Do you have kids and/or pets? If so, it isn't wise to have them running around in the yard while you paint. Paint spills, ladders, and items that can fall and hurt them are all dangers and a distraction — plan on having the kids and pets taken care of inside the house while you refresh your color.
Select a complementary color
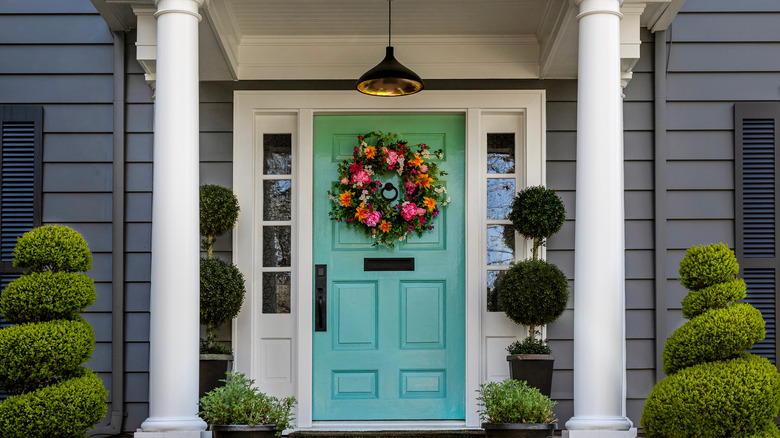
You might be artsy and creative with wild colors inside your home; however, your neighbors may not appreciate a purple house with a pink porch if the entire street is a row of beige homes. Sure, that means your neighbors are a little boring, but you all have to live next to each other. Stand out with a beautiful home without drawing unnecessary attention.
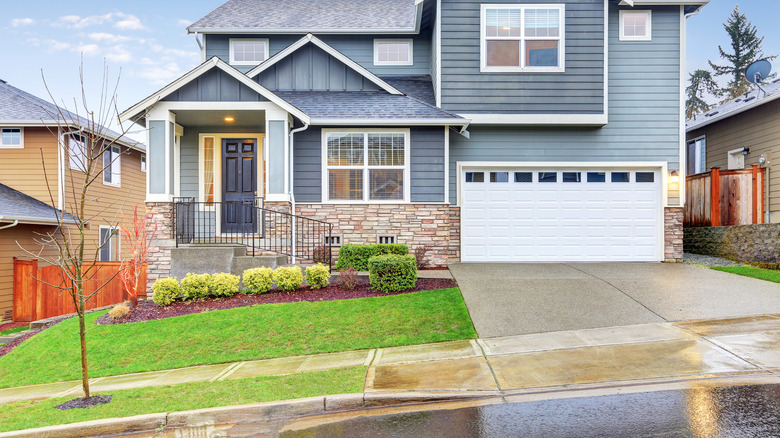
Paper Moon Painting suggests you first consider the façade of your home when choosing a paint color. If you have a good amount of brick you want to leave exposed, you'll have to match the undertone of the brick. It could be pink, yellow, orange, blue, or gold, and the paint color should complement that hue. But that's not the only thing you should keep in mind — you should also weigh what matches your location. Using a beachy color is great if you live near an ocean, but it's going to look out of place in the Northwoods of Wisconsin. If you're stuck on which shade to pick, neutrals are always a good choice because they blend in with the neighborhood, easily match any landscaping style or décor, and seldom go out of style (via Hirshfield's). It's essential to bring home samples to try before deciding.
Choose high-quality paint
The exterior of your home gives the first impression of your house to those who pass by or come over. If that's not enough pressure, it also puts up with rain, snow, and wind all year round. Think of the exterior paint as armor for your home. It's a protective coating and makes the house beautiful, so don't skimp on the quality you choose.
After choosing the best color, you'll need to decide on the sheen. Sheen tells you how shiny the paint is. According to Sharper Impressions Painting, flat paints are used the least for the home's exterior because they fade easily and are tough to clean. Satin and eggshell are the most popular. They have a low sheen but are still scrubbable. Choose satin for the higher traffic areas that are touched often and require more cleaning. If you like the shine, then semi-gloss or high gloss is great for trim and doors.
You've got the color and the sheen, and now you need the best paint you can find. How do you know which is best? You can read the ingredients to find out. High-quality paints have a high concentration of titanium dioxide. Lower qualities use silica and talc instead (via Classic Shades Painting). So, read your labels. The titanium will give you a richer pigment. Also, look for paint with low VOCs (volatile organic compounds). It's better for the environment and your lungs.
Use the right tools
Every job is easier when using the right tools. Don't start painting only to realize you forgot to buy a variety of brushes — after all, different projects require different bristles. What worked when you made over the dining room table may not work for the exterior of your house.
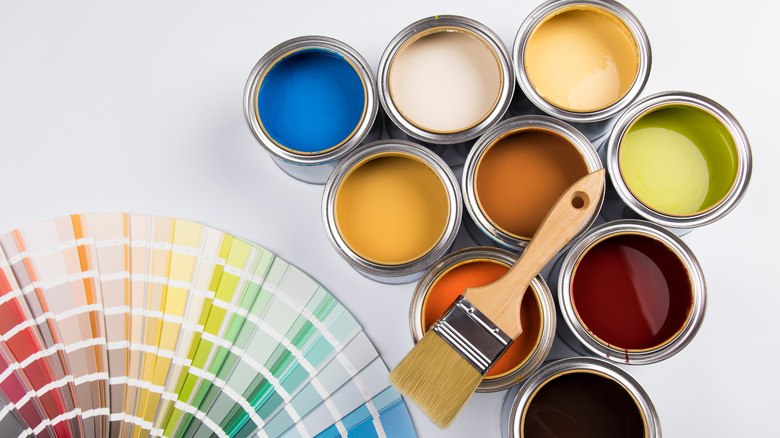
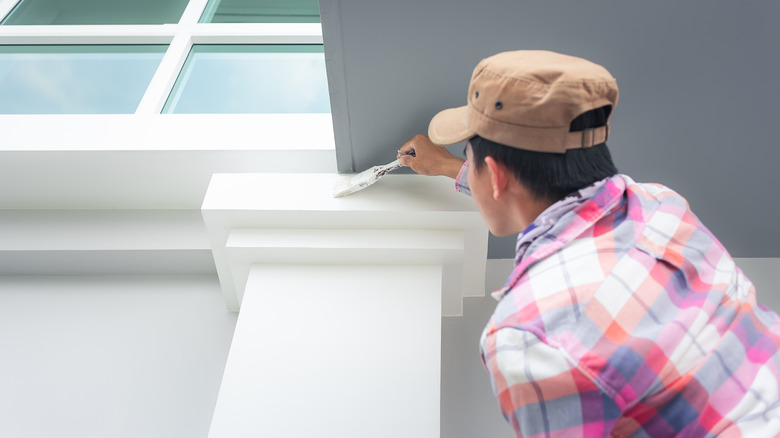
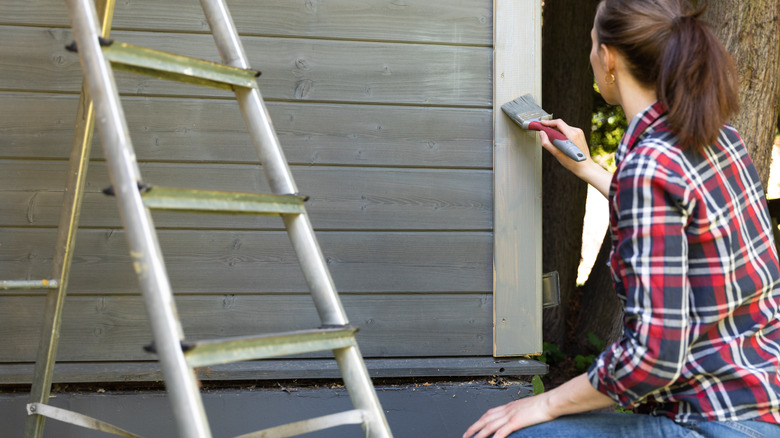
Regarding brushes, you'll need a 3 to 4-inch brush for exterior siding and a 2 to 2.5-inch angled one for trim around the windows, per Wooster Brush. Collect those brushes and have a small roller to smooth areas like trim. Make sure you have a scraper and sandpaper to prepare the surface. Also, it would be best if you had a large drop cloth, painter's tape, a bucket to dump tools in when not in use, a pressure washer, caulk and a caulking gun, a small container to carry paint with you, and of course, fashionable painting clothes (via Making Manzanita). Don't forget a ladder or scaffolding as well.
Having everything ready and in one spot helps make the painting day go smoothly. Once you're up near the roof or even down low, it's annoying to stop what you're doing and dig through the garage because you forgot something.
Prepare the exterior
Once all the tools are in order, and the paint is purchased, it's time to prepare the exterior of your home. It may seem tedious, but with the proper preparation, the painting will adhere nicely, and the process will be enjoyable. As mentioned, if the paint is bubbly and peeling, it's a sure sign that it's time to paint. It's also a sure sign that the peeling color has to be scraped off before the new paint goes on.
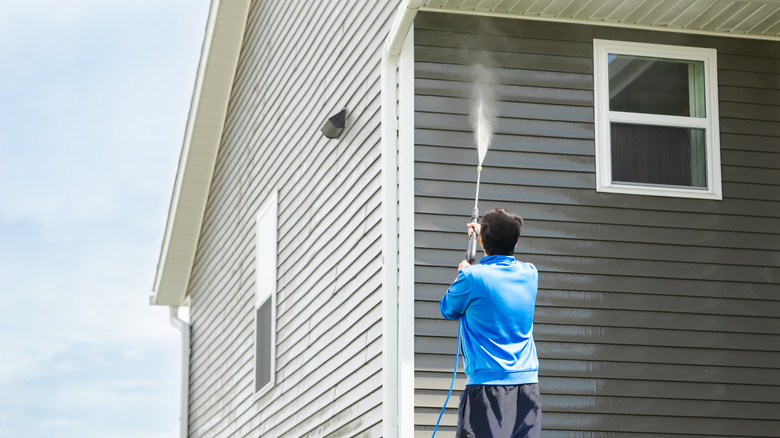
Cover the ground where you'll be scraping and grab your power washer, scraping tool (putty knife or paint scraper), and sandpaper. Five Star Painting writes that you should start with the power washer to remove loose paint pieces. Don't get too aggressive, or you can mar the wood. Let the siding dry and then scrape in the direction of the wood grain. You can use a broom when you're done, sweeping downward to remove loose bits.
Get as much paint off as you can. Painting over loose paint will cause your new paint to peel quickly (via Tribble Painting). Once done, you can easily roll up the drop cloth or whatever ground cover you used and dump the paint scraps in the trash.
Remove lead paint safely
A home built after 1978 shouldn't have lead paint. If you have an older home, you should get the old paint tested before messing with it. The EPA points out that lead paint is present in millions of homes. It can be hiding under layers of new paint, so there could be older layers underneath that aren't lead-free. This is especially true for a home built before 1978.
If you aren't sure what kind of paint you have or what's under the more recent color, it's important to have it tested before you start scraping it away. To do this, you'll need to hire a certified lead paint inspector, who uses special tools to detect the element. You can also purchase a home lead testing kit (via Green Orchard Group). If lead is detected and you must remove it, wear a protective dust mask or respirator to protect your lungs. It's helpful to dampen the lead paint before scraping, so there is less dust. However, if the paint isn't peeling or bubbling, you are better off painting right over the lead pain. This keeps it contained and stops any lead dust from hitting the air (via Little House on the Corner).
Cover everything and tape
You'd be surprised where paint can end up when painting the exterior of your home. Trees, shrubs, and the yard all need to be protected. Use drop cloths to cover the grass right below where you're working. You'll need to move the covers as you go. Don't bother with plastic drop cloths. They are helpful indoors, but outside, the wind will catch them, and you'll have to keep weighing them down or chasing them. Canvas drop cloths are heavy and reusable, which makes them a better choice. Besides the grass, you can cover shrubs and other landscaping — you don't want your rose bushes to have a new shade of blue to match the house.
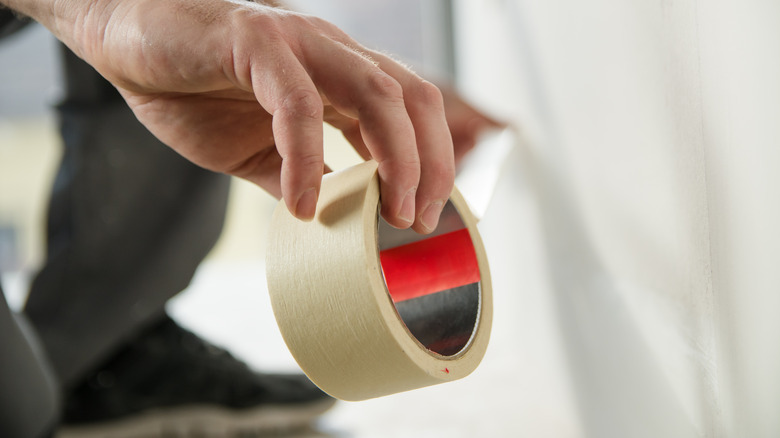
Painter's tape is the next way to protect your home while painting. Use it for edges and trim that aren't getting painted. Choose tape designed for painting, so the paint stays put when you peel the adhesive off. When applying it, use a putty knife to press it snug against the wall, then remove it as soon as your paint dries (via Tribble Painting). If trim is being painted as well, you can tape the edges when you paint the siding, and reverse it when you're done and tape the siding where it meets the trim.
Practice ladder safety
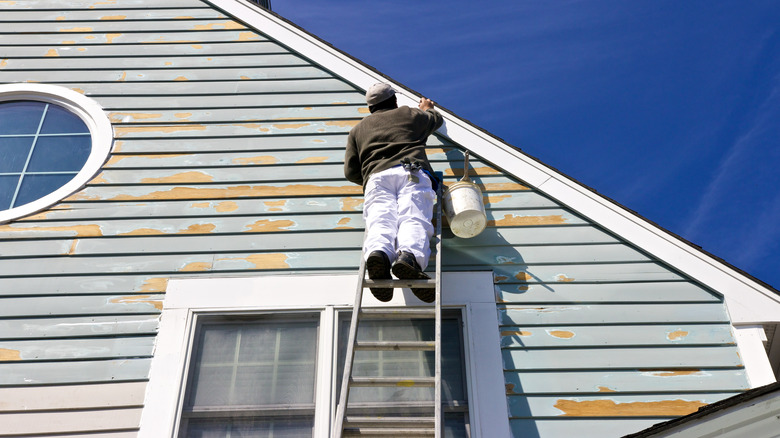
Don't just climb up on a tall ladder like it's nothing. Understanding the best way to use your ladder will prevent accidents and make you more comfortable. You can't avoid using ladders when painting your home's exterior. Even the smallest ranch home requires something to reach the top of the siding. Make sure you choose the right one for the job.
Ladders are classified by grades — 3, 2, 1, and 1A. Dengarden recommends grade 2 for an at-home exterior paint job. They're sturdy at 225 pounds yet light enough to move around outside your house. Check out local rental shops to rent a ladder or buy one if you think you'll use it again. Set your ladder on a solid, level surface. If the ground you're dealing with is on a hill or not level, you can dig a hole or holes for the feet of the ladder to make it sturdier. Don't risk falling by reaching too far when up on the ladder. Only paint within a comfortable reach, then move the ladder to get to the other spots. At home improvement stores, you can find paint containers with hooks to hang on your ladder, so you aren't holding the paint while up there. It's one less thing to think about and balance.
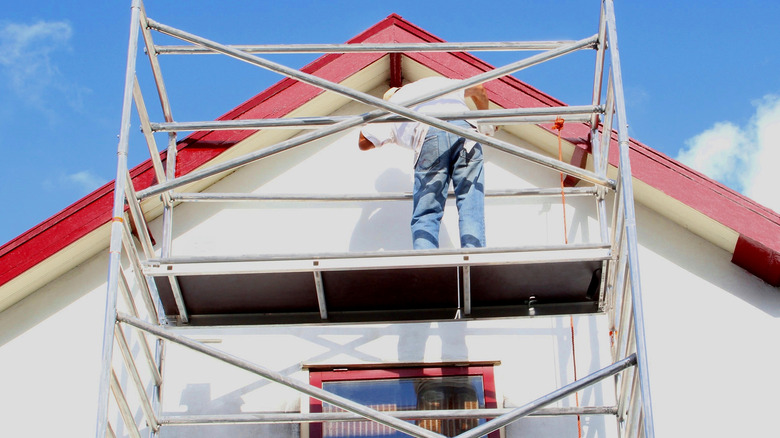
One other option is using scaffolding. Scaffolding is a temporary structure with a platform where you can sit, stand, and place your tools and materials safely while working up high (via Repaint Now). They can usually be rented from rental companies with tools and home improvement supplies.
Start at the top
Start at the top and work your way down. Paint tends to drip, so you can fix those spots as you move down. Just like cleaning, it makes sense to do the highest spots first when painting the exterior of your home, then move on to the lower areas.
If you're also painting trim, which do you paint first — the trim or the siding? It's debatable. Chip Gaines, the former host of "Fixer Upper," explains on Bob Vila, "It's one of those catch-22s. I would almost argue it's a bit of a preference. There are pros and cons either way you decide to tackle it. For me, I paint a wall first, and then I come back in and I paint the trim." So, paint in the order you prefer when doing trim along with the walls. Just start at the top.
Apply more than one coat
Sorry — not the news you wanted to hear. More than likely, you need at least two coats of exterior paint. A.G. Williams Painting Company suggests two coats of paint for a well-prepped and primed surface. For example, two coats are normal when painting a house a dark color over a lighter shade. However, if you're painting your home white and it's currently dark blue (or any dark shade), you may apply more than two coats. A helpful hint is to have your primer tinted to match the paint you're using. That way, you get a head start with the primer adding some color.
Be sure to take a break in between coats. It would be best if you allowed your first coat of paint to dry for two to four hours before the next coat (via PaintRite Pros). You'll welcome the break after finishing the entire first coat. It's best to let everything dry before switching to trim after painting the walls, or if you paint the trim first, finish that up before beginning the walls. This will keep the two colors from bleeding into each other and allow you to tape without ruining any wet paint. Complete all the coats of one color, then move on to the next.
Clean up the aftermath
Painting is always worth it, even if it leaves quite a mess to clean up. When the job is done, a thorough clean-up will reveal your beautiful new home. Start by collecting all your tools into a bucket. Next, pick up drop cloths and put away any ladders and other tools and materials you used. If there is any paint left, save it for touch-ups. Seal the cans of paint by wiping the edges and grooves clean. If you skip this step, the paint will splatter when you seal it, and you'll have a sticky mess when you try to open the can later. After it's all clean, use a rubber mallet to gently tap the lid closed until it's tightly sealed, according to Paint Pals.
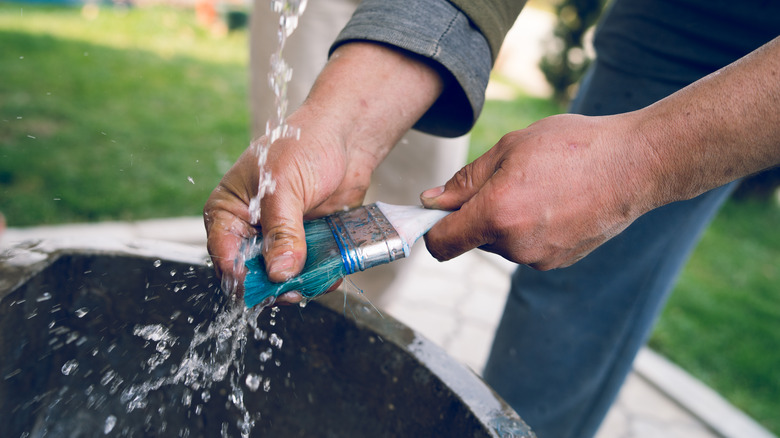
Next, it's time to wash brushes. Invest in good brushes so you can clean them and use them again and again. When using water-based paint, such as latex or acrylic, which is very common for homes, you'll only need warm water and dish soap (via Home Depot). Run the brush under warm water and add some soap, rubbing the bristles until clean, then rinse until clear. For oil-based paints, mineral spirits will get the job done. Work in a well-ventilated area because the fumes from oil-based paint and mineral spirits are both strong. Put the spirits in a container and dip and swirl the brush for about 30 seconds. Wipe the brush to see how clean it is and continue the process until all the paint is gone. Store your dried brushes vertically and upside down to help the bristles keep their shape (via Five Star Painting).
Hire a professional if you need to
Not everyone has the time, patience, or desire to paint their own house. Hire a professional if you don't feel you can get the painting done on your own. The task can be daunting if you aren't experienced on ladders or with painting. There are many benefits to hiring a professional to paint the exterior of your home. According to John McCarter Construction, house painters already have all the necessary equipment and know exactly what your house needs, including the right type of paint. When hiring a professional, you don't have to worry about that. You also won't have to deal with the messy clean-up. You can count on it getting done and looking beautiful without drastically changing your schedule.
In conclusion, it's best to paint the exterior of your home as soon as you notice it's time. You can paint it yourself by being prepared and taking your time. You can also hire a professional painter to finish the job quickly and without fuss.
