5 Damage-Free Ways To Hang Artwork Without Using Nails
We may receive a commission on purchases made from links.
When moving out from a rented apartment or condo, filling the holes in the wall can be quite the hassle. It's not that this task is particularly difficult, but it can be time-consuming. According to Insider, you'll only need a spackle compound, a putty knife, and sandpaper to fill a small puncture from a nail. Well, and a brush with paint that matches the wall color.
When you're going through the process of moving, and you're inevitably surrounded by what feels like thousands of cardboard boxes, filling holes in the wall is probably the last thing you want to add to your to-do list. Therefore, do yourself a favor in your next place and hang your art without using nails. There are smart, damage-free ways you could display your artwork on the wall, and this will save you from awkward conversations with your landlord or ever having to fill a hole with spackle again.
1. Utilize adhesive strips and hooks
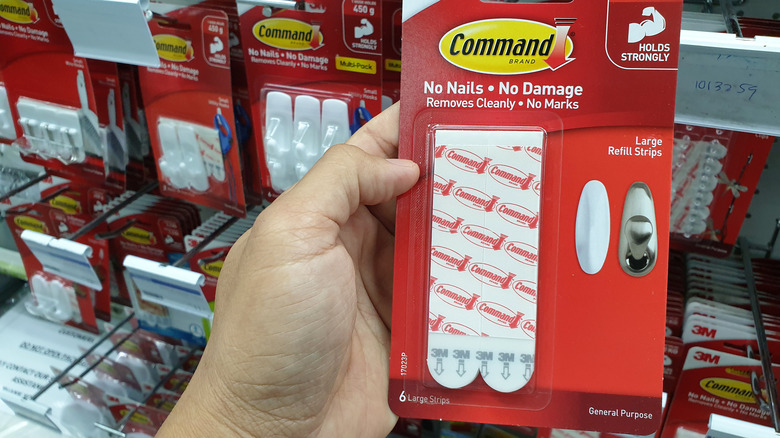
If you want your artwork to appear as though it's hung from a nail, you could use adhesive strips or hooks. The most popular brand of adhesive strips is the Command Brand. To use the command strip with hooks option, the manufacturer says to begin by cleaning the area with rubbing alcohol on a clean cloth. Remove the back liner and adhere the strip labeled "wall side" to your preferred site, pressing along the surface for 30 seconds to ensure it sticks. Then pull the front liner on the strip affixed to the wall and plant the hook on it. You want to press the metal onto the mounting base for another 30 seconds to encourage tensile strength but wait an hour before suspending the artwork.
You can also hang artwork by sticking adhesive strips directly to the back of the frame. However, Prudent Reviews warns it could fall off the wall if you're not generous with the adhesive material. So make sure to use enough to support both sides of the frame and hold it to the wall for 30 seconds after application. Otherwise, you risk the décor option falling and breaking. Furthermore, check the weight limit to ensure the artwork doesn't exceed it.
2. Use clothespins or clips
You could also hang smaller prints and other forms of artwork using clothespins or clips attached to a wall. One way to connect them is with adhesive strips. However, using a thick string or a piece of rope tied to sturdy elements and fastening the clothespin on them is another option, per Wayfair. To give your art piece more protection, encase it in a plexiglass holder, then suspend that from a clip. Similarly, you could hang a clipboard on the wall with adhesive strips, then attach lightweight artwork to the board. This would be particularly useful for those who like switching up their art often.
A considerable benefit of putting up artwork this way is that any variety can be hung. For example, if you love a quilt, blanket, or tapestry design, you could hang it on the wall with help from multiple clothespins or clips, per Patchwork and Poodles. This will keep both your wall and your art from getting damaged.
3. Hang artwork from a picture rail
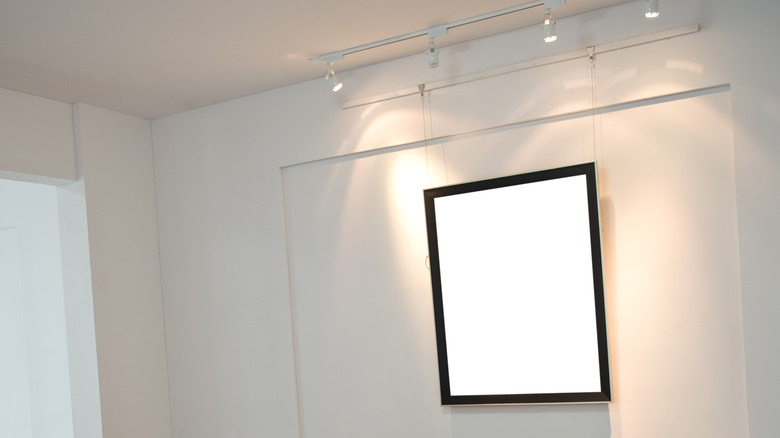
A picture rail is a simple piece of molding attached to a wall, per The Craftsman Blog. Popular in homes around WWII, this wooden piece had a slight lip where hooks could be attached. This allowed multiple pieces of artwork to hang down from the picture rail with the help of chains or ropes. Also, the fasteners can slide into the railing, which makes redecorating extra simple. If your home already has a picture rail, sometimes called molding, definitely make use of it.
If you don't possess one, create a similar look without nailing anything into the wall. ILevel suggests hanging a metal rod from which frames can be suspended using a string or rope. The rod can balance between two hooks attached to the wall with adhesive strips. Or, you could adhere a piece of plywood with hooks to the wall and hang your artwork from that. However, when attempting this, make sure the combined weight of the plywood and the frames do not exceed the weight limit of the adhesive strips.
4. Place on an easel
While not actually hanging on the wall, placing art on an easel is an easy way to display artwork without creating holes. Art Display Essentials says that easels make great showcases because they come in a number of designs. Additionally, they have a simple style that won't draw away from the art piece, and you can even use its form to enhance the look of the artwork. Easels can be made from acrylic, metal, or wooden materials, so choose the design that looks the best in your space. They also come in many sizes — a large art piece could be placed in the corner of the room on a freestanding easel, while a smaller one could be placed on a trim option on a shelf.
Displays 2 Go adds that easels can make the artwork's center of attention in a space. And they allow you to move your artwork easily into another room. Furthermore, while an easel will be more expensive than the other damage-free hanging methods, it will last forever, unlike adhesive strips.
5. Seek the help of a shelf
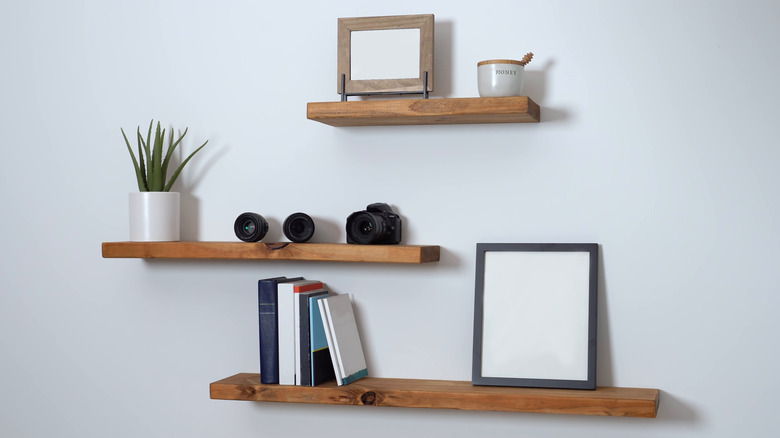
To hang artwork on the wall, but not in the literal sense, attach floating shelves to adhesive strips and display your favorite pieces. These can be found on Amazon. This is an excellent idea for a painting you want to hang above furniture. The second way to display artwork on a shelf is by styling it on a freestanding bookshelf or a ladder shelf. Leaning the artwork up against the wall will make it appear as though it is suspended without the risk of it falling.
DesignRulz says ladder shelves are a great choice because they don't take up much space and typically have a minimalistic appearance. Those pressed against the wall would allow the artwork to lean against it. Freestanding models would need paintings that can stand independently, though. The final way to hang artwork on a shelf is with the help of an adhesive hook. Miss Mustard Seed places a hook in the middle of a bookshelf and hangs a piece of art. This would give a large bookshelf a clear focal point but will only work if your bookshelf has a divider down its center.


