Mina Starsiak Hawk's Tips For Painting Your Front Door
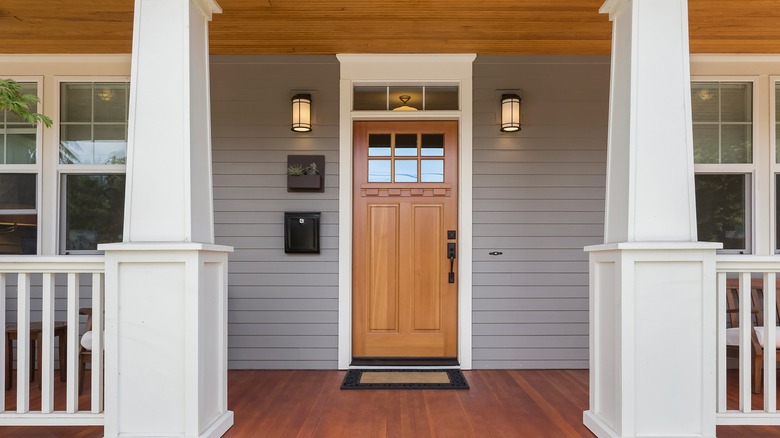
The front door plays a major role in your home's curb appeal. It may not take up as much surface area as your home's siding or exterior features such as windows or architectural detailing, but it's the first thing that any visitor sees when they approach your home. You want it to feel welcoming and stylish, and to convey the tone you want your home's interior to have. When it comes time to sell your house, a front door refresh may even help to net you a bit more profit — according to ZillowGroup, hues like slate blue and black can actually inspire buyers to pay a bit more for your home, while pale pink could actually provoke potential buyers to offer less money for the home.
Luckily, painting your front door is relatively easy. However, in order to ensure the final product looks professional, there are a few things you may want to take into consideration. After all, it's much easier to do things correctly from the beginning than to be touching up the door because you tried to move too quickly. Just like with interior painting, it's all about the prep work — when your surface is properly prepped, your end result will be much better.
Mina Starsiak Hawk, one of the stars of HGTV's "Good Bones," knows all about the importance of a home's curb appeal — that's why she shared a few of her go-to tips for painting a front door.
Properly prepare your door
If you just grab your paintbrush and start painting, your door will be a different hue, but you might also be treated to an uneven paint job where all the imperfections of your door become apparent. Do yourself a favor and take a bit of time to prep your door for painting.
Lowe's recommends simply taking your door off entirely, but Starsiak Hawk expresses that it's possible to paint the door while it's still on the hinges. You'll just want to remove the hardware first and cover up any of the built-in hardware that can't be easily removed.
Then, in order for the paint to adhere properly to your door, you'll want to use fine-grit sandpaper to give the entire surface a light sanding. As Inspirations Paint explains, sanding will help to remove any imperfections in your door's finish and will also create a slightly rougher surface that will be better for the paint to stick to. In terms of grit, you may want to have a few options on hand — lower grit sandpapers are better for removing larger imperfections, whereas finer grit is perfect for prepping the surface.
Finally, once all your sanding is done, you'll want to wipe off any of the dirt, debris, sanding dust, or anything else on the door's surface. This is because once you paint, anything that's stuck to the door will become stuck in the paint, preventing you from getting a perfectly smooth finish.
Get the right supplies
When your door has been sanded, cleaned, and prepped, the next step is to actually start splashing that paint on the surface. If you opted to keep the door on the hinges rather than fully removing it, you'll also want to be mindful that during the painting and drying process, you'll want to leave the door slightly ajar so the edges can be fully covered and allowed to dry, as Starsiak Hawk recommends via HGTV. This means you want to start this project when you have some time to work on it, not before you need to leave somewhere or go to bed.
You'll also want to ensure you're using the right type of paint for the job. Dulux advises reaching for a durable, water-based enamel paint that is non-yellowing in order to get the best results both in terms of aesthetics and in terms of durability to withstand the elements. Starsiak Hawk also specifies you should find a paint that's paint-and-primer-in-one to make your life a bit easier.
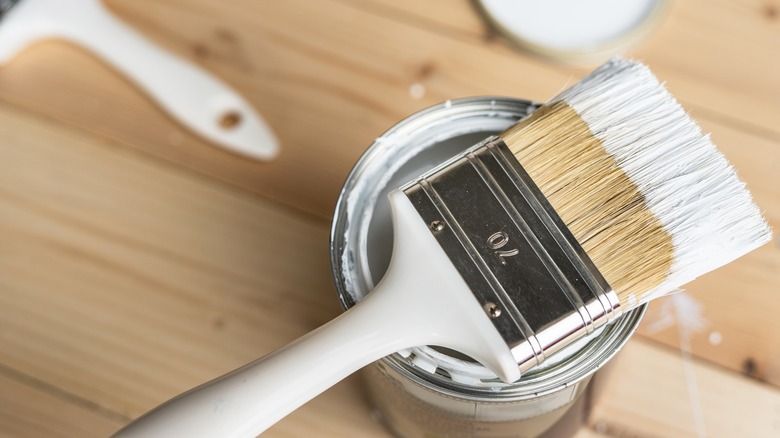
While you certainly could use a paintbrush for the entire door, Starsiak Hawk recommends reaching for a brush in order to paint any details on your door or recessed areas, and then finishing off with a roller for the flat portions.
Once your paint is applied and you're happy with it — you may need a second coat, it often depends on your application and your color. Once it's all dry, it's time to reattach any hardware you removed for painting.


