5 Techniques To Make Your Antique Door Weathertight Again
Antique doors have been highly sought after for ages, whether it's to impress the neighbors with something that looks fancy and almost royal or out of a true appreciation that went into creating them. Whichever the case, it's commonly known that these beautiful doors cost a pretty penny, as seen on The Corbel.
These doors may have history and character, but many are drafty too. If the door isn't damaged, insulation and weatherstripping should reduce drafts and heat transfer through the doorway. Why is this important? Well, look at it this way: a loose door will let in drafts during winter and cause air conditioning losses during summer. You don't want that, do you? Not to even talk about how much they can swell when the rains come.
Since antique doors are from times past, there's quite a bit of work involved in maintaining them in your likely modern home. You could try to do it yourself, but personally, the terms alone are headache-inducing. Consult a carpenter to straighten the jamb with shims, scribe the door until it fits, or replace the door entirely if all other methods fail. With that said, here are five techniques to make your antique door weather tight again. And if you've been flirting around with decor, check out our guide to repurpose your old antique doors.
Door sweep
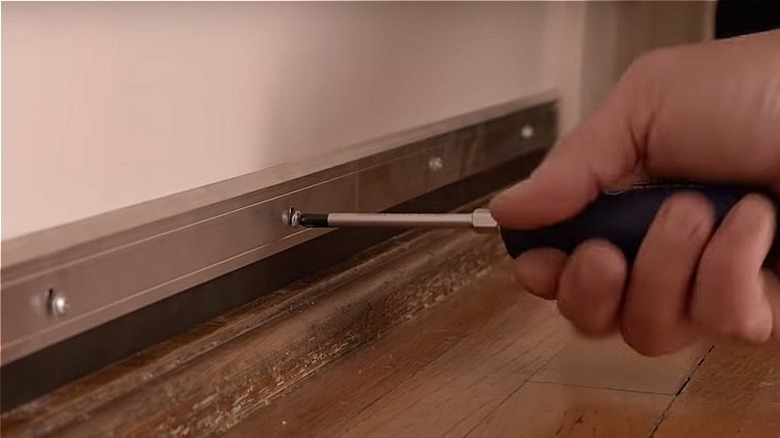
A door sweep is a nifty little invention that seals gaps between the bottom of the door and the floor. Not only will you save money on heating and cooling and protect against moisture — you'll also be shutting out dust and insects with it in place.
To install a door sweep, Sawdust Girl says to first measure across the bottom of the door. If your door had a sweep previously, measure where it was fastened. If there was no sweep, measure across the lowest part of the inner part of the door, not the bottom edge that faces the floor.
Next, measure and mark the door sweep to the length of your door, and cut it with scissors or a utility knife. Place the door sweep against the lower portion of the door, making sure the bottom of the rubber fin touches the floor. Mark the door through the holes you've made in the door sweep with a pencil or stick of chalk.
The next order of business is drilling a hole into the door at each mark that is the same diameter as the door sweep screws. Make sure you don't drill completely through the door. Finally, put the sweep back in place and screw into the holes with a Phillips or flat-head screwdriver (via Duck Brand). Easy as pie.
Spray foam insulation
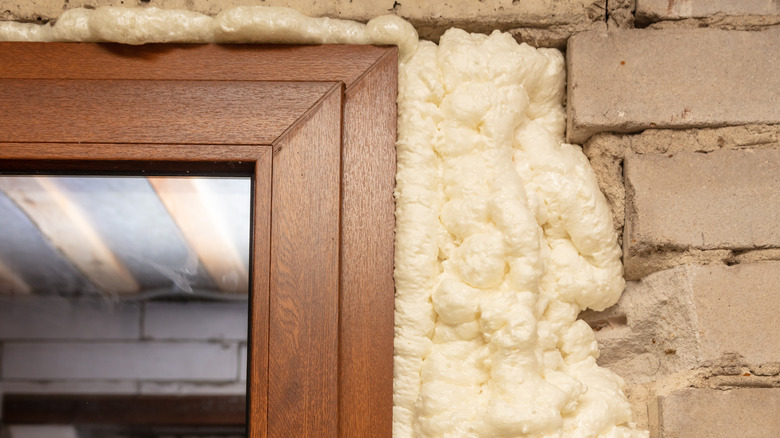
Spray polyurethane foam has been around for over 30 years. Over time, it's been offered as an alternative insulation method, peddled as a "quick fix," writes the experts at Why Spray Foam. But be careful, though; it's also known for being a fire risk and can cause property damage in many instances.
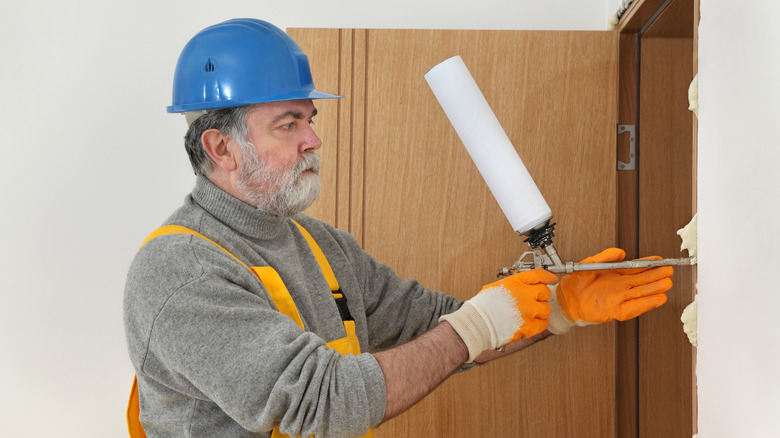
First, pry off the left, top, and right interior door trim molding with the flat edge of a pry bar. Then, twist the accompanying straw onto the nozzle of a can of spray foam insulation that is specifically for doors and windows, and shake the can. Put the straw into the space in the wall where you pried the molding off, and press the spray nozzle.
Apply a thick layer of foam from one end of the opening to the other, and repeat across the top and down the other side. As we mentioned, spray foam insulation expands and dries firm (via Eco Home Essentials). Exercise patience by waiting for the first application to expand before you decide whether you need more to fill the cavity. Trim off excess foam in the back after it hardens with a saw or a utility knife. Once that's done, nail the molding back to the door frame. C'est fini!
Exterior caulk
The experts at Science Direct claim that caulk is one of the best finishing materials there is — it can do it all. From filling in cracks and gaps, to even breaks across a wide range of surfaces. Exterior caulking is also invaluable to keep heating and cooling bills down by helping prevent heat loss around doors and windows — which is what you're here for.
Once you have your caulk, you first want to open the nozzle on the tube at a slight angle using a utility knife. If there's a seal inside the base of the nozzle, pierce it with a long, thin nail or another slim object.
Fit the tube into a caulk gun –- it's a lot like a glue gun and can be found pretty cheap at Screw Fix — and press the trigger several times until the caulk fills the nozzle. Next, place the slant edge of the nozzle against the top edge of the left or right side exterior door trim, whichever you choose to start with. Press the trigger to make the caulk flow, and pull the caulk gun down the edge of the trim slowly. Repeat the process down the trim on the opposite side of the door and again across the top. You can seal both long edges of each piece of trim molding this way.
Weatherstripping
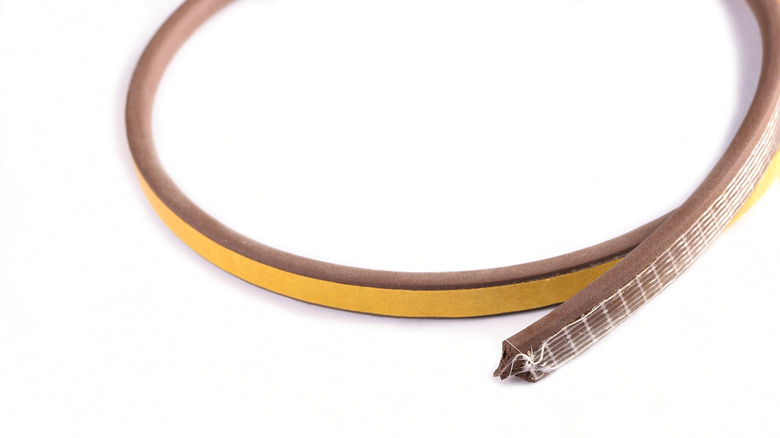
The experts at Energy Saver recommend weather stripping as an efficient way to build insulation. Take out any old weather strip or screws and nails on your antique door to create a smooth work surface. Measure and mark your new weather strip to the width of the top of the door frame with a pencil or stick of chalk.
Slice through the rubbery part of the weatherstripping at the mark using scissors or a utility knife, and continue the cut through the wood or metal with a saw. Then, close the door, and set the weatherstripping in place along the top of the door frame. The rubbery edge should fit right against the door. Drive a 1/2-inch finishing nail through the strip with a hammer, spacing nails about 8 inches apart. If the strip has pre-drilled nail holes, you might need nails with a smaller head instead of finishing nails. Finally, measure and cut the weatherstripping you need for the left and right sides of the door frame, and fasten them as you did before (via Dunn Lumber).
Call a professional
For the DIY enthusiast, all the methods above are entirely doable. As you can see, none of these methods are costly, but they require a bit of skill. If you identify as the average Joe and are convinced you cannot do these yourself, don't hesitate to call a professional carpenter. The last thing we want is a drafty house.
You may also need to call a carpenter if your door is damaged. The experts at Fixrr cost the repair of an antique door to be anything between $200 to $800. The level of damage determines the cost. To ensure you are hiring the right person for the job, the very first thing you want to do is to answer a few questions from the handyman and, of course, ask yours. Get a quote from as many companies as possible, do a customer reference check, and then when you're convinced you've found the most legit and cost-efficient choice, go ahead and hire one. Good luck!


