5 Ways To Retrofit An Old House Against Earthquakes
You can never be too careful about prepping for the next disaster. More than 143 million Americans live in potential earthquake-prone regions waiting for disaster to strike, via the United States Geological Survey. Because earthquakes strike without warning, it is always necessary to get prepared for such events. Retrofitting a house against an earthquake essentially involves taking measures to strengthen your home's structures against the earthquake's dangerous shakes. Whether you are a renter or a homeowner, you must take the necessary steps to ensure your home is safer during an earthquake. But how do you know if your house needs such upgrades in the first place? Well, modern houses are built in accordance with building codes that are aimed at protecting your home against such eventualities.
Older houses, especially those built before 1980, will need retrofitting against earthquakes. It goes without saying that you want to keep your family and property safe from a potential earthquake, and sometimes investing in retrofitting renovations might give you just that. Retrofitting a house against an earthquake is quite costly, according to the California Earthquake Authority, such renovations could cost you between $3,000 and $7,000. Here are some of the ways you can ensure your house will remain standing after an earthquake.
1. Secure the foundation
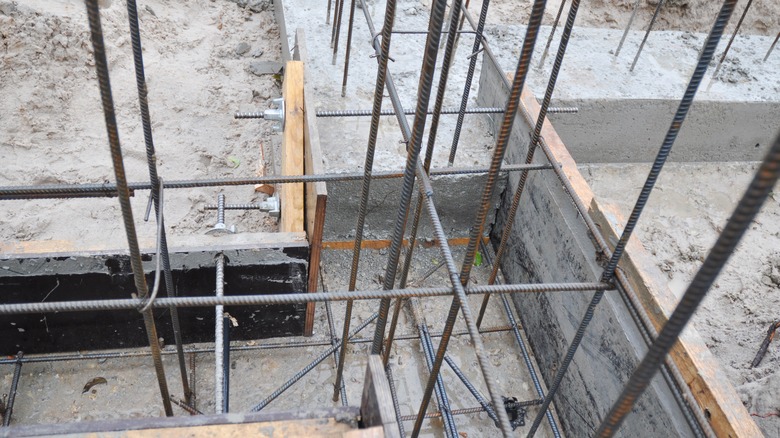
The foundation is the most important part of the house. In fact, Glen W Smith Masonry mentions that the foundations hold the weight of the entire structure and also stop any movement that might destroy the house. However, a regular foundation is not enough to thwart the motions caused by the shakes of the earthquake and does very little to keep your house standing. To keep the foundation of the house intact, some retrofitting is necessary.
This is done by bolting the house to the foundation and also bracing properly. Failure to do this leaves the home vulnerable to the movements that might sweep the house right from underneath. Bolting the house to the foundation requires the structural engineer to drill holes through the sill plate found between the house and the foundation before installing anchor bolts. Modern building codes require every house to be affixed to the foundation, which was not mandatory for older homes.
2. Cripple wall bracing
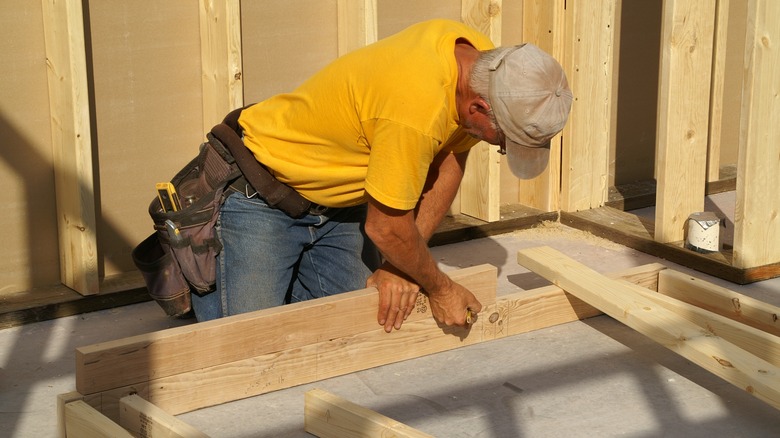
This is probably the most common type of earthquake retrofitting technique. A cripple wall is essentially a type of raised foundation made of short wooden stud walls not longer than 4 feet, creating some crawl space between the first floor and the gradient of the soil. This type of foundation is slowly becoming a dying technique because of its inefficiency when it comes to seismic activity protection. In addition to anchoring the foundation to the building, older houses with cripple walls need further reinforcement through plywood bracing to provide the structure with additional protection against earthquakes.
Cripple walls shorter than 4 feet can be retrofitted for an earthquake by a professional or a skilled homeowner. However, those over 4 feet in height will require the special services of a structural engineer for proper advice. In an effort to encourage many homeowners to consider retrofitting their older homes against earthquakes, Earthquake Brace + Bolt is offering retrofitting grants of up to $3000 for qualifying homeowners in high-risk regions to help finance these necessary upgrades.
3. Soft-story reinforcement
A soft story, according to the California Residential Mitigation Program, is a one or multilevel structure built right above an open space like a garage. While this building model is quite popular across many states in the U.S., it is quite unsafe and offers no resistance, especially against the horizontal forces of an earthquake. Therefore, such structures are the first ones to fall when disaster strikes. A soft-story structure requires reinforcement using steel or plywood to improve its strength. New plywood or steel sheath should be installed on every wall around, at the back, and on the opposite sides of the garage door.
Also, the garage door needs to be framed using steel for added strength. Since the wall finishing is drywall or plaster, the ideal time for reinforcing a soft story is during a major remodeling or the construction phase. A soft-story house is among the most expensive to retrofit against an earthquake costing an average of between $20,000 and $45,000 detailed by Fixr.
4. Utility lines
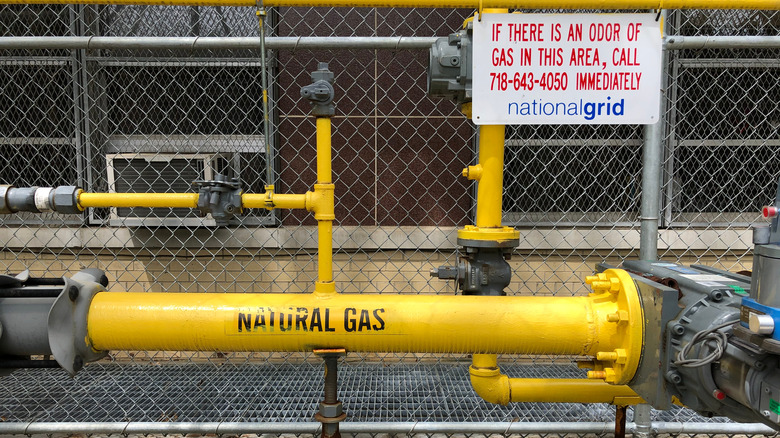
Fire is one of the greatest dangers that also accelerates the destruction of property and lives. In fact, according to The California Fire Prevention Organization, earthquake fire is what brought about the most damage during the infamous 1906 San Francisco earthquake. Almost all the fire that happens during an earthquake is caused by broken gas pipes, and a spontaneous ignition often sets the whole place ablaze. The solution is twofold when it comes to retrofitting utility lines, especially gas lines, against earthquakes.
First, you need to realize that if the gas lines are rigid, there is a high chance that they will shear during the violent shakes. Gas lines must be flexible enough to allow some movement when earthquakes strike. Secondly, your home needs an automatic gas shutoff valve. The office of Energy Efficiency and Renewable Energy mentions that a shutoff valve, also known as the seismic gas valve, automatically switches the gas off from the main line once an earthquake of magnitude 5.4 or higher strikes.
5. Secure the glass windows
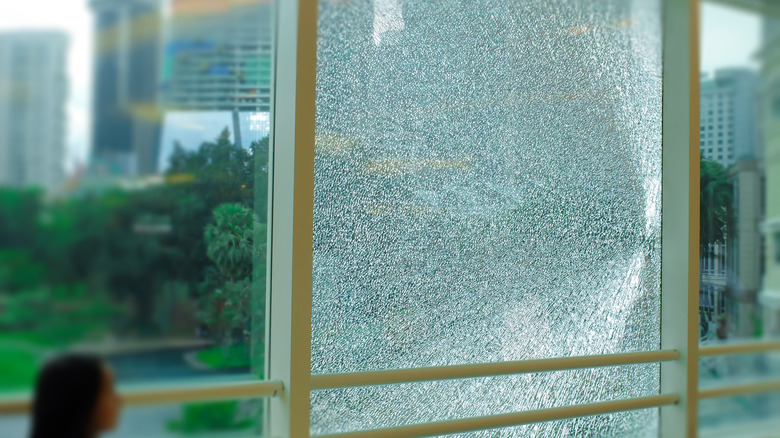
According to the Oregon State University, the odds that the next major earthquake will find you in your house is two out of three. While this statistic looks insane, you need to be proactive in taking the measures that will increase your chances of survival if this prediction becomes a reality. Regular window glass is not flexible and will shutter during an earthquake, injuring whoever is nearby. One solution to this problem is replacing the large windows in your home with laminated or tempered glass. This is an expensive option, especially if you have a big house with plenty of windows.
The average cost of a tempered glass upgrade is between $12 and $14 per square foot, while a laminated window costs between $10 and $20 per square foot, according to Interior.tn. However, another cheaper alternative that is also known to work effectively is installing a safety film on all your windows. Window Film Depot details that it will cost you between $6 and $8 per square foot for installation. The transparent film strengthens the glass making it more resistant to violent shakes and also holds the glass pieces together if it breaks. Installation is relatively easy; however, if you have difficulty removing the trapped air bubbles, call the professionals.
