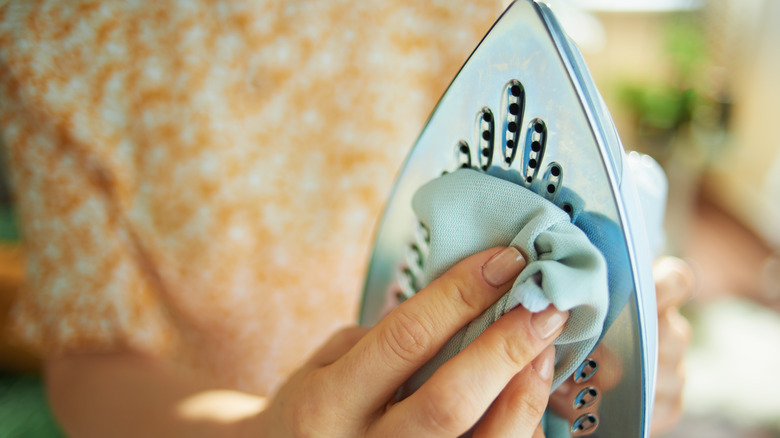
How You Should Be Cleaning Your Iron
You would think since an iron uses water on a regular basis, it wouldn't need to be cleaned. Unfortunately, that's not the case. Water has minerals in it, and they can leave a deposit on your favorite shirt while it's being ironed. Brown spots can happen as well if there is rust or dirt coming from the iron. Sometimes the water level is too full, causing water to leak out while you're using it. Other times, the iron itself may have a leaking issue and you're left wondering why in the world you keep getting mineral deposits or brown spots on your clothing. According to SOS Parts, your iron could be leaking for the following reasons: the thermostat isn't properly set, the cap is broken, the power cord is broken, there's limescale build-up in the heating element, or the water tank has a crack in it. It could also be a defective solenoid valve, which is an electrically controlled valve.
No matter how the water is leaking out, keeping your iron clean will help avoid the water leaving a mark on your clothes. Besides water leaking, sometimes irons simply pick up dirt, grease, and any kind of grime over time. Dust also collects as they sit out or oils from clothing eventually build up. Don't run out and buy a new iron when this happens. Let's look at how you should be cleaning your iron, instead.
The different parts of an iron
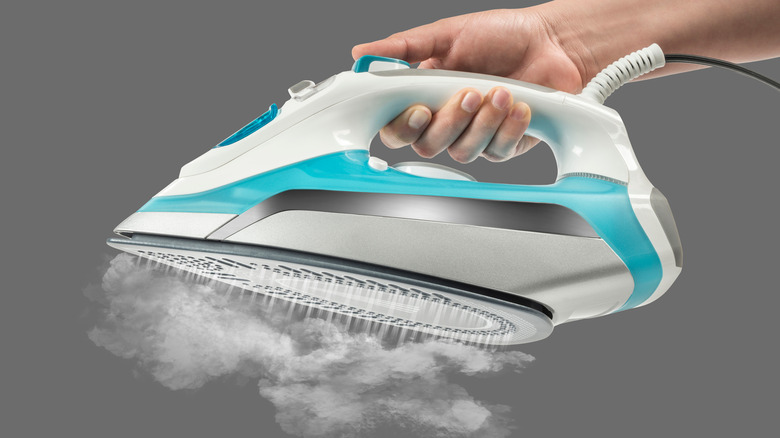
Before cleaning, it's important to understand the different parts of a steam iron, and which parts can be cleaned. Keep in mind not all irons are steam irons. A dry iron has no water tank, which means no steam and no water spritzing. Most steam irons can also be used dry, making them multitaskers and the most popular type of iron. You can either use the steam feature or switch the steam off to use it as a dry iron. According to Oh So Spotless, a dry iron is useful in a home where you're ironing a lot of polyester, silk, rayon, or satin. Those fabrics don't handle steam well.
There are several parts to an iron: the thermostat, which works to make sure the iron gets hot enough but not too hot, the cover plate, the handle, the pilot lamp, the heating element, the pressure plate, the soleplate, and the water reservoir. If one part goes down, they all go down.
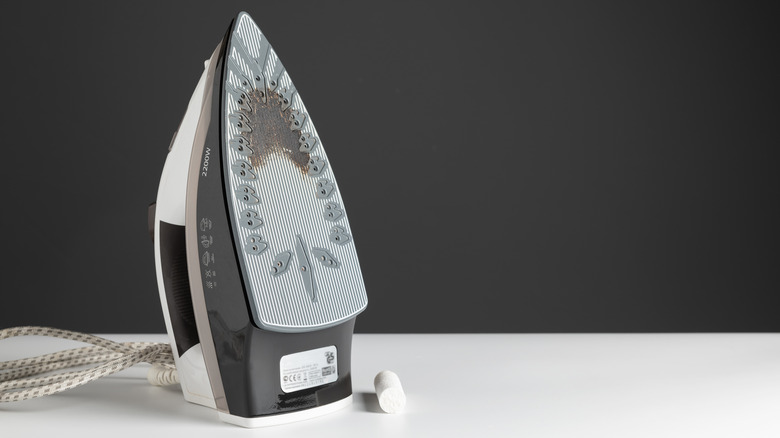
So, which parts can be cleaned? The areas you can maintain regularly to keep clean and working well are the soleplate and the water reservoir. The soleplate is the area that runs across your clothes and most often shows signs of dirt or rust. The water reservoir holds the water. Keep both of those clean and your steam iron will last for years.
A dirty iron can damage clothes
When a steam iron has something sticky or greasy on the bottom of it, the sticky greasy stuff can transfer to your clothing. Even though you wash your clothes regularly, oils, dirt, and grease eventually accumulate on the iron after being pulled out of your clothes from the steam. There's nothing more annoying than finally choosing your outfit for the day, only to have it destroyed when you iron it. Avoid this type of damage by keeping the soleplate clean.
If it's too late and grease or oil has transferred to your clothing, it's tough to get it out. Still, it's worth a try. According to Grab Green, you can lay the article of clothing over a piece of cardboard so the grease can transfer to it while you scrub it out. Cover the stain with baking soda if it hasn't yet gone through the washer and dryer. If it has, or if the stain has already set, cover it with dish soap instead. Let it sit for about ten minutes, then scrub with a toothbrush. Repeat until the grease spot is gone. Hopefully, if you keep your iron clean, you won't have to worry about scrubbing out grease stains unless you get messy while eating your pizza.
Two different ways to use vinegar
Good old vinegar. It's been used for decades as a cleaning agent and is still useful for things like a dirty iron. According to Kitchn, the reason vinegar is such a great, versatile cleaning tool is that it's highly acidic and able to dissolve things like soap scum and other sticky residues. White vinegar is best for cleaning, though it sometimes has to be diluted because it's so strong.
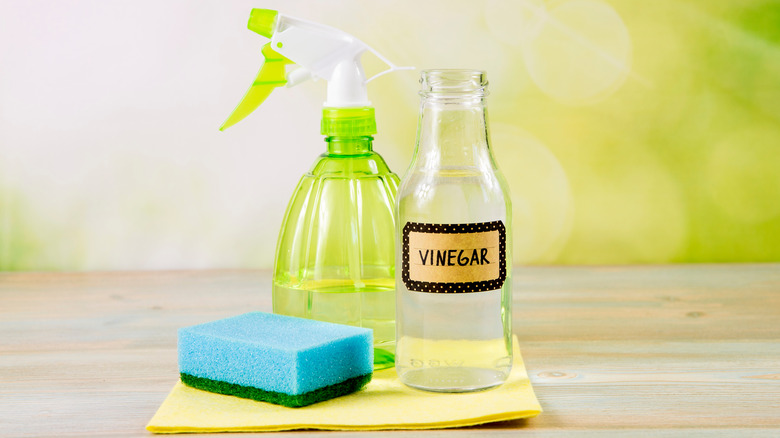
There are two ways to clean your iron with vinegar. The first is to apply vinegar to the soleplate. Do this by soaking a towel in some distilled white vinegar. On a side note, sometimes vinegar scares people away because of its strong odor, but don't let it do that to you. It works well and the odor fades completely away once it's dry. Lay the iron face down (and turned off) on the soaked towel and leave it there for about 30 minutes. Wipe it off with a dry rag, and you'll have a shiny new iron.
The second way to use vinegar to clean your iron is to empty the water reservoir, then refill it with half distilled white vinegar, and half water. Let it heat up, then iron some clean rags, towels, or something that can get some residue on it. As you let the steam out, the dirt and mineral deposits will come out, thanks to the vinegar and heat working together. Vinegar is inexpensive and can be bought in large bottles. Keep it on hand for all your cleaning needs.
Make a baking soda paste
There isn't much that baking soda can't fix. According to Tom's Guide, it's often mixed with water to create a paste. The paste is known for removing stains and making a gentle, abrasive scrub. Tom's Guide points out that the paste is sometimes mixed with vinegar for an even stronger solution.
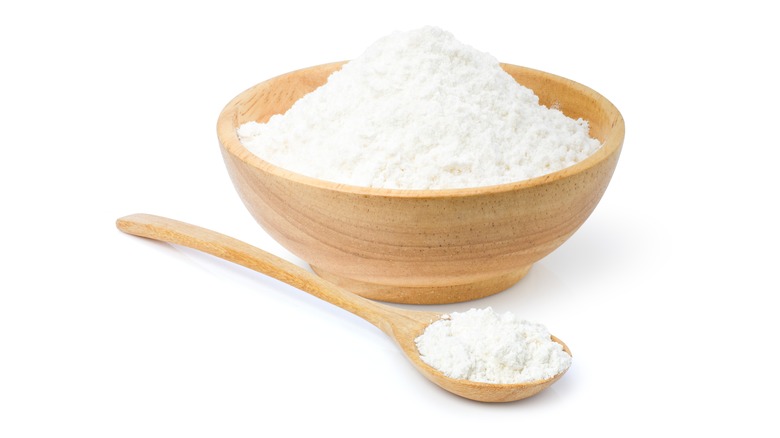
For your iron, you'll want to make that paste by mixing a couple of tablespoons with a little bit of water until you get a thick but spreadable consistency. Start with one tablespoon of water and add more as needed. Use a soft cloth to gently rub the paste in a circular motion onto the bottom of the soleplate. Wipe off the paste with a damp cloth. Repeat if necessary. You can also let the baking soda paste sit for several minutes on the iron before scrubbing it around if stains are tough.
An excellent benefit of using baking soda is that it's all-natural. When using regular cleaners that are filled with chemicals, you breathe in toxins, especially if used on an iron that is heated up after cleaning. With natural homemade cleaners, like baking soda, you don't have to worry about that.
There is a chance you'll get some of the baking soda paste in the soleplate's holes. You can avoid this by being very careful to work around the holes as you scrub. However, if you get some cleaner in the holes, you can remove it with a cotton swab, which we'll discuss later in this article.
Dissolve Tylenol onto a hot iron
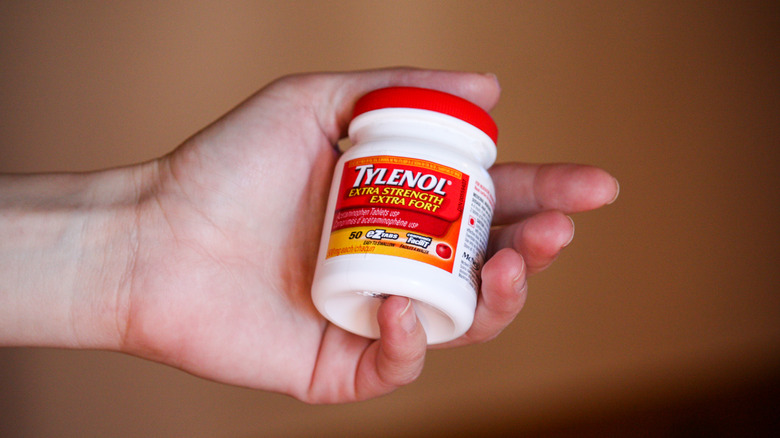
Tylenol removes stains. Who knew? In fact, you can use any brand of acetaminophen; it doesn't have to be Tylenol. This method works best for residue that's burnt onto the soleplate. You'll need to be careful because the iron must be hot for the Tylenol method. Set up your ironing board and plug the iron in, then turn it up to its highest setting. Let it get hot. Once it's heated up, using tweezers, grab an Tylenol tablet or two and rub it on the burnt area of the iron. It may take a few tries and several pills if the spot is large. You'll see the Tylenol turn into a gel-like substance. Let it sit and unplug the iron to let it cool down. Once cool, wipe off the gel with a rag and you'll have a burn-free, shiny iron.
If you find that you're often dealing with scorched irons and it's affecting your clothing, you may want to consider a steamer instead. According to The Home Depot, a steamer won't burn and can be used on any material, even delicate ones such as cashmere and silk, because there is no risk of scorching.
Cotton swabs for the holes
Those tiny holes on a steam iron are hard to get clean, and it's where grime loves to hide. Grab a handful of your favorite cotton swabs to do the job. As mentioned earlier, cotton swabs are also helpful if you get some of that baking soda paste in the holes when cleaning your iron.
Pour some of your handy distilled white vinegar into a bowl to use with your cotton swabs. Soak an end of the swab in the vinegar, then gently swirl the tip into each hole on the soleplate of the iron. Once a swab looks dirty, get a new one for the next few holes. Make sure all the holes are dry before turning the iron on.
Cotton swabs are handy all around the house, not just for your iron. According to Today, they are useful at cleaning grout, the crevices in your refrigerator, and any snug area that's tough to get to, like around or behind a faucet. Keep these handy little cotton-topped sticks near all your cleaning supplies.
Newspaper and salt
Yes, you can safely iron a piece of newspaper to get the bottom of your iron clean. You can also use a brown paper bag in its place if you aren't a newspaper reader.
Plug the iron in and set it on an ironing board. Crank it up to its hottest setting. Spread out some newspaper or a brown paper bag on the board. Grab some salt (any salt will do) and sprinkle a generous amount onto the paper. Once the iron is hot, start ironing the salt. It works as a wonderful abrasive to clean the iron's soleplate. Continue rubbing the iron in circles over the salt until you're satisfied with how clean it is. As long as you keep the iron moving, the paper is safe. Do not let the iron sit still on the paper. Also, keep it away from the paper when you're done as the iron cools down. If you have a white or light-colored ironing board cover, you might prefer the paper bag method, since newspapers love to leave their mark.
Using salt and paper is an all-natural method, just like other methods we've discussed. There are many benefits to homemade cleaning methods like this. When we use natural methods, we are avoiding harsh VOCs (volatile organic compounds) that are released from chemicals you'll find in many everyday cleaners at the store. According to Molekule, VOCs can have both short-term and long-term effects, such as nausea, dizziness, or headaches, as well as more serious diseases, such as cancer or kidney disease. It's hard to completely avoid VOCs, but taking small steps, even if it's just cleaning your iron naturally, is a step in the right direction.
The amazing Magic Eraser
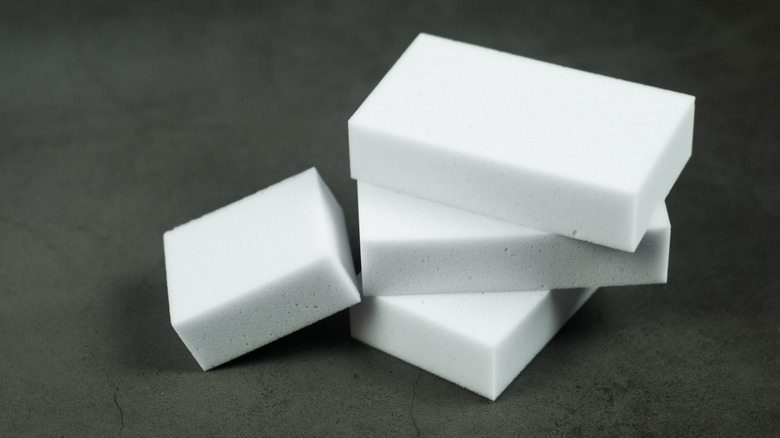
Is there anything the Magic Eraser can't do? Keep plenty of them on hand for use around the house and pull one out when it's time to clean the soleplate of your iron. According to Maid Sailors, the Magic Eraser is made of melamine foam (originally used as sound-proofing material), which is slightly abrasive, allowing it to act like very fine sandpaper. It scrapes and absorbs dirt, grease, and all kinds of grime. To use this wonderful invention on your iron, simply dampen the Eraser and wipe the soleplate until it's clean. You may have to re-wet it a few times until the cleaning job is done.
You can clean more than the soleplate on your iron with the Magic Eraser. Go ahead and shine the entire thing, removing fingerprints and unwanted spots. You can even wipe down the cord to remove dust and dirt. While using the Magic Eraser anywhere on the iron, have the iron turned off and cool. As you use the Magic Eraser, it will begin to disintegrate. It's helpful to save whatever is left if there is still a good amount that can be used for cleaning at another time. Just allow it to dry out and keep it with your cleaning supplies.
Scrub it clean with a steel wool pad
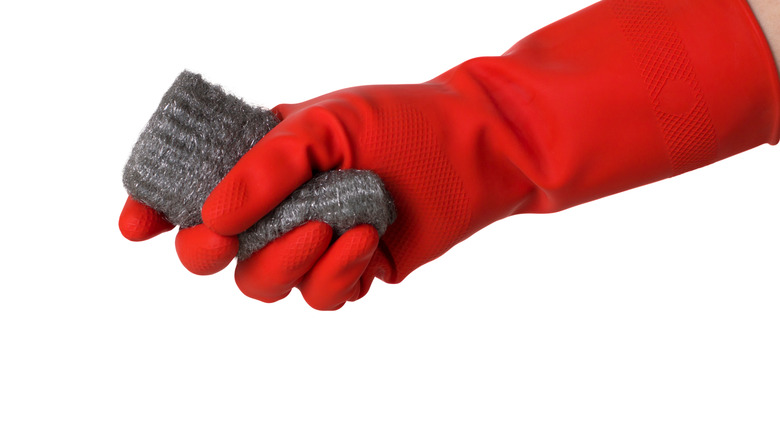
The trusty steel wool pad has been scrubbing off dirt and grime for decades. According to Brillo, the idea of soap mixed in with steel wool was conjured up in the early 1900s by a cookware peddler and a jeweler to get pots and pans clean, since nonstick was nonexistent. It's still used today for cleaning cookware that isn't nonstick, and lucky us, it's great for cleaning irons as well. There's just one trick: You must be patient and scrub gently with the steel wool pad. They won't scratch if used properly, however, they can if you get too rough.
Wet the pad and scrub the soleplate gently in small circles to remove dirt and rust. Then, wipe clean with a damp rag and allow it to dry. Use steel wool when the iron is off and cool. They work especially well if you've gotten a little crazy while crafting. Irons are fabulous for heating up glue or wax for certain crafts. However, the wax and glue can leave a mess behind on your iron. Once it's hardened, the steel wool pad can remove it, easily. Any brand of steel wool will do, just be sure to grab the ones with soap in them to make them more effective.
Use ice to cool down melted plastic
Occasionally, you run across a shirt that has a print on it made from plastic. If you accidentally run your hot iron over it, you're left with some sticky, melted plastic on the iron. Annoying, right? No worries. You've got something in your freezer to help you out.
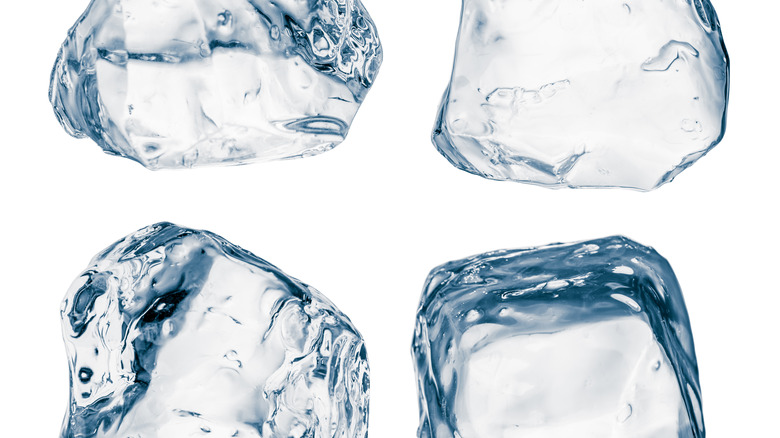
Grab an ice cube and hold it over the sticky stuff for a few minutes when the iron is off and cool. For a larger area on the iron, fill a plate or bowl with ice and set the iron, soleplate down, right on the ice for a few minutes (again, with an unplugged, cool iron).
Either way, once the plastic mess is cold, take a plastic knife (a metal one will scratch) and scrape the sticky plastic off the iron. If you don't get rid of the plastic, it will stick to the next piece of clothing that you iron. For better results when ironing shirts that have prints on them, Monster Prints recommends turning a shirt inside out and ironing on the lowest heat setting. You can also lay a towel over the print when ironing.
How often should you clean your iron?
Most of us whip out the iron almost daily without thinking about cleaning it. So, how often should you clean your handy iron? For the average iron user, about once a month is good for a cleaning. If you notice your iron isn't performing well even before then, go ahead and clean it and see if it perks up. Use any of the methods we've discussed and include the reservoir cleaning with vinegar.
If you find you have to clean your iron more than once a month, are you ironing too much? Can ironing often be bad for your clothes? According to the Ironing Lab, the answer is, no. They suggest it is improper use of an iron that causes problems, not the actual act of proper ironing. Irons are designed to smooth out our clothes, safely. If used correctly and maintained well, the iron won't damage your clothing. So, go ahead and iron to your heart's content. Do it properly, follow the manufacturer's instructions, and keep your iron sparkling clean.
