Black-Eyed Susan: Everything You Need To Know Before Planting
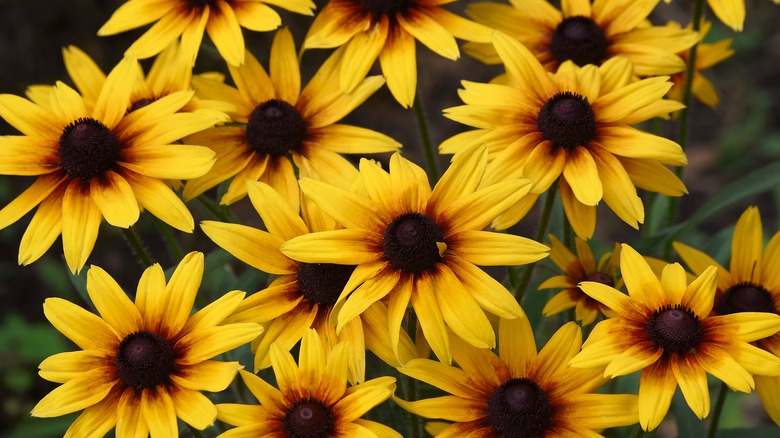
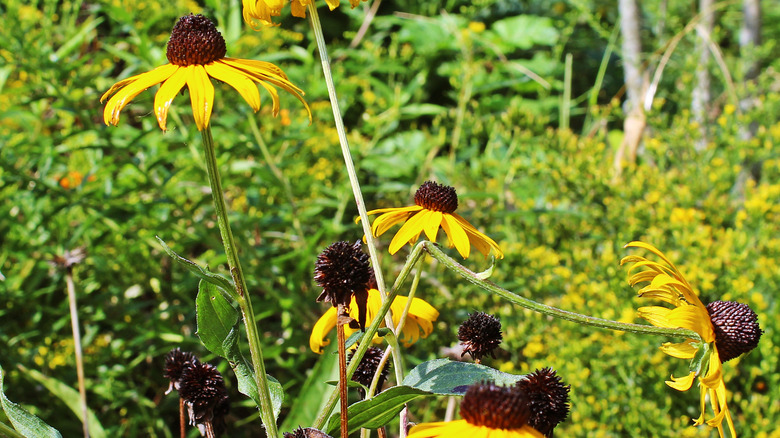
Black-eyed Susans are delightfully bright wildflowers that can be seen gracing gardens, fields, and roadways throughout most of the United States and the southern parts of Canada. Hardy in temperature zones three through nine, these happy flowers have a dark center surrounded by a petal arrangement similar to daises, and they grow just about anywhere.
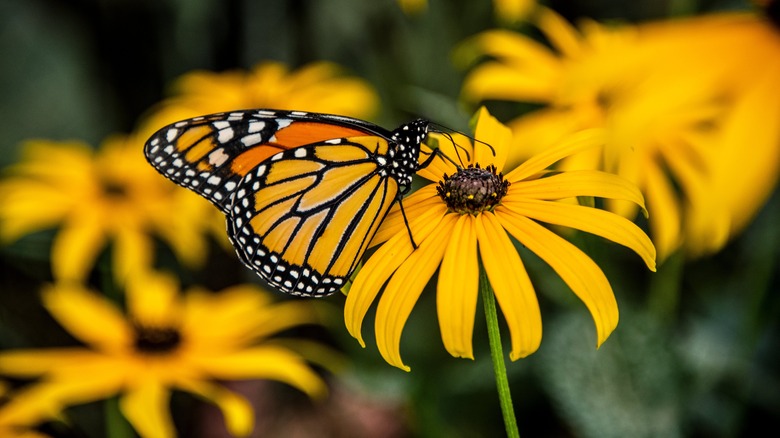
Botanically speaking, black-eyed Susans are members of the Asteraceae family and are known specifically as Rudbeckia hirta. Per the Farmer's Almanac, they grow to be around 3 feet tall with 6-inch-long leaves. Bloom size ranges from 2 to 3 inches in diameter. One of their common nicknames is the Gloriosa daisy, and you can find them blossoming from late spring until the very end of summer. Plant these beauties in your garden and for months on end, you'll enjoy a dazzling display of color that will attract both butterflies and bees.
According to the Prince William Conservation Alliance, black-eyed Susans also have the lesser-known nickname of pioneer plant. This alludes to their diehard resilience and the fact that they will generally be the first flower to pop up in any newly cleared fields or woodland areas. More often than not, they are biennial, meaning blooms will not appear until two years after seeding.
How to use black-eyed Susans in a landscape
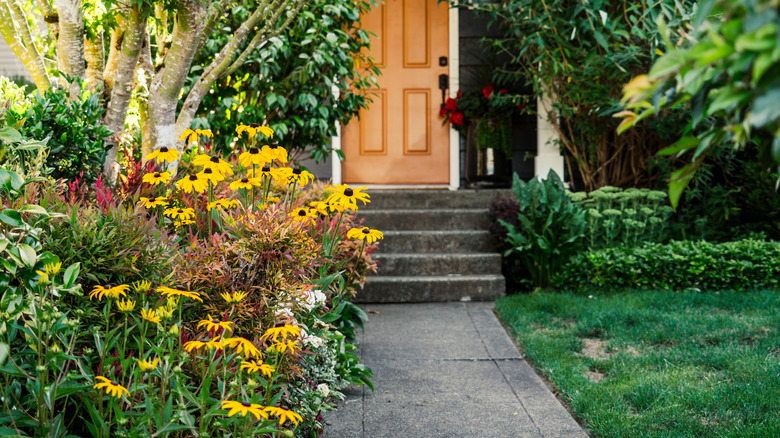
As if they jump up and say hello, black-eyed Susans seem to have a knack for creating a welcoming energy wherever they are planted. Whether brightening up a walkway or spilling gracefully out of a hanging basket, they can fill a variety of landscaping needs. Consider your overall color palette when arranging plants in your garden or landscape. Garden Design suggests growing them as standouts against blue and purple flowers such as Russian sage and giant hyssop. On the contrary, you might like the more blended look you'll get with other warm-toned blossoms. For this effect, try adding yarrow or tiger lilies.
While they thrive throughout a wide range of temperature zones, classic black-eyed Susans will not fare well in the tropics. So, what if you love these sassy flowers but live in USDA zone 10 South Florida? Well, there's good news and bad news. The good news is that there is a tropical vining variety. Called Thunbergia alata, or simply the black-eyed Susan vine, this is a variety that can be easily trained up trellises or along fences, according to Garden Design. Imagine a window box overflowing with gorgeous flowers that sneak their way down and around the exterior walls of your home. Splendid! Unfortunately, the bad news is that in some areas, like the state of Hawaii, this vine is classified as an invasive species that can cause harm to other endemic plants. Ask your local authorities for more information.
How to grow black-eyed Susans
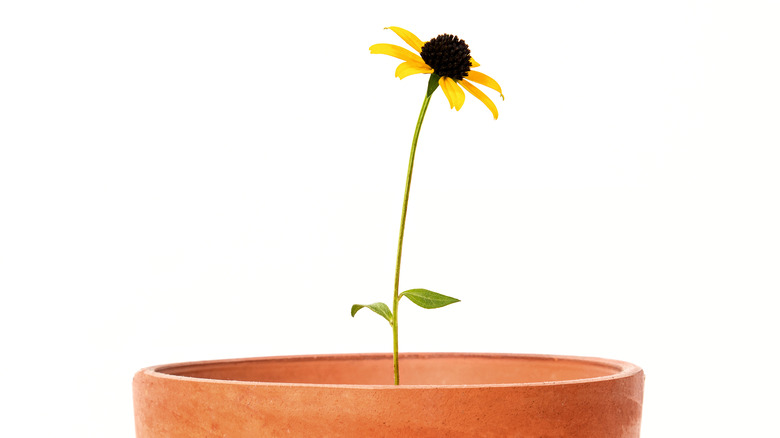
Sure, you can just head down to the local garden center and buy black-eyed Susan seedlings or fully grown plants ready to transplant into your yard, but why not try your hand at growing them from seed? In their comprehensive grow and care guide, the DIYers at Growit Buildit have laid out a handy step-by-step guide. It may seem daunting at first glance, but that's only because it is thorough. Black-eyed Susans are easy to grow and with a few essential supplies, you should have no trouble at all.
Early spring is the time to get things started by gathering your seed trays, a garden trowel, a spray bottle, and seeds, which can be purchased online or at a nursery. For your potting soil, always choose a high-quality mix to give the seeds the best chance at sprouting, and pre-moisten it before planting. Fill each tray almost to the top, but not quite. Each cell can get up to five seeds, which you will cover with more soil. After that, you can spread any remaining seeds over the top of the soil. It's fine for them to stay exposed. Next, spritz each individual tray cell with your spray bottle filled with water. You'll want the trays to live somewhere that will get plenty of early sun. Make sure the soil stays moist and look for seedlings to shoot up after about two weeks.
How to care for black-eyed Susans
The key factor in maintaining healthy black-eyed Susan plants is full sun exposure. If you consider the shadeless fields they like to take over in the wild, it'll be easier to locate the best spot for them in your yard, away from tall trees and sun-blocking structures. Once you've got your seedlings transplanted into the ground, you can pretty much relax and let them do their thing.
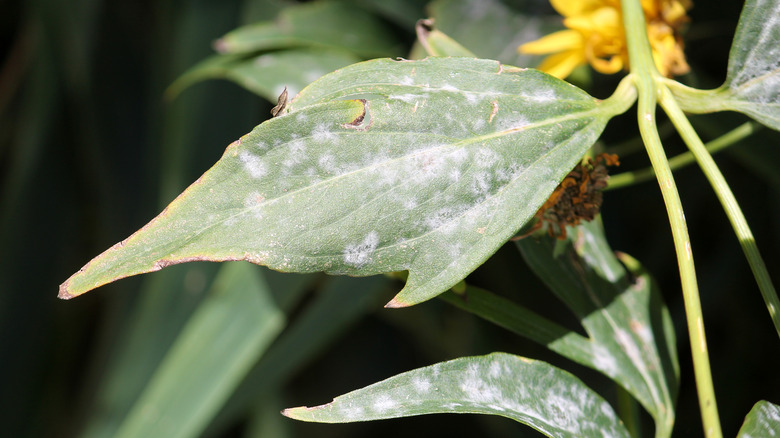
Black-eyed Susans are just like other wildflowers: They are low maintenance and relatively hard to kill. Of course, there are some best practices to adhere to and Garden Design has suggested the following tips to keep your plants at their healthiest for the entire growing season. Deadheading is the process of plucking off spent blossoms at the point where they meet the stem. Keeping your plants free of decaying flowers or simply cutting them for an indoor bouquet will stimulate your plants to bloom a second time later in the season. The soil itself needs regular watering, but the leaves can develop a layer of mildew if they get wet too often. If you have an in-ground irrigation system, opt for that as your watering method instead of using a garden hose.
Thinking again of their wild roots, these flowers generally do not require commercial fertilizer. Per Epic Gardening, it's all too easy to over-fertilize, which can result in weak stems that flop to the side. In most cases, a dose of compost will take care of their needs.
How to stake your black-eyed Susans
Black-eyed Susans can grow quite tall, and because they only have flowers at the very top of each stem, it's easy for them to become top-heavy. This leaves them at the mercy of strong winds or a thorough downpour of rain, which could knock them over and cause serious damage. To prevent your towering blossoms from bending and potentially snapping their stems, MSU Extension recommends staking them as they get taller or growing them from seedlings along with supplemental support like an obelisk.
Lowe's concurs that earlier is better, noting that if you stake them too late in the year, you risk hurting the underground root system when you drive the stake down (via YouTube). Doing so in the springtime is a better option because the roots will be much smaller and more contained. Regardless of when you get around to staking, Lowe's says to be sure the stake is inserted a few inches away from the base of the stems. Then gently and loosely tie those stems somewhere around the middle of each stalk. If you have a particularly wide patch of black-eyed Susans, you might want to consider installing a fence line to prop them up. As the plants flush out, any initially viewable fence support will become hidden by the foliage.
How to winterize black-eyed Susans
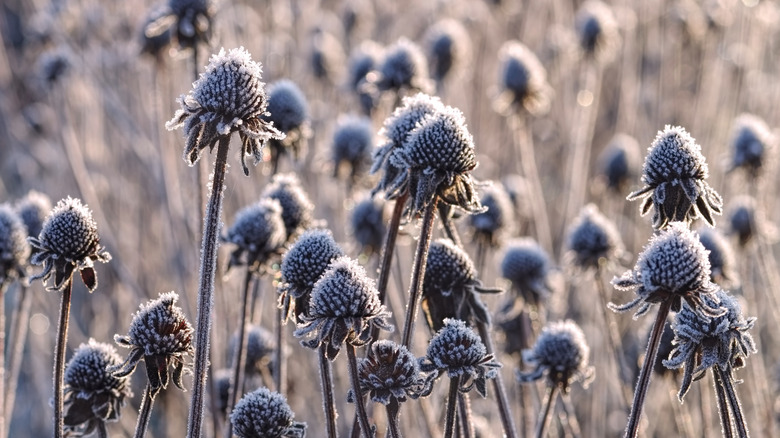
If you were to perform deadheading on your black-eyed Susans in the summer, you could likely get them to bloom again in the fall. However, once late autumn rolls around, your plants will fall dormant, and it will inevitably be time to think about sustaining their health throughout the winter. This is My Garden says you can leave them as they are and wait to prune in spring; the benefit of this is that any avian visitors who pass through during the cold season will be able to feed on their seeds. It's also fine if you decide to cut your plants back at this point.
There are a few good reasons to get to it before winter, including that clearing away dead stems and leaves will help prevent potential problems with mildew, fungal diseases, and pests that would otherwise find decaying plant matter to be the absolute best digs in town. Because rudbeckias are self-seeders, cutting them back before winter (thus, removing the seed heads) also prevents them from accidentally overpopulating your garden come springtime.
Dividing the plants every few years is an important step because otherwise the roots will take up too much of the space underground, causing everything to suffer. To do so, remove most, if not all, of the foliage, then dig out the root ball in its entirety, breaking it into smaller pieces. These root divisions can be transplanted into other areas of your garden before the first frost arrives. You could also consider moving them to planters to start potted seedlings. New transplants should be covered in an inch or two of mulch to help insulate them against the oncoming frigid temperatures.
Black-eyed Susan varieties
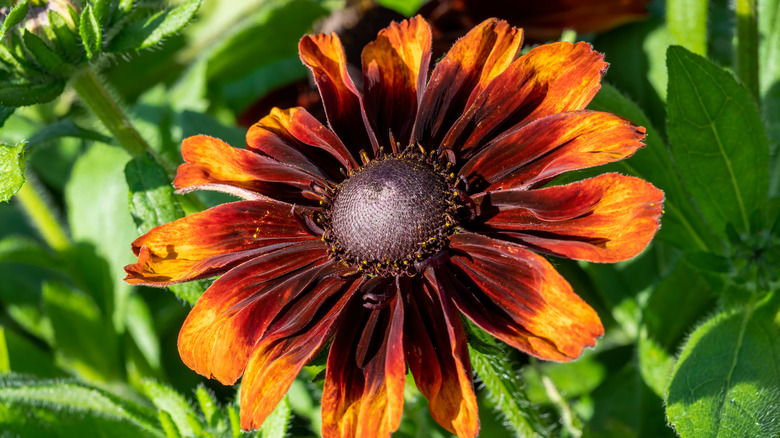
Black-eyed Susans are similar in structure to purple coneflowers, but they each belong to different genera. Laidback Gardener explains that it used to be easy to tell the two apart by color alone. One was yellow (Rudbeckia hirta) and one was pinkish-purple (Echinacea purpurea). Since recent hybrids now come in a rainbow of colors, that distinction is harder to spot. Still, the primary differences between the two lie in their center cones. Rudbeckia cones are darker and soft to the touch, while Echinacea cones are never black and are made up of tiny spikes called paleae. Echinacea is known around the world for its medicinal properties, but black-eyed Susans are only grown for ornamental purposes. In fact, black-eyed Susans are not considered safe to eat, so it's important that you can spot the differences and properly identify your plants. To make things even more confusing, there is a hybrid called × Echibeckia, which brings the two together into one species.
Here are some other varieties of Rudbeckia, the original black-eyed Susan:
- Rudbeckia hirta cappuccino, seen pictured above, was a winner of the Royal Horticultural Society's Award of Garden Merit.
- Prairie Sun Rudbeckia stands out because of its unusual light green center cone.
- Cherry Brandy Rudbeckia is a stunner with a warm brown cone and dual-toned petals that start deep crimson at the center and flush out into a lighter cherry red.
- Little Goldstar Rudbeckia is a shorter, bushier variety that can boast up to 80 blooms per plant.
Are black-eyed Susans toxic?
Generally speaking, black-eyed Susans are nontoxic and are, therefore, excluded from the ASPCA's list of plants that are considered poisonous to household pets and humans. Unfortunately, they have been known to adversely affect livestock when consumed in large quantities. Either way, it's safe to say this is not a plant you want to ingest. If you ever find yourself experimenting with Echinacea plants for herbal uses, know that there is a yellow variety that looks a lot like a black-eyed Susan. Before consuming anything, make sure you have the correct plant.
Even without swallowing parts of the plant, it's still possible to be sensitive to black-eyed Susans. For instance, they have been known to cause allergic reactions, such as skin irritation and asthma. The National Capital Poison Control Center based out of Washington, D.C., reports that dermatitis symptoms can range from itchy red splotches to blistering hives. Asthma may become a problem for anyone with seasonal allergies or lung conditions, so take good care and move away from them if any issues arise.
How to repot black-eyed Susans
For container gardeners, repotting your black-eyed Susan plants is an absolute necessity. They reproduce on their own by dropping their seeds wherever they grow, and they also expand under the soil by continually spreading their rhizomes. These root systems are dense and will keep growing to fill up whatever space they are offered. This means that they have the potential to become invasive when planted directly into the ground. Container growing will require sturdy pots and regular rhizome division with each repotting.
When you're ready to repot your plant, you'll first need to dig up the entire rhizome and break it into smaller pieces. Due to their propensity for spreading, Epic Gardening advises upgrading to significantly bigger pots each time. The small pieces of rhizome should be planted in well-draining potting soil with a high organic matter content. Try to make the new environment similar to the old by burying the rhizome pieces to the same depth as the original plant. Backfill with additional soil and your new black-eyed Susans will be ready to go.
The legend of Black-Eyed Susan
If you're curious about just who, exactly, was the woman these lovely flowers were named after, the story goes all the way back to a post-Elizabethan era poem by John Gay, as seen above. According to American Meadows, the dramatic poem tells the tale of a lovely lass named Susan who was crying for her beau, Sweet William, as he was about to take off on a journey across the high seas. Because of her tears, and the exhaustion that came with her sadness, she had black circles under her eyes, hence Gay's apropos name for her, Black-Eyed Susan.
It would have been English colonists who transferred this name from Gay's character to the wildflower we know today, but there's even more to the legend. For there is also a Sweet William wildflower, Dianthus barbatus, that purportedly blooms at precisely the same time as our Rudbeckia hirta. When found next to each other in the wild, they are considered an epic symbol of undying love. You can read John Gay's famous poem in its entirety at the Daily Gardener here.
Common pests and diseases with black-eyed Susans
There are a few common pest issues and diseases to look out for with black-eyed Susans. The Connecticut Agriculture Experiment Station (CAES) lists among them downy and powdery mildew, which are two different concerns, leaf spots from bacteria such as Septoria, and rust. Downy mildew is likely to appear when the climate remains cold and wet for a period of time. Powdery mildew is more common when humidity is high but it hasn't been raining. Fungicides may be employed for each of these conditions, as well as for leaf spots and rust. However, CAES makes it clear that different formulations are permitted in different states. Always consult local professionals for guidance before applying fungicides.
On a different note, black-eyed Susan plants suffering from overall yellowing may have a disease called aster yellows. In such incidences, CAES recommends removing and destroying them to prevent further infections.
Regarding insects and pests, CAES points to several offenders, including Asiatic garden beetles, crescentmarked lily aphids, sawflies, stalk borers, and twospotted spider mites. This may seem like a long list, but it doesn't mean all these insects will show up in your yard and destroy your flowers. North Carolina State Extension Gardener reminds us that, for the most part, black-eyed Susans tend to remain untouched by pests. If you find yourself with a beetle or stalk borer problem, it's best to consult your local nursery. Aphids and spider mites can usually be taken care of with insecticidal soaps and neem oil, per Secure Lawn. Both of these products should be available for purchase at any home and garden center.
How to prevent animals from eating black-eyed Susans
Undeniably adorable? Of course. Able to wreak havoc on an entire garden overnight? Unfortunately for many gardeners, also a yes. Rabbits love black-eyed Susans so much that the Missouri Botanical Garden (MBG) includes them on their list of plants that are often heavily, or at least moderately, destroyed by fluffy little bunnies.
MBG recommends scare tactics and repellents, such as Deer-Away, Hinder, Capsaicin, or Thiram, as your first line of defense against rabbits. However, there's a good chance none of them will be 100% effective, meaning you'll need to work harder to exclude the pests from the area altogether. Fencing will be necessary to do so, and you can start with chicken wire. It will be effective, but of course, it will not be the most attractive option, and you may prefer something more aesthetically pleasing. There are many different options out there, so take time to do some research to figure out the best fence option for your backyard garden.
On the flip side, there is good news when it comes to deer. All About Gardening emphasizes that rudbeckias are considered a deer-resistant perennial. Deer don't like how they taste, nor do they appreciate the prickliness of their cone centers.
