The Best Ways To Clean A Clogged Faucet Aerator
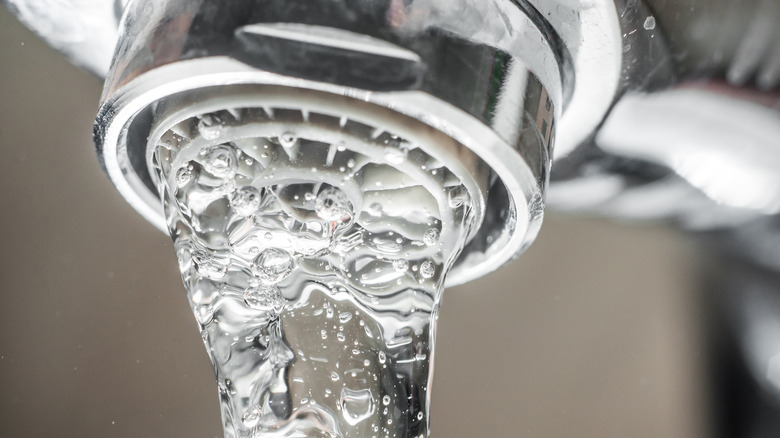
Like many other features of your home, kitchen and bathroom faucets need regular cleaning and maintenance. One of the often-overlooked areas on a faucet is what is known as the faucet aerator. The Spruce describes the aerator as a circular collar with a mesh screen that screws into the spout of your water faucet. The purpose of the aerator is to remove sediment and to make the water run more smoothly by mixing in air bubbles, which also reduces splashing.
Faucet aerators can also limit water pressure and reduce wastage. The EPA explains that WaterSense labeled faucets and aerators help restrict the flow of water to 1.5 gallons per minute. This can reduce your water usage by up to 30% each year, as well as your subsequent water bills. While water aerators serve both an aesthetic and practical purpose, like any other part of your plumbing, they can get clogged and start hindering your water flow instead of improving it. These useful tips will help you clean clogged aerators and restore the optimum flow rate.
1. Remove any obvious debris
As Good Housekeeping notes, your kitchen faucet is potentially filled with all kinds of debris — just think of everything that gets washed through your kitchen sink. This could include anything from scraps of food, grease, crumbs, and germs, to residue from cleaners and soaps. The combination of these particles can lead to a buildup of bacteria that is both unsanitary and unattractive.
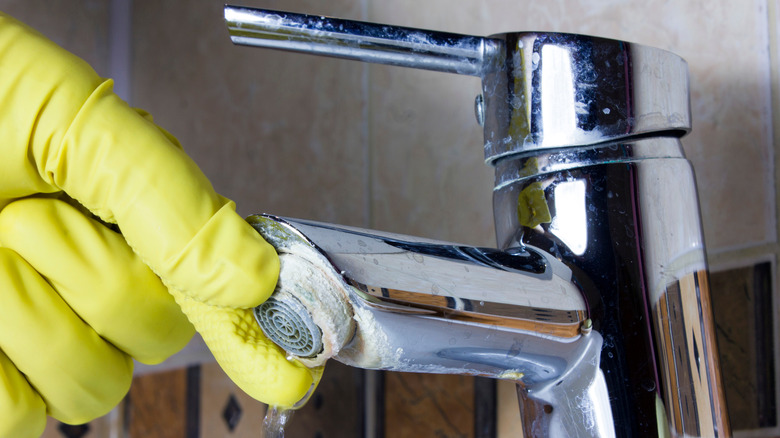
The first step in cleaning a clogged aerator is to simply take your hand (gloved if you prefer), and rub your fingers across the faucet end to remove any obvious debris. While it is important to be careful of sharp edges, you will need to apply a certain amount of pressure to ensure you are removing all the gunk. Test the effects by turning the faucet back on and monitoring the water stream. If this quick fix doesn't provide adequate results then more thorough cleaning may be required.
2. Increase the water pressure
If you've ever used a hose to clean off dirt and debris then you will understand that water pressure is a fantastic cleaning tool. While this method won't remove a stubborn clog, you might be able to clear a slow-moving faucet simply with hot water. When most people turn on a faucet, they don't turn the temperature to the highest setting nor leave a continued stream of water at full blast.
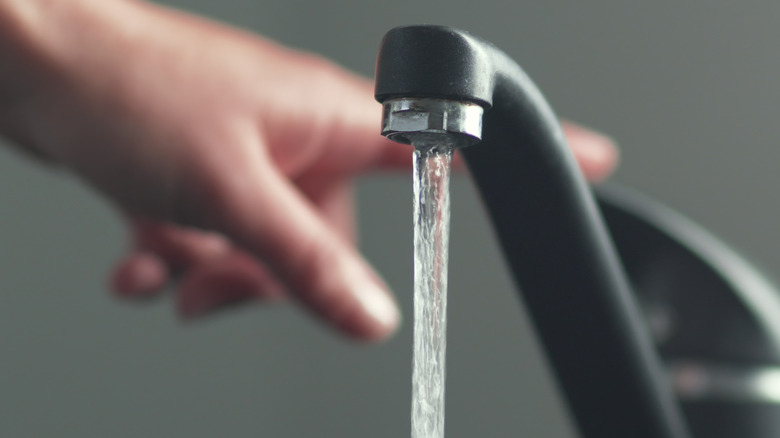
Home Reference suggests the ideal water pressure for a faucet is 50 psi, although yours might vary a bit higher or lower. While that's far from a pressure washer level, the full force of your faucet isn't insignificant. Try turning to your hottest and most powerful water setting and see if it helps. The power of basic hot water might actually be surprising though, and it's generally worth a simple try and won't cost you much in time or money.
3. Take the aerator apart
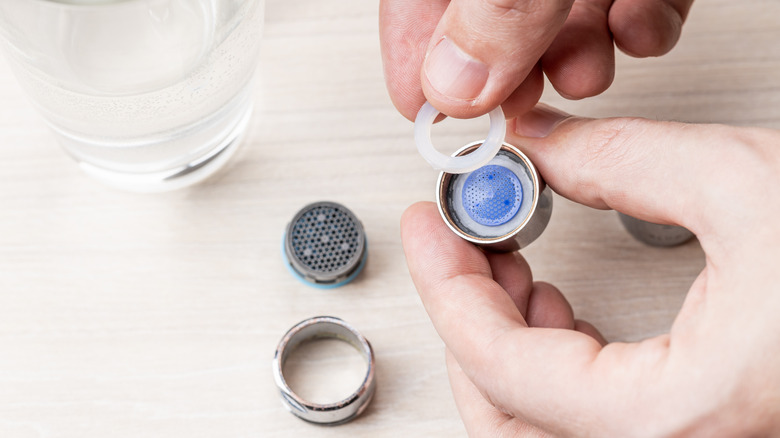
If external cleaning methods don't work, another option is to disassemble your faucet to more thoroughly clean the aerator. It's important to remember that harsher techniques used to clean the mesh screen could potentially damage the exterior of the faucet, so it is better to remove the aerator first. American Standard cautions to avoid harsh cleaners and abrasives, strong soaps, acids, and polishes as these can all wear down a faucet's finish. Instead, simply twist apart and rinse as shown in their straightforward YouTube tutorial.
Good Housekeeping explains that your aerator will typically twist right off, or if not you can purchase a special removal key from your local hardware store for less than $2. Take apart any pieces and clean as you would a stubbornly stained dish. If you're worried about correctly replacing the pieces after you remove and clean the assembly, a handy rule of thumb in home improvement is to take a picture while it is still assembled, so you have a guide for putting everything back together.
4. Degrease kitchen clogs
This isn't the most common problem, but your faucet may be clogged with food, oil, and grease — a mixture plumber Benjamin Franklin calls FOG. Typically this is more of an issue for drains, but there are certain situations where that FOG may have infiltrated your faucet as well. Perhaps you've recently moved into a rental or purchased a new home and the prior occupant just wasn't very clean. Maybe the plumbing backed up previously and clogged your faucet screens. Either way, if the reason your aerator is clogged is grease-based then the only solution is to use a degreaser.
The most common and affordable degreaser you have in your home is likely a dish detergent. Fill a container with hot, soapy water as you would a sink ready for dishwashing. Add your aerator pieces to the container, and soak. Much like dirty dishes, you may need to only soak the components for a few minutes or perhaps for significantly longer. Continue to check your aerator screen and repeat as needed until it's free of debris.
5. Scrub the aerator with a brush and vinegar
Sometimes the best remedy for a clogged aerator is good, old-fashioned elbow grease. Michigan Department of Health and Human Services recommends cleaning your aerator with a toothbrush and vinegar. Not only will this clear many clogs, but it can also help to remove particles of lead that may have built up in the water system — something we definitely wouldn't want to consume.
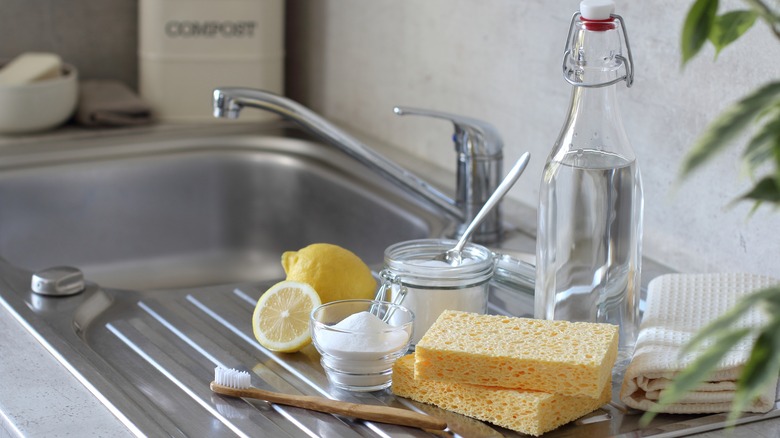
For more stubborn blockages, it may be necessary to take apart the aerator and then soak the pieces in white vinegar. Leave the aerator pieces in the vinegar for at least five minutes, then scrub them well with a toothbrush. If the screen does not come clean the first time, rinse and repeat the process, soaking for longer if you wish. If you don't have a toothbrush available then you can also use a standard cleaning brush with small bristles.
6. Dissolve hardwater mineral buildup
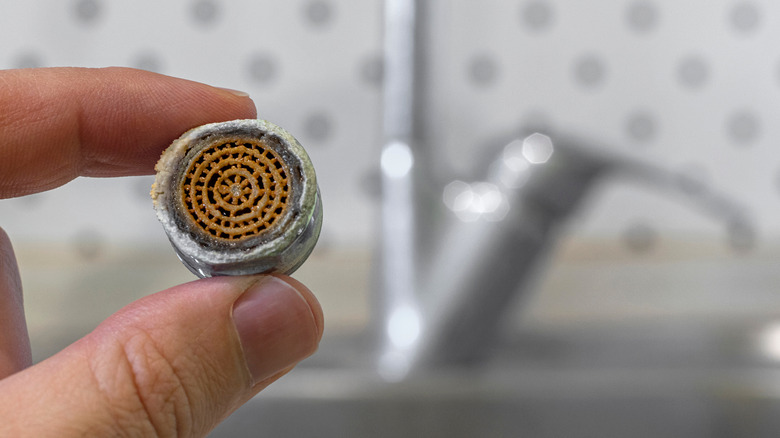
Hard water stains are essentially calcium deposits from the minerals in your water. Real Property Management Pocatello suggests the vinegar and brush method but notes that you don't always have to take the faucet apart — especially handy if you are worried about damaging things. You can try soaking a rag with vinegar and rubbing the faucet outlet. Another method is to fill a plastic bag with vinegar, then tape this to the faucet and let it sit.
Tips Bulletin has another method that can act as both de-clogger and faucet polish too. Combine vinegar, baking soda, and a touch of olive oil. Liberally apply the paste to the faucet and let sit for at least 10 minutes. Follow this up with brushing until the mineral deposits are fully removed. There are many ways to clean a clogged faucet aerator, and most are easy enough for any DIY skill level, however, if your faucet aerator is clean and you still aren't getting enough water, consider a full replacement of the parts.
