The Best Way To Clean Pans With Baking Soda
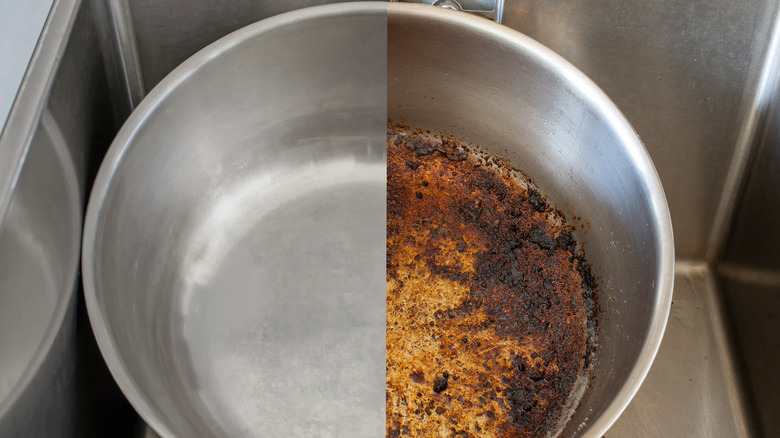
Over time, you may have noticed how dark and discolored your pans have become the more they are used when cooking. Whether steel, copper or cast iron, every pan goes through the grind and ends up becoming crusty and burnt regardless of vigorous scrubbing. No matter how hard you scrub and scrub with dish soap and water, there are just certain stains you haven't been able to get out, and the evidence is evident. You might find yourself becoming frustrated at the constant messy look of your pans, no matter how clean you're trying to get them. There's no need to worry because there is something you can try that will work to knock out that burnt-on yuck.
The ingredient you're missing to get the best possible clean and shine on your pans is baking soda. According to The Spruce, baking soda is the leading factor you need in order to get rid of those hard stains that you find yourself vigorously scrubbing to no avail. Want your pans to look clean and brand new? Not to worry, here are step-by-step instructions to give your pans the thorough cleaning needed and get the best results.
When you should clean your pans
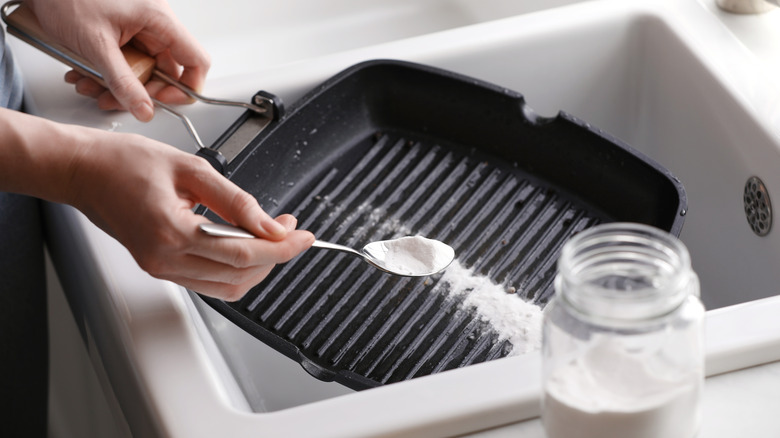
Cleaning your pans means dealing with lingering smells, messy gunk, food residue, and hard stains. Sometimes soap and water are simply not enough, and you have to go the extra mile. Baking soda is safe to use on steel, aluminum, cast iron, and other types of cookware. According to The Spruce, you can use baking soda at any point you notice that your pans need a good cleaning. That can be every time or every so often, it's really based on your own discretion.
However, the more often you clean your pans with baking soda, the better they will look and you won't have to go through the process of scrubbing down your pans every time. Baking soda is cheap to buy, non toxic and it will have your pans looking nearly new in no time. Sometimes you just need a little extra elbow grease to get the best possible results.
Boil water in the pan
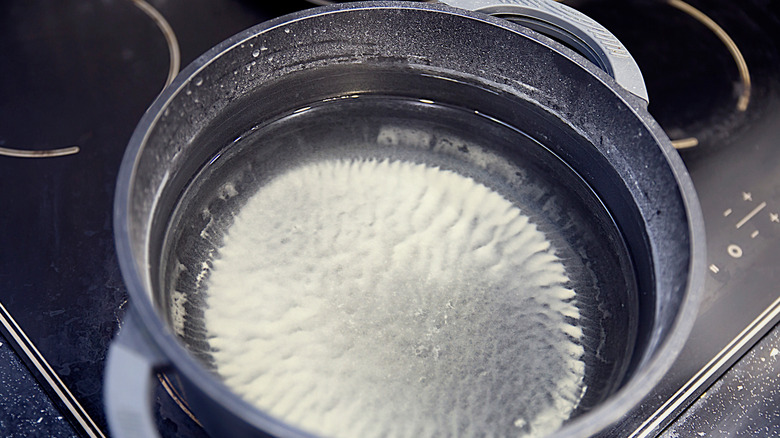
According to WikiHow, you should add water to the pan so that the bottom is covered completely. You don't need to fill the pan to the top, as you don't want it to spill over. Depending on how shallow the pan is, you may not even need a lot. Switch to medium to low heat, making sure you're paying attention to the water boiling because you don't want to overdo it. Remember that you don't need a lot of heat, just enough to give it a sizzle.
Heat the pan on the stove until you notice the water coming to a slight boil, at the first sign of bubbles. Once this happens, you'll want to remove the pan from the stove and place it gently into the sink. You should use a cooking cloth or oven mitts to move the pan in case it's hot — you don't want to burn yourself.
Add vinegar and baking soda
Add 1 cup of vinegar to the pan once it's placed in the sink, being sure to lightly pour the vinegar into the hot pan. The purpose of the vinegar is to help balance the odors from the pan and unstick any leftover food and residue that wasn't removed initially. You'd be surprised at how much residue is left on your pans even after a good handwashing or from the dishwasher. Vinegar is another great solution to use. According to Kitchen Under 100, vinegar is one of the most common ingredients used to clean discolored and burnt pans.
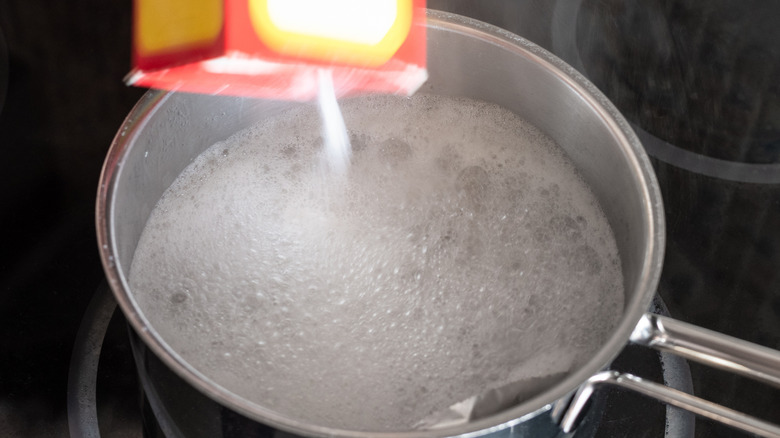
After the vinegar, you'll want to add 2 tablespoons of baking soda into the solution in the pan. Once this is done, you should start to see the baking soda and vinegar begin to fizz. Keep the pan in the sink to avoid any messes. Using baking soda and vinegar together is sure to work on any pan, no matter what type. With these two ingredients together, you really can't go wrong.
Let the pan marinate
Give the solution a few minutes to sit as the pan cools down. According to Kitchen Under 100, you should allow the solution to sit for about 20 minutes. If you would prefer for the solution to sit longer, that's even better because the longer the pan sits and soaks, the better the results will be when it's time to scrub it down.
The bubbling and fizzing from the vinegar and baking soda will help to remove any leftover food and residue on the pan — much like vinegar works to descale coffee makers. The Spruce even recommended allowing the pan to sit for up to a few hours to get as much grime removed as possible — soaking pans is always a great way to make cleaning easier. Not only will your pan be clean, but it'll have its original shine from when you first bought it (with the aid of that baking soda).
Scrub the pan and wash as normal
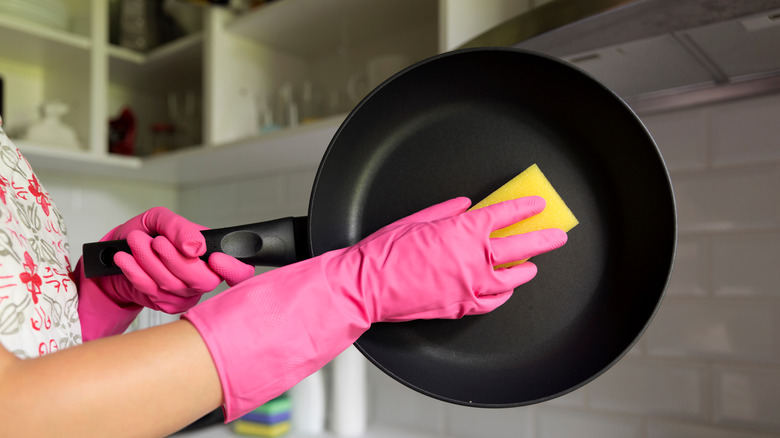
At twenty minutes, the mixed vinegar and baking soda should have fizzled enough — more time, it should have stopped fizzling — and you'll likely notice gunk floating in the solution that has been lifted from the pan. Now for the fun part, scrub that pan down. For this, it's recommended to use a OXO brush or a stainless steel scrubber, according to Kitchen Under 100. Pay attention to any darkened areas with food residue and gunk. Make sure to scrub vigorously and put some elbow grease into it — but also try not to hurt yourself.
To avoid leaving marks, you should scrub the pan in a circular motion or in the direction of the grain. Don't be scared to touch the solution of baking soda and vinegar because it's completely non toxic and harmless. Get your hands as dirty as you have to. As you're scrubbing, you should notice all the grime and food residue coming off pretty easily. You may even be surprised at how much is being removed. Repeat this step until the discolored crust completely comes off.
Make a paste
Even with these helpful steps, you may come across pans where it's harder to get food residue and stains out. For those instances, you can make a baking soda paste, according to WikiHow. You can make this pasty cleaner by mixing the same amounts of water and baking soda together directly in the pan. Remember it's okay to add more water or baking soda as you go if the solution is too runny or way too thick — you want it to have a good scrubbing consistency. Once the mixture has formed, scrub the pan down as vigorously as you can until the stains are removed.
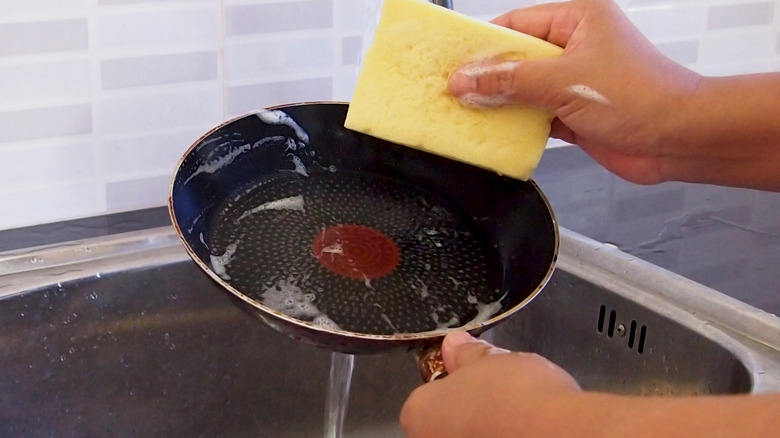
Do this a few times until you're happy with how your pan looks. Once you're done cleaning the pan, whether you used this extra step or not, dump out the mixture in the sink, rinse with hot water, and wash it with dish soap and water with a clean sponge as you normally would. Make sure there isn't any remaining cleaning mixture in the pan before doing this.
