The Best Way To Clean Under Your Refrigerator
Refrigerators are a very important asset to our kitchens. The concept of the refrigerators we know and love now was developed in the early 1800s, according to History of Refrigeration. They were designed to keep food cold, helping it to last longer. Colder temperatures increase the length in which food stays fresh and slow the rate at which bacteria spoils food. Today's refrigerators also provide automatic filtered water and ice to their user, escalating their household importance even further.
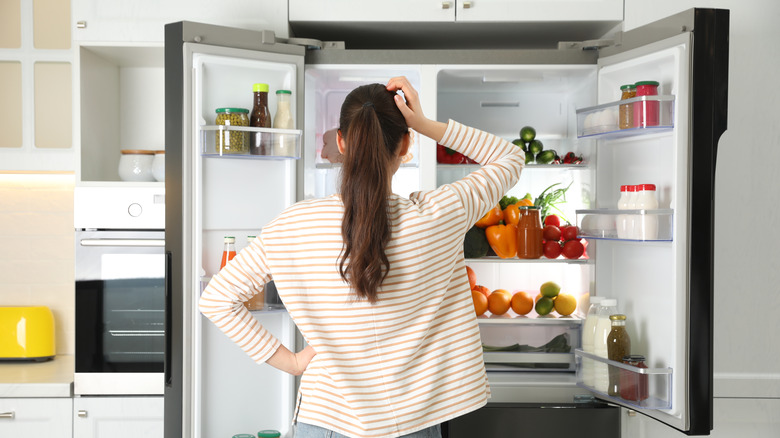
Naturally, we reach into our fridges several times per day, making it one of the most high-traffic places in our household. Despite its high usage, however, refrigerators are one of the most neglected appliances when it comes to cleaning. Imagine the amount of grime and dust a shelf attracts after months or even years of not being cleaned. This can give you an idea of what the area underneath and behind your fridge may look like. Although this is a somewhat gross topic to discuss, cleaning those hard-to-reach areas is important for both the sanitation and functionality of your fridge (per allrecipes).
How often should you should clean under your refrigerator
Allrecipes recommends cleaning underneath your fridge at least once every three months. Along with dust, bits of food and moisture tends to build up under your fridge. This can lead to problems with mold, bacteria, and pests.
Any kind of dirt in your kitchen can potentially harm your health, even if it's hidden under or behind tight spaces, like the fridge. First and foremost, dust is important to clean up, especially if allergies are common in your household. As for the moisture, cleaning every so often can prevent that moisture from developing into mold. Mold can be harmful to your health in many ways, even if it is simply inhaled from your environment, making it an absolute must for cleaning and preventing. Bits of food also easily find themselves underneath the fridge and, if not taken care of, can attract a number of pests into your home. Rotting foods also tend to push odors into their environment, making unpleasant fumes fill your kitchen (per McCombs).
Start by cleaning the grill
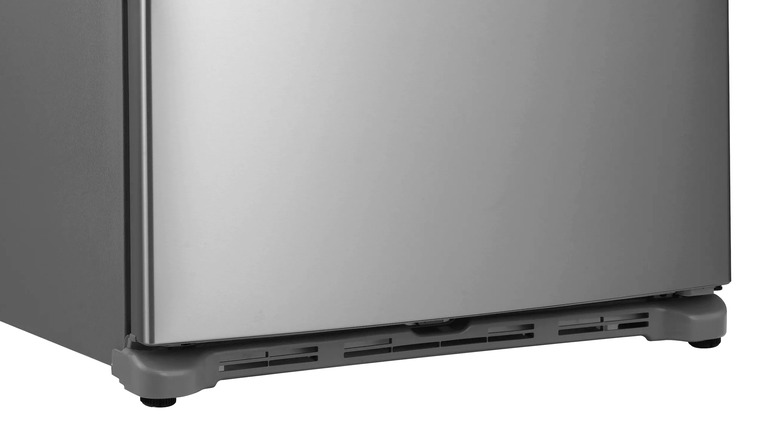
When cleaning underneath your fridge, it's important to consider the grill. The grill consists of small crevices that allow air to follow around the coils underneath and around your fridge. These coils are important because they cool and condense the air inside the refrigerator. Although this is a very important feature of a refrigerator, these small crevasses tend to collect a massive amount of dirt and grime, according to Family Handyman. This build-up of dirt and grime can affect the functionality of the coils and, ultimately, the fridge.
According to Cooktop Cove, to clean the grill and its ventilated area, start by easily removing the grill from the fridge. Depending on the refrigerator, it should be able to easily snap on and off the refrigerator. Place the grill in a bathtub or sink and clean both sides with a cleaning solution or bleach. Finally, brush and vacuum out the ventilation area before snapping the grill back in place.
Use a yardstick for a quick clean under the fridge
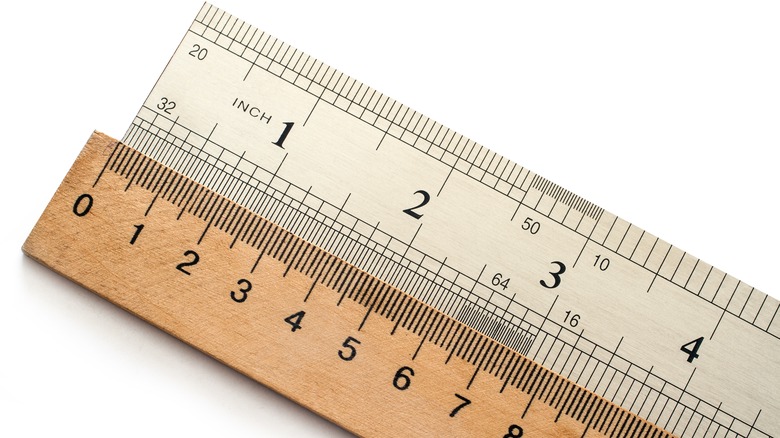
Do you see crumbs or a glittering piece of broken glass under the refrigerator? Perhaps you spilled something and it ran underneath. If that's the case, and you need a fast, easy solution, grab a yardstick for a quick way to clean under the fridge. It's thin enough that it can slip under the front of the appliance and has just enough length to reach all the way to the back.
To ensure the best results, place a microfiber cloth or even an old, thick sock over the end of the yardstick. Use a rubber band or even a hair tie to hold it in place. It'll work just like a dust grabber as you slide it under and move it back and forth. Be sure not to use too much force as there could be components of the fridge that dip lower than others. It's also best to get on your knees for this task so you can reach as far back as possible. For a sticky mess, slightly dampen the microfiber towel to make it that much easier to manage.
For the best clean, move the fridge
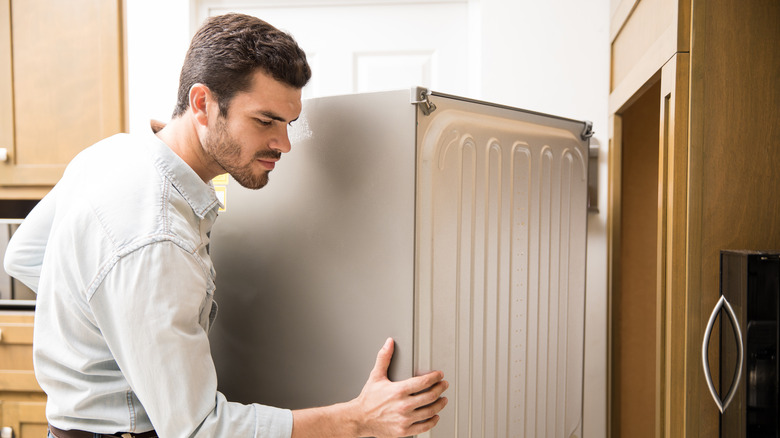
Unfortunately, one of the most effective ways to clean underneath your refrigerator is to completely move the fridge out of the way because it allows you to easily access the area that needs to be cleaned. Dolly suggested clearing out and unplugging your fridge before attempting to move it away from the wall. Along with unplugging the refrigerator, the ice maker (if your refrigerator has one) and the waterline to your refrigerator need to be turned off, as well (per Southern Living). For a cleaning task that shouldn't take more than a couple of hours, you can easily transfer the food in your fridge to a cooler until the fridge is plugged back in at its original position.
When it comes to moving your fridge, most modern fridges have wheels, but if your fridge doesn't have wheels, you can walk the fridge forward with an easy side-to-side method. Just grasp the refrigerator from both sides and gently rock side-to-side, scootching the fridge forward. Furniture sliders and other furniture moving appliances, like dollies, are also useful during this process.
Vacuum and use a good floor cleaner
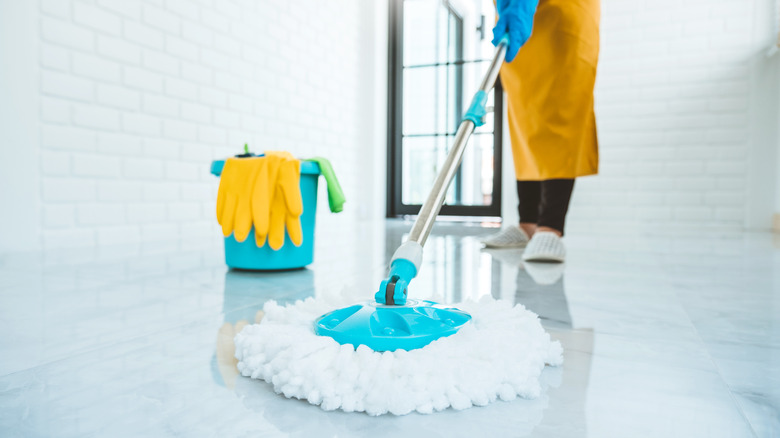
Once the fridge is safely moved and the area behind and under the refrigerator is easy to access, Southern Living recommended starting by cleaning the sides of the refrigerator and the surrounding areas with a gentle cleaner. Then vacuum the floor under the fridge before cleaning with a floor cleaner. Ensure your floor cleaner is specific to the type of flooring in your kitchen. Let the cleaned area dry completely before sliding the fridge back into its original position.
If you have a hardwood kitchen floor, The Spruce recommended the Better Life Floor Cleaner, which is a safe, plant-based solution that quickly tackles grease and grime on your hardwood floors. They also recommend Armstrong Flooring One n' Done for the best results on tile flooring. Using this solution with a sponge mop can leave your tile floors sparkling clean. Never use this cleaner on wooden floors because it could potentially cause damage to your flooring.
If you prefer gentler formulas, use baking soda and hydrogen peroxide
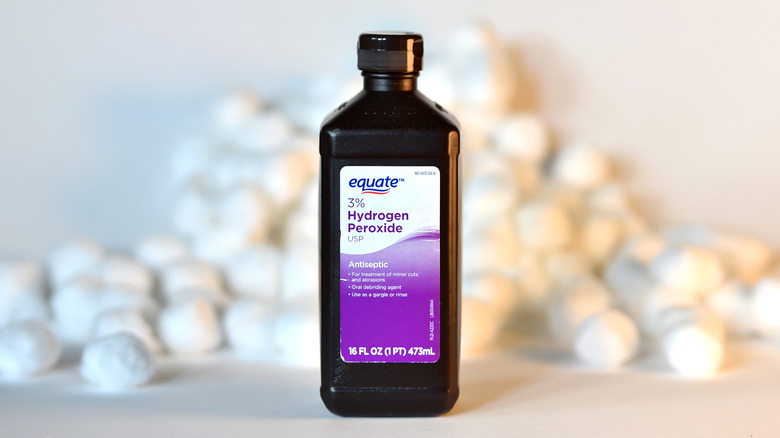
If you're looking for a natural and gentle cleaning solution that works great with a variety of flooring types, a baking soda and hydrogen peroxide solution would be great to try. Baking soda works as a gentle abrasive to cut stubborn dirt and grime, which is perfect for removing the mess under your fridge. It also absorbs odors, which keeps your home from gaining unpleasant or even harsh chemical odors, as pointed out by Flooring Inc. Mixing baking soda with hydrogen peroxide furthers the effectiveness by removing stains, as well as bacterial and fungal germs (per MacDonald Hardwoods).
Taste of Home recommended sprinkling baking soda over the designated area, then using a spray bottle to spray the hydrogen peroxide over the baking soda. When all of the baking soda looks damp, take a sponge and scrub the solution around. Let it sit for approximately thirty minutes before scrubbing again with water. Finally, mop it up with clean water, let it dry, and watch your floor shine.
Don't forget to clean the refrigerator coils
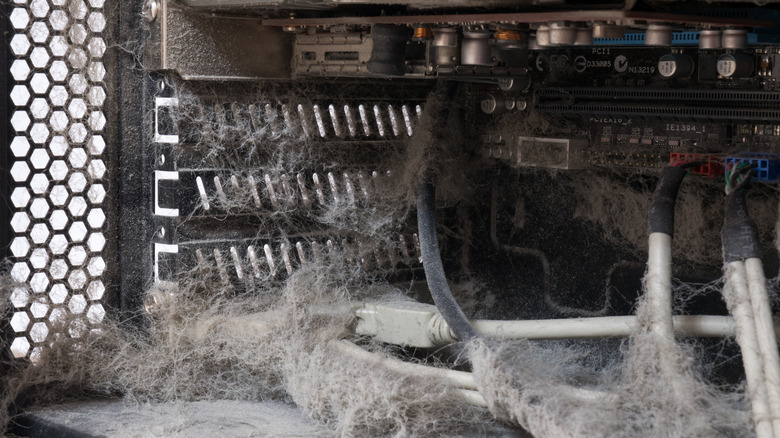
One of the hardest parts about cleaning underneath the fridge is the stubborn dust and grime that gets stuck between, behind, and on the coils and wire under and behind the refrigerator. Cleaning this part of the fridge can also be very stressful because you risk breaking the refrigerator if the coils or wires are pulled or even cleaned too harshly. Luckily there's a tool that makes cleaning the coils, cords, and other sensitive parts of your fridge very easy. This long, thin tool is called a refrigerator coil brush, and it can gently dislodge any dirt, dust, and grime from the coils and wires.
First, use the refrigerator coil brush to dislodge dirt, grime, and dust from all the coils and cords behind and under your fridge. Then, with a vacuum, you can simply use the brush attachment on the detachable hose to gently suck up the unwanted elements from those areas.
