Tips On Cleaning A Kitchen Sponge
There are a few key items that you'll find in every kitchen, regardless of whether you're a passionate home cook aspiring to be the next Ina Garten or a takeout royal. One of them is the kitchen sponge. Everyone needs to scrub down their sink regularly, and a sponge is necessary to perform that task. However, there's no denying that the moist environment of those sponges makes for a bacteria breeding ground. In fact, a study done by German scientists found 362 different species of bacteria on kitchen sponges, Blueland reports.
Of course, you can use other cleaning tools to get the job done, but if you don't like the alternatives as much as your beloved sponges, don't worry. There are different ways to clean them so that you can feel confident you're getting rid of those pesky germs. Here are just seven ways to keep those sponges as germ-free as possible.
1. Use a microwave to zap it
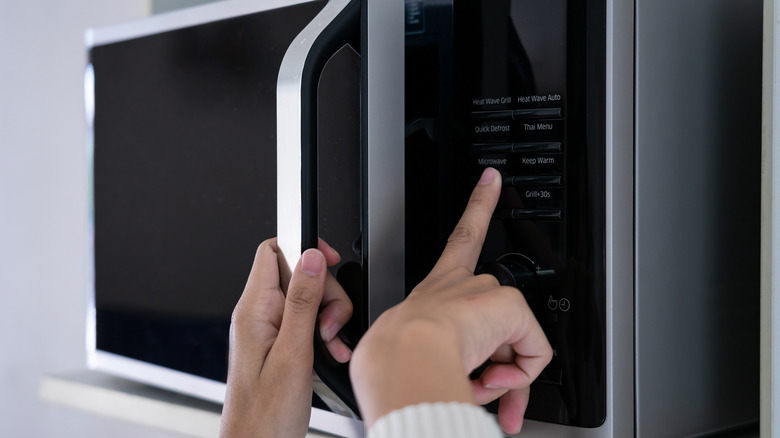
You know your microwave can get your leftovers piping hot, but did you know that high heat can also help disinfect things like your kitchen sponges? According to Good Housekeeping, one quick and easy way to zap those bacteria lurking in your sponges is to microwave them and allow the heat to work its magic.
The key thing to remember before tossing that sponge into your microwave is to soak and saturate it in water thoroughly. As Reader's Digest explains, a dry sponge could potentially catch fire when heated in the microwave, so you'll want to ensure that doesn't happen. The amount of time in the microwave varies slightly, but two minutes is a good rule of thumb — that's what's required for the typical cellulose sponges that most of us have. Then, wait for your heated sponges to cool down, and you'll be able to use them again.
2. Pop it in the dishwasher
One of the easiest ways to incorporate a new habit into your routine is to somehow build it into something you already do. For many households, loading and unloading the dishwasher is a daily chore. That's why it's so convenient that the dishwasher is also a great place to sanitize your sponges, as Cook's Illustrated outlines.
Every time you toss in a load of dishes toss in your dirty sponge as well. When you unload the batch of dishes, you can take out your sanitized sponge. As Better Homes and Gardens explains, you'll want to run a heat-dry setting to clean it, and the top rack is the best spot to place the sponge, keeping it separate from all the dirty dishes and glasses as it gets sanitized. As with other cleaning methods, you'll want to ensure your sponge is cooled down before you start using it again.
3. Utilize a bleach solution
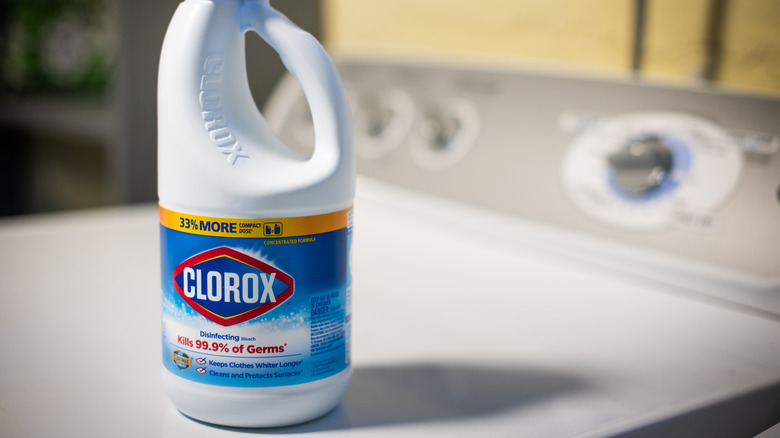
Suppose you're searching for a quick and easy solution. In that case, another option for effectively cleaning your kitchen sponge is simply soaking it in a bleach concoction, as Better Homes and Gardens suggests. It takes just a few minutes, and bleach is a powerhouse cleaning product that can zap bacteria as well as viruses, mold, or mildew, leaving your sponges as squeaky clean as when you first bought them.
Don't go tossing your dirty sponges into an undiluted container of bleach, though. You'll want to take about ¾ of a cup of bleach and mix it in 1 gallon of water to create your solution. You can do this in any kind of vessel, but if your sink is clean, that can be a convenient spot to soak your sponges. Simply allow the sponges to soak in the bleach solution for about five minutes, then rinse them in warm water and you're ready to use your sanitized sponges again.
4. Toss it into the washing machine
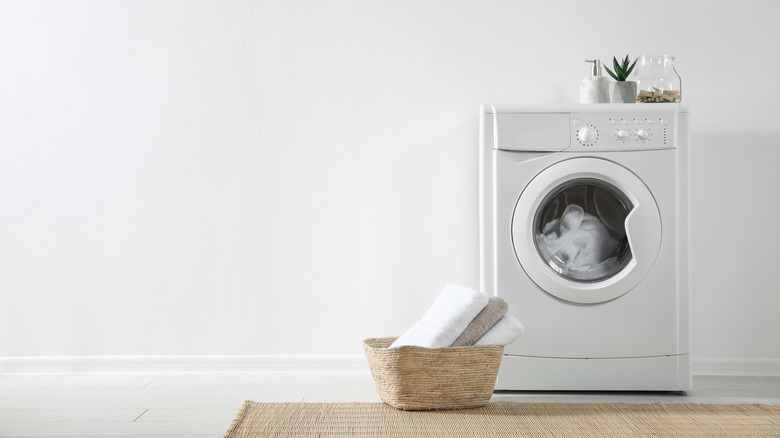
Whether you're looking to clean your sponges daily or weekly, finding ways to incorporate sponge sanitization into your regular cleaning routine can be key to ensuring the bacteria-laden kitchen tools don't get overlooked. Another way to incorporate the process is to add it to your regular laundry routine. As Reader's Digest reports, you can toss the sponge in the washing machine with bleach-based detergent. Also, you'll want to make sure the setting is as hot as possible. These two factors will ensure your sponges are actually getting sanitized and not just having their odor eliminated.
You definitely won't want to toss in the sponges with your clothes or anything like that, mainly since you'll use bleach-based detergent. Instead, consider adding them to your load of white linens, so you can keep your linens stain-free and sparkling white while simultaneously sanitizing your sponges. Who doesn't love that kind of efficiency?
5. Make use of your bottle of vinegar
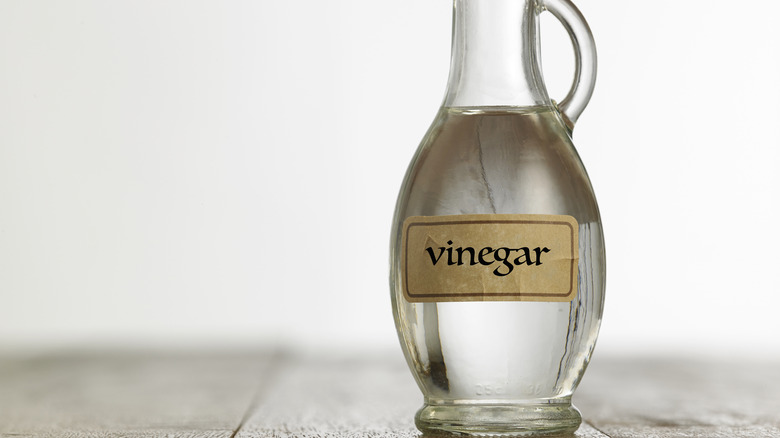
If you're not comfortable using bleach to clean an item that also frequently touches dishes — or you don't love using bleach, period — don't worry. There's another great alternative. Vinegar is a staple in many people's cleaning arsenal, as it's incredibly versatile and budget-friendly. It comes in a huge gallon, costs mere dollars, and will last you months. And, as Good Housekeeping explains, it also serves as a great way to sanitize your kitchen sponges, zapping away 99.6% of bacteria. It really can do it all.
For this cleaning hack, you'll want to pour undiluted vinegar into a container that submerges your sponges fully, and then let those sponges hang out in the acidic bath for about five minutes. Then, rinse the sponges to remove any vinegar odor, pour that vinegar down the drain, and get the newly sanitized sponges back in the rotation.
6. Add boiling water
You're out of bleach, you're out of vinegar, and the idea of tossing those dirty sponges alongside your linens in the washing machine or your dishes in the dishwasher doesn't appeal to you. That's okay — there's one solution that requires nothing but the water coming out of your tap and a bit of heat.
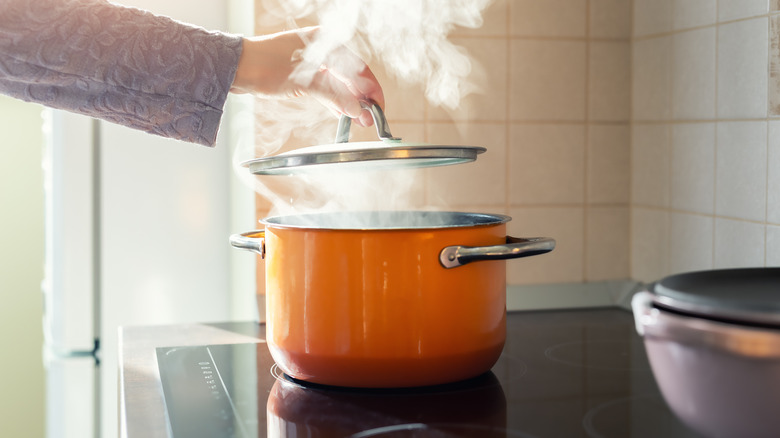
As The Stassen Insurance Agency suggests, you can sanitize your kitchen sponges by placing them in a pot of boiling water, covering the pot to keep all that heat in, and then boiling the sponges for about five minutes. This works the same way the microwave trick does. But this may be preferable for those who are a little nervous about putting sponges in the microwave or who don't have one. Then, once the sponge is cool enough to handle, you'll want to wring out the water. Keeping your sponges dry is key to keeping the bacteria at bay.
7. Replace that sponge
There's no denying that regularly cleaning your kitchen sponges will help prevent them from being bacteria-laden. Simple tips such as wringing out any excess water and allowing them to dry between uses entirely are also critical to the longevity of your sponges. However, even if you diligently clean them every single day and do everything right, kitchen sponges aren't the type of cleaning tool you hang on to for months on end. They're meant to be disposed of and frequently.
As Martha Stewart suggests, you'll want to replace your kitchen sponges every two weeks or so, or potentially even earlier if you notice any odor. The Healthy agrees, giving a one to two week window for a sponge before it needs to be thrown out. If replacing your sponge that often seems excessive to you, you may want to consider the alternatives on the market. There are plenty of eco-friendly choices nowadays.
