15 Easy Tips For Building The Perfect Fence
Fences serve so many different purposes in an outdoor space, and for any homeowners whose property doesn't already have a fence, it's likely at the top of their project list. Not only does a fence add a measure of safety, as The Spruce details, it can also add privacy to your property. And, depending on the type of fence you choose and the other landscaping details you have in your yard, it can add some serious visual appeal to your backyard and curb appeal to your front yard. Who doesn't want to create an outdoor oasis to relax in after a long day?
You can certainly pay a professional to build your fence, and many do. However, they're also one of the exterior home improvements that can be relatively easily DIY'd, if you're handy and don't mind doing a bit of research to ensure you're on the right path. As an added bonus, going the DIY option means the overall cost of the project will likely be far less, since you're not paying for labor (via The Garden Glove).
If you're determined to finally give your yard the fence it deserves, there are just a few key things to consider in order to build the perfect fence.
1. Figure out what your needs are
Before you set up a single fence post, you need to figure out what your specific needs are. Do you simply need functionality, a.k.a. something that will keep your four-legged friends in the yard? Is your house on a busy street, meaning you need a fence that blocks noise? Are you interested in added privacy? Do you have a particular aesthetic you prefer? As Better Homes & Gardens explains, these are all questions you may want to answer to help guide your decision-making.
2. Know where your property lines are
Again, before you really start your fence-building process, you need to iron out a few details, and knowledge of exactly where your property lines are is the most important, according to Land Development Technologies. Even if you're DIY-ing your fence, you may want to consider hiring a professional land surveyor to ensure you have the most accurate information. It's important to note that even if your property already has plants or a fence that you're replacing, that doesn't necessarily mean they're on the actual, legal boundaries of your property.
3. Familiarize yourself with any legal parameters
Once you've determined the legal boundaries of your property, you're still not quite done with the pre-building work — you need to check if there are any parameters specific to your neighbourhood, county, city, etc., as Moneypit explains. For example, there may be certain ordinances concerning the type of material you can select, the distance from the sidewalk, the fence height, etc. These are things you definitely want to be aware of before you start building.
4. Choose your material
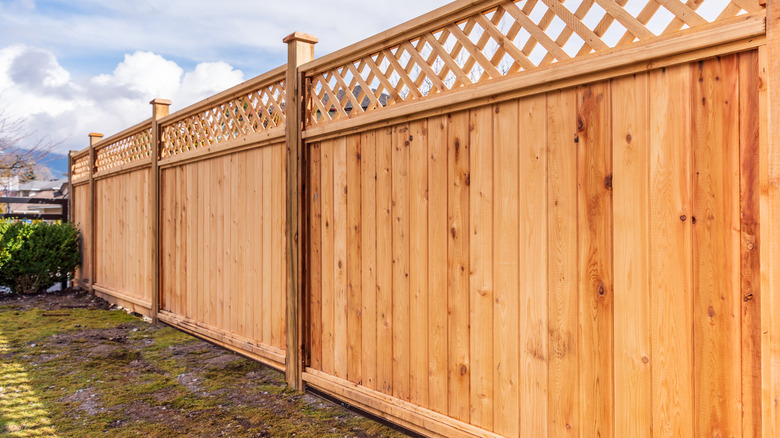
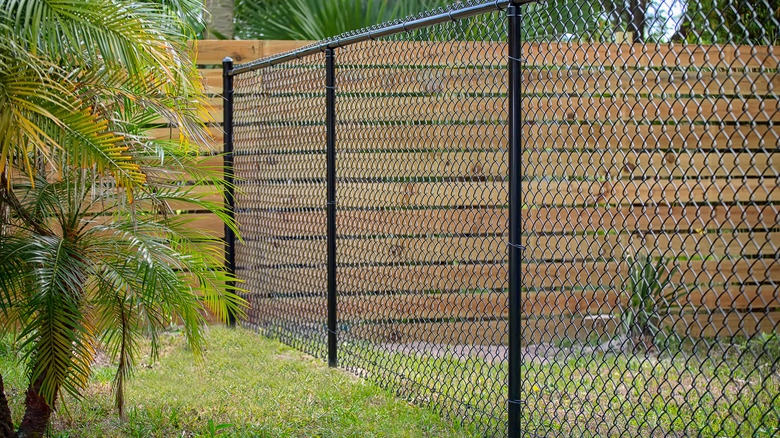
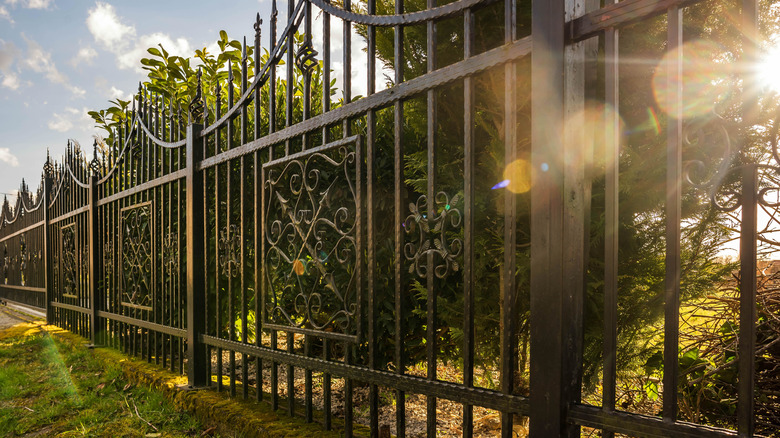
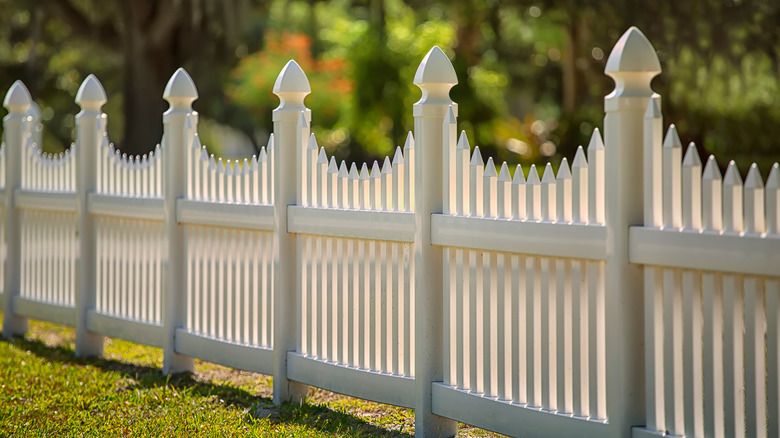
Unless there are specific ordinances regarding the type of material you can use for your fence, it's time to decide what works best for you — and as MyMove reports, there are a lot of options. Wood is a classic, but it does need refinishing and can eventually warp or rot. Metal — both industrial chain link and more decorative wrought iron — are durable, but they don't offer much privacy. Composite materials or vinyl can be pricier, but they might be the right pick for those looking for low-maintenance options that will last for decades.
5. Pick a material that looks good from both sides
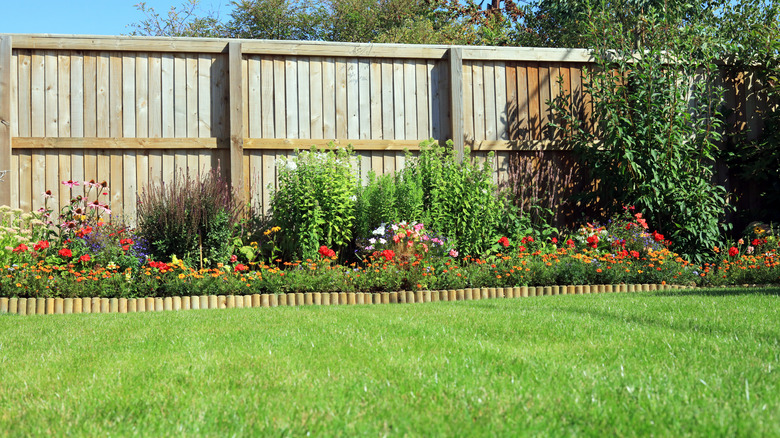
Now, this one will depend on the type of fencing you've selected. Some will look the same from both sides, making this consideration moot. However, many fences, including commonly-used wooden fencing, will have a "good" side with smooth panels, and a "bad" side, where the posts and other structural elements are visible, as The Fence Authority writes. Etiquette dictates that the "good" side should face your neighbor or the exterior, like the street — so you'll want to find a fence that looks great on the side you see as well.
6. Discuss your plans with the neighbour
If you're lucky enough to live on a large property with no neighbors, well, no need to worry about this. However, for most homeowners, you'll want to tell your neighbors about your plans. From a cost perspective, they may cover a portion of the price if they're also interested in building a fence. They may also have strong feelings about certain materials, or about the height of the fence. As Better Homes & Gardens explains, having an agreement in writing is crucial, and keeping the lines of communication open means you won't get any nasty surprises.
7. Keep climate in mind
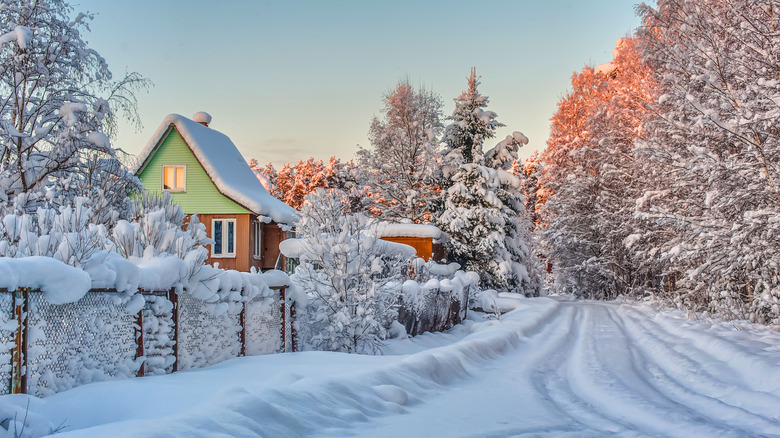
If you live in an area with extreme temperatures, whether that means frosty winters or incredibly hot, humid summers, you need to take that into account when planning your fence. If you live in a very cold area, you want to be careful about supporting your fence posts; to deal with the changes caused by frost, you need concrete anchors, as Better Homes & Gardens reports. For hot, humid areas, you may want to think twice about particular materials like wood that can warp.
8. Determine how you'll space the posts
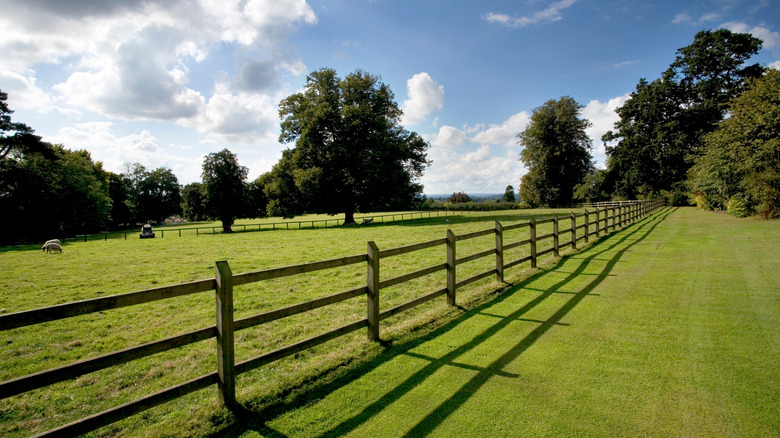
You want a certain degree of symmetry for your fence's visual appeal, but also for structural support. To that end, spacing your fence posts is a key part of the fence-building equation. As eDecks explains, you never want to put your posts more than 8 feet apart. Yes, digging all those holes is tiring, but it's necessary. The total area you're fencing may play a role in your calculations, but don't make the DIY error of spacing them too wide, as this can cause major issues in the future.
9. Dig the holes with a post hole digger or rented auger
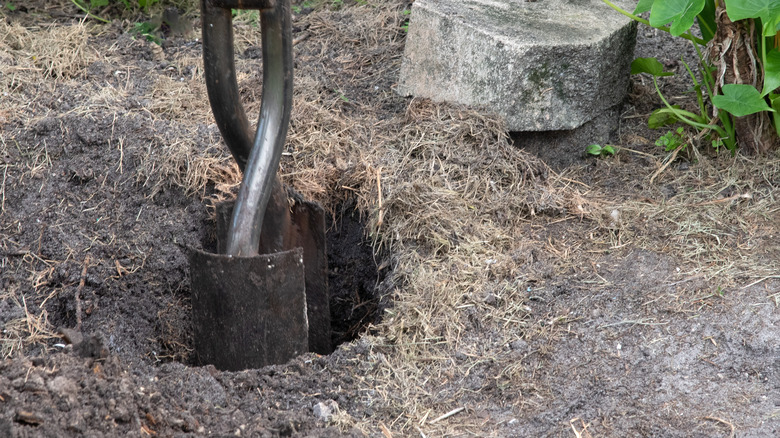
Even though you don't see them, the post holes are one of the most important elements of your fence — if you mess up this step, you might end up with an unstable, unsightly fence, as noted by Jay Fencing. So put aside that shovel, even if you're DIY-ing your fence, and rent a post hole digger or auger. Then, make sure your holes are deep enough — while recommendations vary, a good rule of thumb is that the post hole should be about as deep as half the fence (so, 3.5 feet for a 7-foot fence, for example).
10. Properly set the fence posts
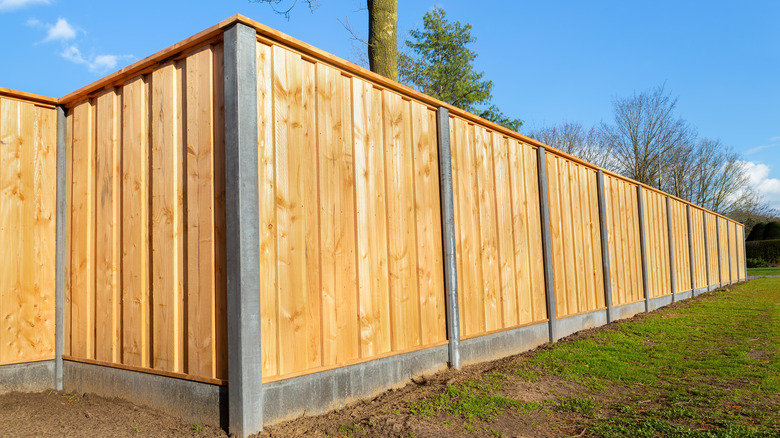
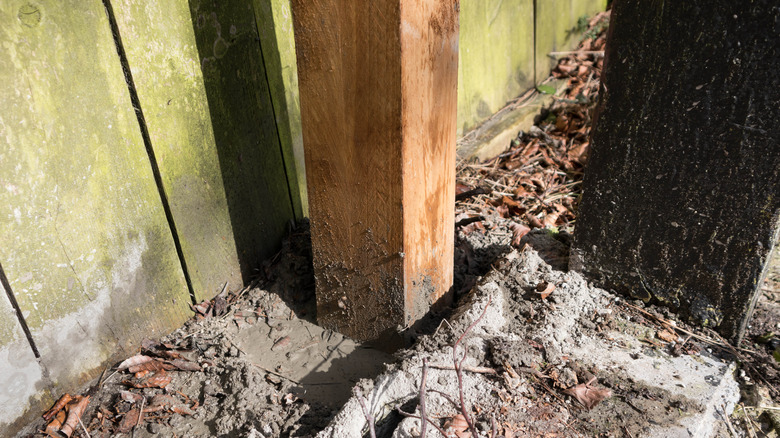
According to Make it Right, for extra drainage, you'll want to prep your post holes by adding gravel to the bottom. Then, for added stability — especially if you live in a climate where frost is an issue — you'll want to fill the holes with mixed concrete and hold the fence posts in place until that concrete is dry, which according to Masterclass can take a few days.
11. Don't place the bottom rail too close to the ground
You may think that your fence should touch the ground in order to fully protect your lawn — however, this is actually not the case. If the bottom rail of your fence is too close to the ground, as The Money Pit explains, it can actually encourage deterioration from rot and insects. You may need to really pay attention to the height if you have a particularly small pup you're looking to keep contained, but in general, the bottom rail should be about 4 to 6 inches from the ground to encourage airflow.
12. Accommodate any slopes
While it's straightforward enough building a fence on level ground, sloped or uneven ground can throw a wrench into the mix. As Bravo Fence explains, you basically have three options for a less-than-level yard: a level-topped fence with a little landscaping to address issues, a stepped fence where you position flat panels, and a racked fence, where the panels themselves are sloped. Make your pick and incorporate that fencing into your plans for your yard.
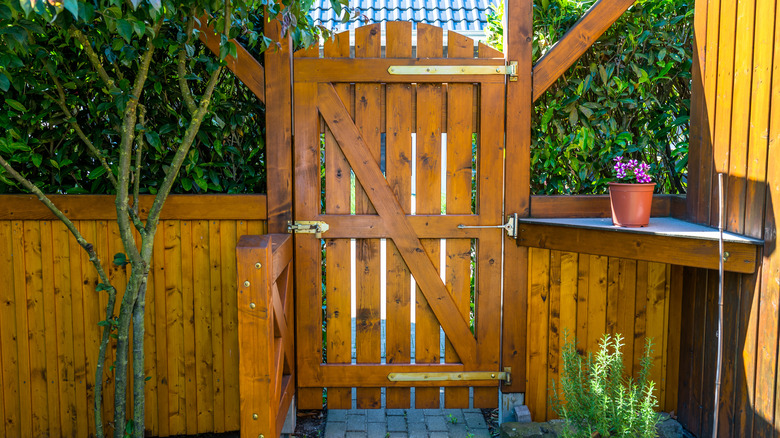
13. Make sure your gate is wide enough
You only need a certain width of gate to actually walk through, sure, but have you considered any equipment you may need to get through? When planning the gates in your fence construction, you'll want to ensure that you have enough space to move whatever you need through, whether that's a lawn tractor or a recreational vehicle of some sort that you store in your backyard, according to Family Handyman.
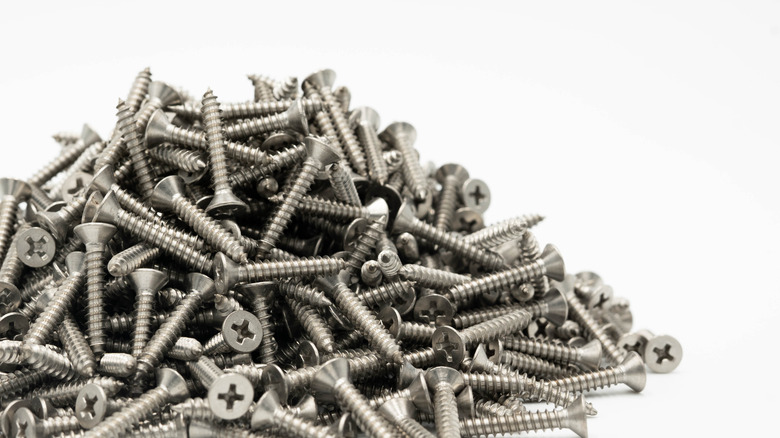
14. Select stainless steel or galvanized hardware
When selecting your fence materials, you have to take hardware into account as well. Make it Right recommends using stainless steel or galvanized screws and nails for fencing in order to keep any issues with rust or corrosion at bay. However, you may also want to consider material when it comes to hardware like hinges or closures on your gate — the last thing you want is rusted hardware ruining your beautiful fence.
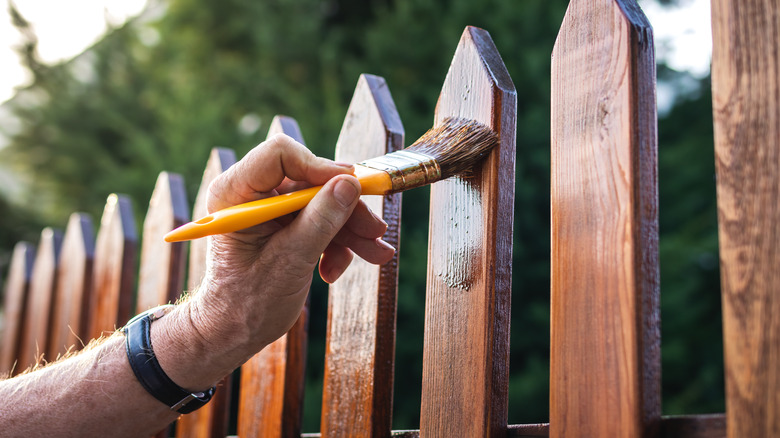
15. Seal your fence
Finally, depending on the material you've chosen for your fence, you'll likely have to treat it in some way. As Florida State Fence explains, sealing a wooden fence, for example, will make the material more durable and protected from the elements. You'll even want to seal seemingly durable materials like iron to protect the metal from oxygen exposure and consequently rust, per Capital City Iron Works.
