The IKEA KALLAX Hack That Turns Ordinary Storage Into Dreamy Decor

The beauty of a storage piece like the IKEA KALLAX cube shelf unit lies in its ability to be a blank canvas — a shelf on which you can project all of your decorating needs and fantasies. This design feature allows you to take it from plain to dreamy in just a few steps. From a few coats of smoky-colored paint, some fabric drawers with rope handles, and a soft, gauzy curtain emerges a bespoke piece that looks like anything but the blank canvas.
The IKEA KALLAX comes in four colors: white, high-gloss white, white stained oak, and brown black. If you'd like the option to paint yours, choose one that's light enough to do so. If not, pick whatever finish you like. Any paint choice will do, though if you'd like it to look a bit weathered, buy a chalk paint, like Dixie Belle Paint Company Chalk Finish Furniture Paint. You'll also need some brushes, sandpaper, and sealer (if you'd like extra protection for the piece) to achieve this look.
The DIY also requires a few other things. Fabric to make a custom-fit curtain, sewing materials, two screw eye hooks, and fabric drawers for the cubby holes should also be on your supplies list. Installing the hooks is easier with an electric drill, so keep one of those handy too. Finally, if the shelf has a lot of packing debris on it, you'll need some cleaning supplies to get that wiped off.
Modifying the KALLAX shelf unit
If you've opted to paint this unit, you'll need to do some prep. Wipe it down to rid it of any dust and debris, and then lightly sand it with a fine-grained sandpaper from top to bottom. Sanding the surface makes it easier for the paint to stick. Then give the shelf unit two or three coats of paint. Once that's dry, give it another light once-over with the sandpaper if you'd like the weathered-paint look. Otherwise, skip this step.
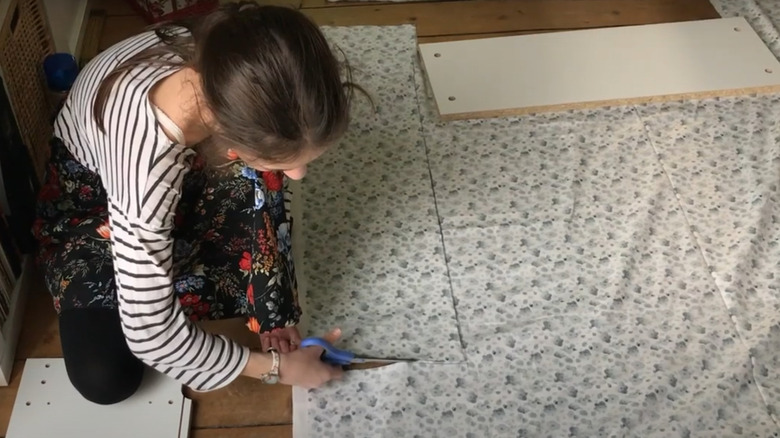
The KALLAX shelf can be positioned so that it's wider than it is tall (horizontally) or taller than it is wide (vertically). After deciding how you'll orient it, measure the fabric for the privacy curtain that will eventually hang on the front of the unit. The custom-made curtain needs to be large enough to cover the number of cubbies you wish to hide. To turn the piece of fabric into a curtain, make a "hollow" hem on one end of the fabric that's big enough to fit your curtain rod. Your sewing machine or a little bit of strategically-placed fabric glue creates this hem. Once you've installed the hooks on the top board, place the curtain rod and the curtain on top of them.
Finally, add the fabric drawers into the cubby holes. Keep in mind that not all the cubbies have to be filled with drawers. Some can be left open. You'll store shoes, books, and other items in those.
Taking this project to the next level
Giving a bookcase a few coats of paint and a soft privacy curtain in the front of the unit counts among the ways that you can use this piece to make your decor a bit dreamier. However, it's not your only option when it comes to decorating your shelves. Let's take another look at fabric. Instead of cutting it into a curtain, why not turn it into the fabric equivalent of wallpaper? Just cut out the fabric and use some spray-on adhesive to affix it to the shelves. Of course, wallpaper or shelving paper can also be used to cover the shelf. This decorative option works especially well if you're trying to tie the piece in with the rest of your decor. The fabric or wallpaper you use could be leftovers from the material you used to cover the couch or the wallpaper pattern you put on your accent wall.
You can take things in the opposite thematic direction, too. The original iteration of this DIY project embraced a distressed wood finish on the shelves and a soft, gauzy fabric curtain to cover the front. Stapling faux leather to the shelf and adding features like straps with buckles gives it an industrial/steampunk vibe that is reminiscent of the design features you'd find on an antique steamer trunk. Wicker or even some of these SANHSEHOME Mesh Metal Baskets could replace the fabric baskets for added storage. Finally, you can give the top of the unit some decorative TLC, too. It might be just the right spot for the Mason jar centerpiece you've been dying to show off.