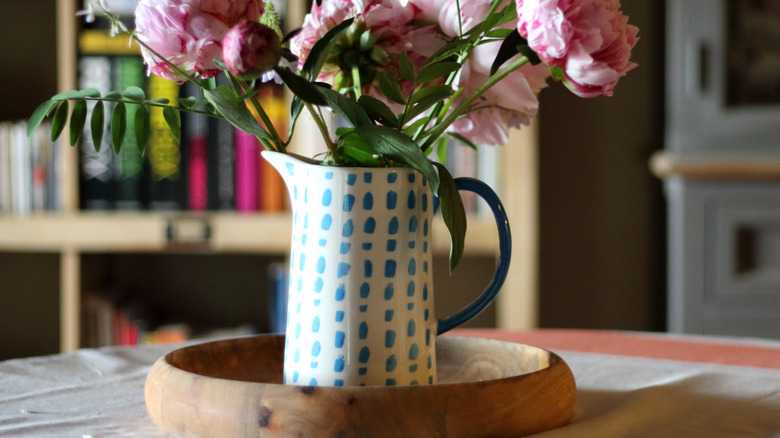
Transform An Old Pitcher Into The Cutest Centerpiece With An Easy Upcycling DIY
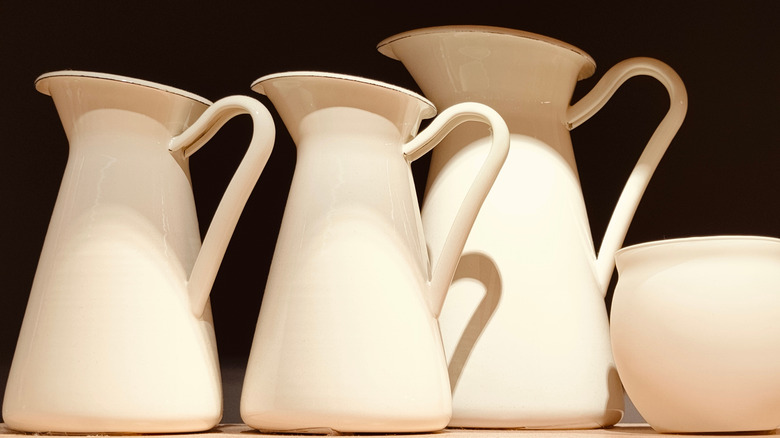
Are you the type to grab up every cute pitcher you see at yard sales and thrift shops? Maybe you had in mind that you would use them for serving summer drinks or displaying on your counter, but you never got around to it. If this scenario describes you, you probably have an excess of pitchers in your cabinets — possibly even some stored in your basement or attic. It's time to get them out and dust them off for a cute upcycling project. This DIY will leave you with a beautiful centerpiece that is perfect for any season. All you need is one of your old pitchers, primer, acrylic paint and painting supplies, along with some faux or real flowers. Paint your pitcher, add some beautiful flowers, and you will have the perfect centerpiece.
This is a great way to repurpose those old pitchers while also adding a beautiful touch to your home's interior. Although this is a simple upcycling DIY project, there are plenty of ways to customize it — and not just for centerpieces, either. There are plenty of ways to incorporate your new upcycled pitchers throughout your home and beyond. All you need is a bit of creativity.
How to make your floral pitcher centerpiece
For this DIY, you first need to wash and dry your pitcher to remove any surface debris. If there is rust or existing paint, you may need to sand it to ensure it's smooth. Then, apply a coat of metal primer, like the Rust-Oleum Clean Metal Primer Spray, if your pitcher is made of tin or another metal. If your pitcher is made of glass, you can skip this step — although opting for a primer isn't a bad idea. Now, it's time to paint. For this step, you can either use spray paint or regular acrylic paint. Apply the paint in thin coats to help prevent chipping. After the pitcher has a nice, even finish, add a gloss coat and then let it dry. You can leave it as-is, or paint designs or patterns onto it. Finally, place some faux or real flowers into the pitcher, and that's it — a stunning floral centerpiece.
If you like the idea of this project, but you only have one or two old pitchers, you can substitute chalk paint for acrylic paint. Since chalk paint is water soluble, it washes off with soap and water. So, you can wash and repaint your pitcher if you change the room's decor. If you choose to go with chalk paint, you don't need to prime the pitcher first. For a permanent look, it's a good idea, though, to seal the chalk paint with varnish or wax so you can wipe it clean without removing any of the paint.
Getting creative with your DIY pitcher centerpiece
This is such a simple idea, but there are so many ways to customize it. One way to add your personal touch to your DIY floral centerpiece is to monogram it using Citrusy Boutique Calligraphy Stencils and spray paint. Another similar idea would be to use smaller stencils and paint on an uplifting or seasonal quote. These can be personalized to your own liking or for friends and family and given as gifts.
You also don't need to use your centerpiece on a mantel or table. You can paint it to complement the walls and decor of any room in your home. Then, place it on a bookshelf or end table as a beautiful accent piece. It could also be placed on an entryway table or the shelves above your wall-mounted coat rack.
And you don't need to limit yourself to only displaying your DIY pitcher centerpiece inside your home. A coat of weather-resistant paint will allow you to use your pitcher as a patio centerpiece. If you choose a gold-toned paint, you'd have an impressive rustic centerpiece for your outdoor space. You could even paint it to complement the colors of your flower bed, and even use it as a planter to grow flowers in the pitcher itself.