DIY A Modern Minimalist Side Table With Just One Board And Some Glue
We may receive a commission on purchases made from links.
Rarely does taking the easy way out lead to better results, so you have to appreciate a simple yet stunning DIY that can improve your space with minimal effort. Need an example? A C side table is one of the best end tables to add to your living room, a stylishly minimalist piece that can do far more than the average alternative. It might sit next to your sofa, or you can slide the base under the furniture and the top over the arm to conveniently hold a food tray or laptop. You can even flip it on its side for an instant ottoman. Talk about versatility! Still, the best part may not be the final product but rather the process. Needing only glue and one wood board, a C-shaped side table can be wildly easy to make and an excellent project to build your woodworking acumen.
Grab a two-by-twelve piece of lumber (untreated) to make the table. Depending on the design dimensions, one 8-foot board may be enough to squeeze out two identical tables. Measure the sofa or chair you're pairing with it to plan a size that fits perfectly around the arm. Cut three sections, a longer vertical support and two matching shorter pieces for the top and the base. Use a miter saw or table saw set to make 45-degree bevel cuts, checking the angle with a speed square or angle finder. Cut the bevels in each board to match up the sides and give you a continuous grain from the top and down the side. After that, it's ready for the final touches and glue-up!
Making a minimalist C side table with style and substance
One board, some glue, and a saw are all you need for a basic DIY C table, but you'll likely want a few extra tools and materials to enhance the look and function. Finish up the edges before putting the pieces together. Pull ideas from common countertop edge styles, whether it's a chamfered edge with a table saw or hand plane or a more ornate routed option. If you have a router, a roundover bit can give the table a softer appearance with a rounded edge and prevent damage due to sharp corners. The same router can also add functional details, like a recessed cup holder. Make a jig by cutting a circular template in a wood block, and use it to guide the router as you cut the holder in the table top. Give all the surfaces (except the cut bevels) a thorough sanding with fine-grit sandpaper. Now, it's ready for assembly.
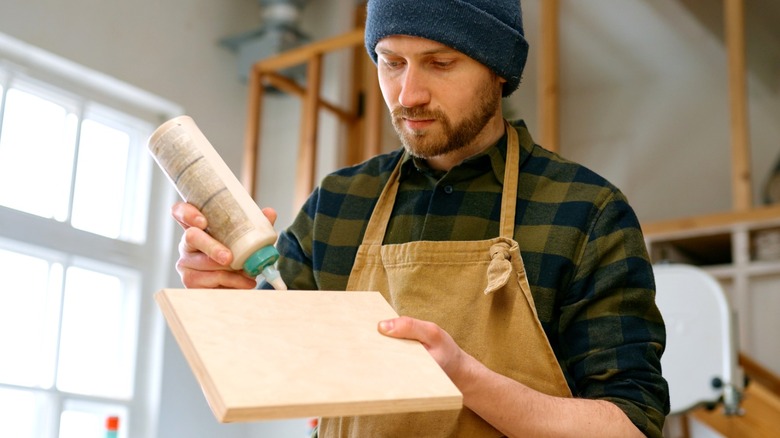
Before gluing the beveled edges to make the C table, strengthen the joints with sizing. Brush a 1:1 blend of PVA wood glue and water onto the ends to seal them. Once it dries, you can glue the pieces together. You can also drive some brads at the corners for added reinforcement. Connect the boards at the bevels with wood glue, carefully aligning the edges for a crisp finish. Place tape along the edges or use edge clamps, like these Housolution Right Angle Clamps, to hold the joints until the glue dries. Last but not least, sand the completed build, and use wood stain and sealant for a gorgeous, protective finish.