How To Stop DIY Wood Utensils From Splintering
Making your own wooden utensils can be a great, and easy, DIY wood project, especially since wood can provide a bevvy of underrated benefits when cooking and serving your food. Additionally, wood does not react with ingredients, meaning it won't leave your food with a chemical or a metallic taste. DIY wooden utensils also provide an opportunity to create useful and personalized items while lessening your dependency on less sustainable options. However, one of the major challenges when working with DIY wood utensils is their propensity to splinter when they get wet. To easily stop and remove splinters that might appear on the surface of your wooden utensils, the utensils need to be wet sanded.
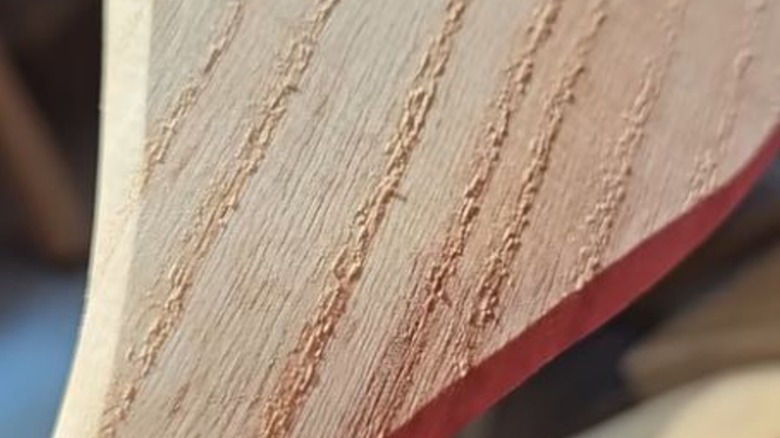
The small splinters that appear on DIY wood utensils are caused by several reasons. For one, some types of wood are more prone to splintering, due to having more knots or a rougher grain, even if they have been sanded thoroughly. Additionally, when wood becomes wet, it can expand and compress leading to the separation of the wood grain — causing splinters. This is especially true if the wood has been repeatedly wet and dried or if it has not been properly seasoned. Plus, moisture can worsen pre-existing damage, such as dents or scratches, increasing the likelihood of splinters.
When wood is wet sanded, the wood fibers become softer which helps keep edges from becoming sharp and misshapen. Wet sanding also smooths the surface and lowers the risk of splinters by removing any tiny, elevated fibers that may have remained after dry sanding.
Wet sanding to smooth the surface
Wet sanding wood by hand involves using sandpaper dampened with water to create a smooth, fine finish. To wet sand your DIY wood utensils, all you need is either a sanding sponge or 180 grit sandpaper, and water. The first step is to wet your sanding material, as this helps in lubricate the material when in use. For those using sandpaper sheets, wrapping it over a small wood or foam block can provide a better grip. When sanding the wooden utensils, the ideal movement is to do a circular motion while pressing lightly, as this ensures the wood is evenly sanded.
Continue sanding the utensils by following one edge of the wood piece from the corner to the other side. Then, go back to the corner where you began. Apply this pattern to the surface, sanding from side to side until the entire area is covered. An additional option for further smoothing out wooden utensils is to then use a finer sandpaper, like 220 grit, for a second round of sanding. This can ensure the smoothest surface possible.