Make Chic Wall Sconces For Your Home Using Only Dollar Tree Products
When it comes to decorating with wall sconces, making your own is one sure-fire way to guarantee that the ambient lighting you have in a room matches its decorating style. Such a task doesn't even have to cost you a lot of cash or a great deal of time. In fact, all it takes to create this chic wall sconce is a handful of Dollar Tree items and the time it takes for the hot glue to dry on the project.
The project starts with four small, black picture frames, but you're not limited to black. For example, if your decorating style falls more into the rustic category, you may want to look at Dollar Tree's 4-inch by 4-inch retro faux wood frames instead. Just choose the frame style that best gels with your tastes in decor when you're choosing the frames for this, and the project should still work.
An LED battery-operated pillar candle adds a flicker of light to the sconce. One option is to opt for an off-white pillar candle in a smoky plastic vase. However, as it is with the frames, you have plenty of design options to choose from. Dollar Tree sells a couple of different kinds of LED candles, including metallic votive lights in a patterned cup, so feel free to switch things up. You'll also need a glue gun and some glue sticks to bind this project together.
Putting the sconce together
The only part of the picture frame you'll need for this project is the actual frame. The plastic pane in front, the matte (if there is one), and the cardboard backing can all be put aside to be used for other projects. Once the four picture frames are disassembled, you'll position them so that they form a cross shape. That is, one on top of the other, which creates the vertical pillar of the cross. The other two frames flank the sides of the pillar. To glue them together, you need to put two dollops of glue in the bottom two or top two corners of the vertical frames in the center of the display.
The frames can be a bit flimsy, so use a clamp to keep them together until the glue dries. Pro tip here: most regular clamps have grips that are strong enough to bend or crush the frames. To get around this eventuality, use some standard wooden clothespins as clamps. The clothespin clamps fit into the small corners of the project, and their clamp strength, while sufficient to keep the pieces together, isn't so strong that it'll damage the frames.
Finally, the LED flameless candle display comes to life when you affix the candle to the cross right in its center. To do this, you'll need to dab a few generous drops of hot glue onto the middle bars of the frame. Press the pillar light down on top of the glue to hold it in place until the glue sets.
Putting personal touches on the project
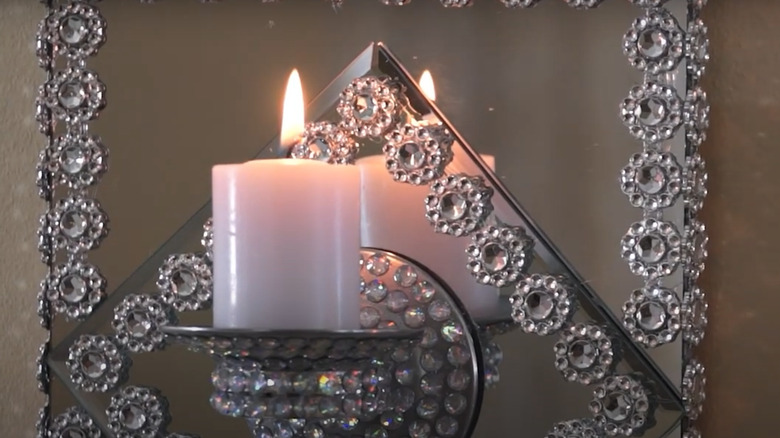
Most of the time, people choose sconces when they want a soft, warm light in a room. However, if you want to stretch the reach of the flameless candle without having its light overpower the room, consider putting mirrors in the frames instead of leaving them empty. Mirrors reflect the different sources of light in a space. In this case, it will make the effect of the lamp seem brighter even though you haven't added another source of light. Other Dollar Tree decorative items, like flat floral marbles, which you can glue to the frames, will additionally reflect the light and create a more elegantly designed sconce. If you like to decorate with mirrors, upleveling this sconce in this way gives you more options.
The other thing you can do to personalize this DIY a bit is to keep the panes in the picture frames and add something decorative to them. For example, you can cut a stained glass decal, like this Magnolia Window Film from the ARTSCAPE Store, so that it fits inside each of the frames. Once you've added the stained glass pieces to the frames, glue the frames together as the scope of the original project dictates. The glass picture frame panes and the stained glass decals will reflect the light in a colorful, fun way.