DIY Floor Lanterns That Make A Real Statement In Any Room
We may receive a commission on purchases made from links.
Whatever you might guess a pair of very refined floor-standing lanterns costs, it's probably far more than this DIY project. With some very basic materials, you can create DIY floor lanterns that make a real statement in any room. These lamps were made by Instagrammer @my_home_by_kendra_nicole at a staggeringly low cost, and that's not even close to the coolest thing about them. The best part is how amazing they look.
Since cost does matter, let's have a look at the materials list. In addition to the usual bits of stain, paint, hot glue, hardware, etc., the basic structure is made of nine 36-inch-long wood dowels (less than $4 each) and six wood circles, such as the 11.8-inch Stylecraft unfinished round wooden plaques ($6.96 each). The lamp "shade" is a stroke of genius made of plastic canvas, a material for crafts like embroidery and needlepoint. Two packs of these Janlynn clear plastic three-pack canvas sheets ($3.47 each) would do the trick. Finally, you'll need two candles, such as these 12-inch battery-operated candles ($26.99 for the pair). That's a total of a little over $100, which is fantastic given the quality of the outcome.
The project itself is straightforward, elevated by the choice of materials and finishes. With careful assembly, it's easy to trick the eye into seeing luxe store-bought décor. @my_home_by_kendra_nicole notes that she considered going all black but wanted a different look, which was a wise choice in her home where rich wood tones warm and soften some of the more geometrical and harsh modern elements.
Building the floor lanterns
The DIY process involves cutting the dowels down so that you're left with three 36-inch, three 28-inch, and six 18-inch pieces. The 36- and 28-inch pieces are used for the bottom portions of the two lanterns, while both have 18-inch top sections. Apply a wood stain to all of these. Paint the wood circles black or any color of your choice and lay out your dowel post locations; then, drill pilot holes in both the dowels and the wood circles. The wood discs and dowels all get screwed together, with the top dowels offset slightly from the bottom ones to allow for driving the screws. The sections of the plastic canvas shade (which functions a bit more like a lens) will then be hot-glued to the 18-inch rods. The battery-operated candles simply rest inside the shade area.
A little tweaking to the structure would make it more stable, and this mostly involves using a Forstner or spade bit to create tight-fitting holes for the dowels in the wood rounds. The rods would be glued inside the holes, rather than having butt joints screwed together as the original project does, which would inevitably be more wobbly. The ideal would be to use single dowels for each upright, top to bottom. It would pass through a hole in the middle disc, so that where the original rods don't line up, the new approach would. If it proved difficult to find long enough dowels locally, there's no reason you couldn't do this project with painted PVC pipe instead, which is yet another handy way to repurpose extra PVC pipes in your home.
Making the project your own
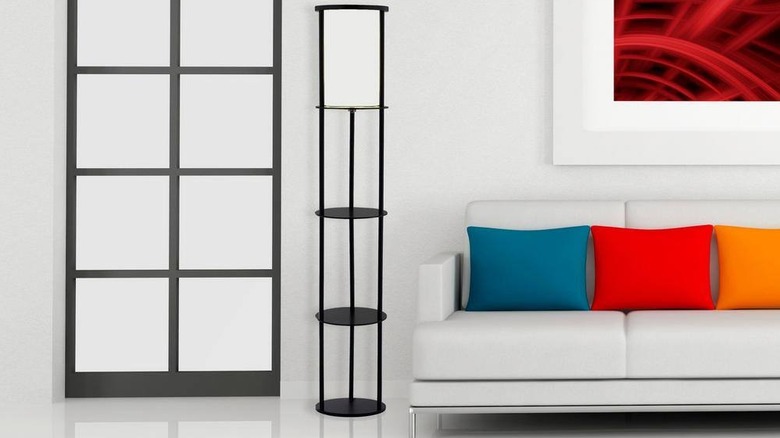
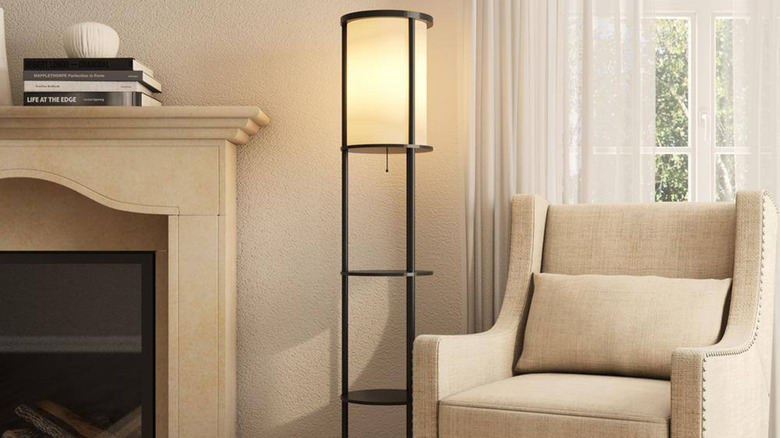
There are an awful lot of ways to customize this project. The most obvious and useful modification, and the only change that could absolutely be considered an upgrade, would be to fit the upper section with a mains power-operated light fixture. That would leave you contending with a power cord, but that's better than changing batteries. Another idea is to add rounds that can serve as shelves, as on the Adesso Stewart floor lamp from Home Depot.
But the more fun opportunities that arise for this project have to do with the material from which the shade is made. The plastic canvas looks great, but you can also do your own thing, like using a more open-weave metal mesh coupled with an interesting light fixture for an industrial look. Other options include string or yarn formed with fabric stiffener – not unlike our DIY boho raffia lampshade – or using stiffener with burlap, cotton, linen, muslin, etc. Without the stiffener, you might require more structure than the basic frame provides, such as a lightweight frame or a backing of clear or translucent plastic like this styrene sheet.
You might also modify the project by using thrifting fabrics to change up a boring lampshade. Consider laminated parchment or a multi-textured design created by using more than one material. You could also diffuse the light with lenticular lens sheet film, or perhaps get an interesting effect by using the flexible plastic fresnel lens material found in LCD TV screens and sheet magnifiers.