How To Propagate Bee Balm
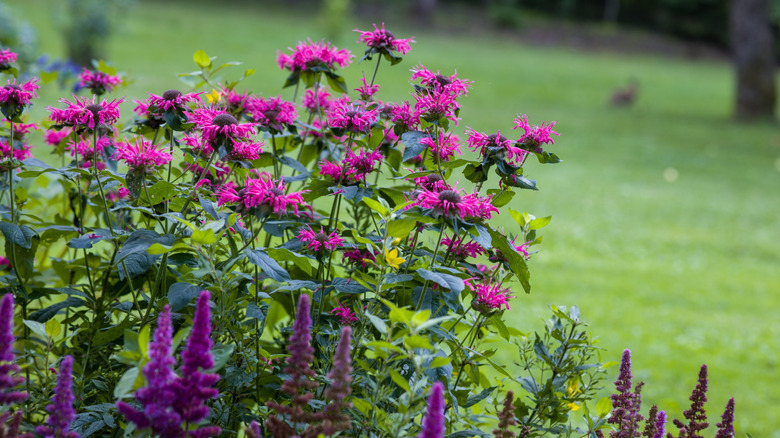
Bee balm (Monarda spp.) is a stunning flowering perennial everyone should have in their garden. The lightly citrus-scented blooms are an absolute magnet for bees, butterflies, and other pollinators. In fact, you can even attract hummingbirds to your yard with this vibrant flower. Although this plant is a perennial in USDA hardiness zones 4 through 9, you'll find that it has a tendency to die out in the middle, which is why you'll want to learn how to propagate bee balm so you can replace older clumps with fresh, new plants.
Propagating bee balm is not that difficult and can be done either by sowing seeds, taking basal cuttings, or dividing existing clumps. Mature seeds can be collected from a plant in your garden once the seed pods, or nutlets as they're commonly called, turn a tan color. Viable seeds are black and, although not always necessary, their germination rate might be improved by a period of cold stratification. To do this, simply place the seeds between two sheets of damp paper towel and pop this into a sealed plastic bag. Put it in the crisper drawer of your refrigerator for around 4 to 10 weeks. After that, sow the seeds in seedling trays using a seed-starting mix and only cover them lightly. Place the trays in a warm location and keep the soil moist. Germination can take anywhere from 10 to 40 days.
Propagating bee balm from basal cuttings
As these plants form clumps that will constantly increase in size, you'll find that they produce offshoots at the base, usually around the perimeter of each main plant. These can be used as cuttings to grow new plants. To take these basal shoot cuttings, carefully scrape away a little soil from the side of an established clump, so you easily identify the offshoots. These will be attached to the parent plant via an underground stem or rhizome. What you want to do is gently dig down and sever this stem from the main clump, keeping as much of the stem as you can.
You'll now have a little plantlet that you can put into a pot filled with good quality potting mix, or a mixture of sand and perlite. You'll want to treat this like any other type of cutting by keeping it in a bright shady spot that's fairly warm. If you have a greenhouse or a cold frame, that would be ideal. Keep the cuttings hydrated and protected, until roots are well-developed. This could take around 4 to 5 weeks. Using this technique to propagate new plants is also one of the easiest ways to keep your garden looking full on a budget.
Dividing clumps of bee balm for additional plants
The best time to divide your bee balm clumps is in early spring before new growth starts again. This should ideally be done every 2 to 3 years, to avoid overcrowding, unwanted spreading, and to get a constant supply of new plants to replace those that are past their prime. In fact, forgetting to divide these perennial plants in spring is a mistake you want to avoid, as untouched clumps could easily take over your garden as they spread outwards.
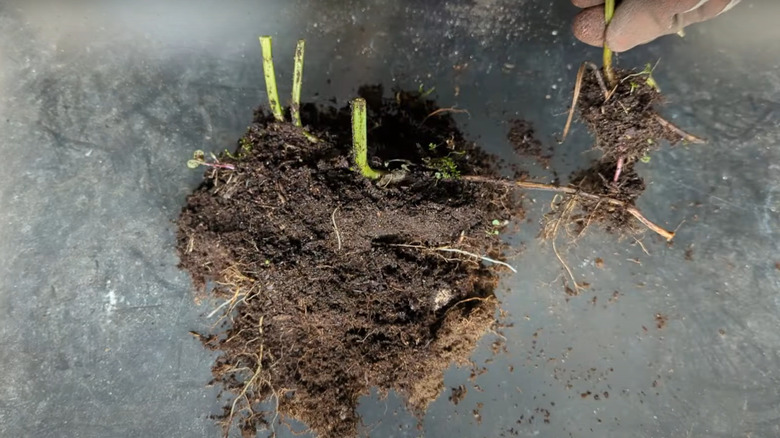
To divide your bee balm, all you have to do is dig the clumps out of the ground and then cut them into smaller sections using a sharp knife or a pair of pruning shears to separate the underground stem sections. Each new division should have around two to three shoots and a good amount of healthy roots. If the clumps are a decent size, you can plant them straight back into the garden. However, smaller divisions can easily be potted up and kept in a greenhouse or cold frame until they're reasonably well-established. An interesting fact you might not be aware of is that bee balm got its common name because the leaves were often used to treat bee stings. So, it could be useful to have a bottle of bergamot (another name for bee balm) essential oil in your cupboard, if you spend a lot of time out in the garden among the flowers.