The DIY Project That Turns Your Old Cutting Board Into A Gorgeous Address Plaque
We may receive a commission on purchases made from links.
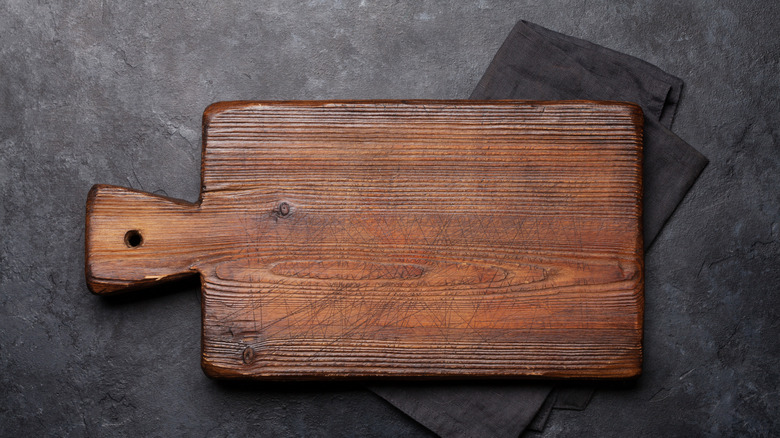
When your home is built, it's automatically outfitted with an address plaque. This usually hangs near the front door or is spray-painted on a lamppost in the front yard. While this solution functions well enough, it doesn't really allow you to creatively display your house numbers. However, you don't have to live with an impersonal address plaque. With this DIY project, you can turn a vintage cutting board with a handle into a gorgeous address plaque. Give it a little bit of elbow grease and a coat or two of paint, and you'll be replacing your old sign in no time.
For the DIYers who are interested in designing a rustic home style, this project is especially cool, and bonus — really quite simple to do. The main item you'll need for this is the cutting board. It should be the kind that comes with a handle that has a hole in it. The tell-tale shape gives its former function away and is what makes this DIY so charming. Primer, some paint, a few brushes, and some stencils that feature your favorite font give the upcycled board its new identity as your home's address plaque.
You'll also need a handsaw to cut it, as well as a pencil to mark it. Include sandpaper on your supplies list, which will help you smooth the rough edges and make this piece look distressed (a little white chalk paint by the RoseArt Store can help with that, too). Finally, you'll hang it up when it's finished, so you need to have a drill, some screws, and possibly a piece of ribbon to make that happen.
Upcycling your vintage cutting board into an address plaque
Before getting started, assess the condition your board is in. If you like a distressed aesthetic, it's actually an advantage if it looks a bit beat up. You'll have less to do if you're going for a rustic look. Regardless, it'll require some sanding and some shortening to prep the board for painting.
The board needs to be primed before it's painted and then covered with the paint color of your choice. You'll stencil your address numbers onto the board to create the plaque. It's standard for house numbers to be between three inches and six inches tall, so choose your stencils with this in mind. They need to be big enough for people to see them from the street, yet small enough to fit on the board without it looking crowded. The latter could be an issue if your street address is quite long. Once the paint dries, lightly sand the whole cutting board, including the numbering. You don't want to sand it too much – just enough to make it look beat up a bit.
Because it already has a hole at the top of the board, you don't need to worry about drilling a hole to hang it up. Just drill holes for the screws in either the exterior wall beside the door, or in the door if you want the board to hang there. You can dress the board up a bit by tying a fancy ribbon to the top of it, which it will then hang from. Your decorative style will determine the direction you go with this.
How to personalize your address plaque even more

This clever cutting board DIY project has the potential to be a really fun piece, depending on what you add to it. For example, you could try stenciling decorative elements like flowers or sweet little dragonflies on the board. If you choose to do this, be sure to keep the decorations far enough away from the numbers to allow people to easily read your address.
Another way to decorate would be to drill holes in the bottom of the board, and then hang antique keys or old silverware using wire, small chains, twine, or old ribbon. If it's earmarked for your door, put a bell in the middle of these pieces. It, and the keys, will make a tinkling sound every time you open and close the door, creating a wind chime effect.
Finally, if you've shortened the board by cutting some of it off, you can reattach the piece to the bottom of the board in mostly the same way you did with the keys above. The only difference is you'll just need one hole on each end of the board instead of a series of holes all the way across the bottom of the board. Once the holes are drilled, hook the board and the extra piece together with chains to create a small, swinging sign. Once that's done, paint your family's last name on the "extra" piece to help passersby more readily identify your house.