How To Make DIY Butterfly Wall Decor In Less Than 5 Minutes
Whether you are getting your home ready for spring or just looking to add some whimsical decor to your space, this DIY butterfly wall decor could be the perfect addition to your room. As a symbol, the butterfly represents many things in many different cultures. Yet, it is most often associated with the themes of transformation and hope. You may even see some of these breathtaking butterflies flying around your yard and garden. However, if you want to see the butterfly symbol more often, this project could not only be a cute decor piece for your home, but also be a daily reminder of these themes. The best part is it will not take long to make.
Before beginning this project, you will want to gather your supplies. While this DIY can be made with just some printer paper, scissors, and painters tape, it is not the only way to create this design. In fact, planning out how you want your butterfly wall decor to look can help prevent you from making too many butterflies that you need to discard later. When it comes to choosing the paper, if you want your butterflies to be a temporary look, printing paper is definitely the easiest and fastest way to make this project. However, if you are looking for something more stable, try some cardstock instead. It will take more time to cut out each butterfly, making it longer than a 5 minute project, but the end result will be a project that lasts longer.
Add a pop of color
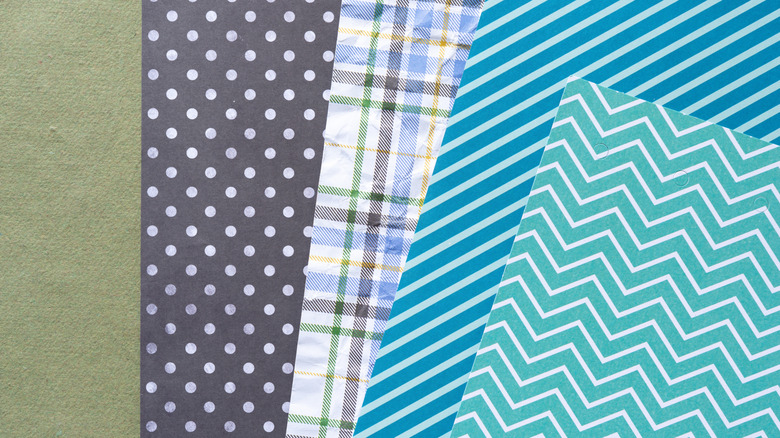
Color combinations can transform your home's interior, so another important part of creating this project is deciding if you want to add a pop of color to your butterflies. Adding color will influence the materials you want to use for the project. For instance, you could simply grab some construction paper and get to work. Or, you may want to go to the craft store to purchase some colorful cardstock. You could also purchase some scrapbook paper, which comes in a variety of different patterns and colors. Try finding complementary colors in the same pattern or unique patterns in the same color. Using a variety of colors and patterns may become too busy and detract from the overall design.
If you are feeling really creative, you could even color or paint your own butterflies. Using either card stock or water color paper, paint your own design on each butterfly's wings. This method does come with the risk of your paper warping, so make sure to use only use a little paint and water on each butterfly. You can also tape each butterfly down flat before painting until the design is completely dry to help prevent warping. Alternatively, if the design is for a kid's room, get some crayons, markers, or colored pencils out and let the children make each butterfly unique.
Create the butterfly DIY
When you have made all of these design decisions, making the project itself is fairly straightforward. Just keep in mind that changing the paper or adding color will add additional time to the overall project. To create the butterfly shape, start by measuring and cutting your piece of paper into equal size squares. Then, fold each square in half. Draw the shape of half a butterfly on one side of the paper, so the inside of the butterfly faces the fold. If your paper is thinner, you can layer the folded paper squares inside one another. Finally, cut out the shape and unfold to reveal your full butterfly. To make different sized butterflies, simply adjust the size of your paper squares.
Finally, to complete this project, stick a little painter's tape or wall putty on the back of each butterfly and arrange it on the wall however you would like. If you want to make your butterflies look like they are flying, you could always try using a hole punch and some fishing line to hang the butterflies from a shelf or ceiling. Want more butterfly decor in your home? Turn a Dollar Tree shower curtain into whimsical butterfly garden decor.