The Carpenter's Cutting Hack For Bending Solid Wood
Wood is well-known to be a very versatile medium. What isn't so well-known, though, is its properties for bending. For instance, you can use steam to shape this otherwise inflexible material or employ a process called bent lamination where thin wood layers are face-glued together and clamped around a form. But a hack called kerf bending or kerf cutting (a kerf is the width of the space left by a saw blade) is an accessible approach you can do with tools you likely have on hand.
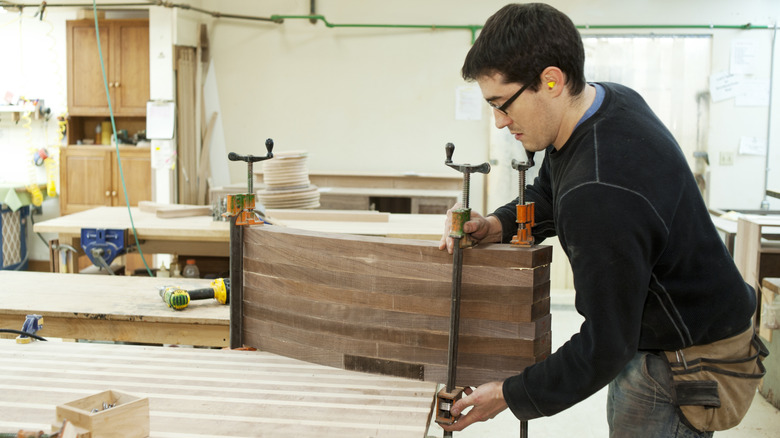
Adding curves to your work really opens up what's possible, allowing you to create curved furniture or other items. When you're ready to break out of straight lines in your projects, grab a circular saw with a depth stop and the wood you intend to bend. Start by sawing a series of parallel grooves part way through one side of your material. This process makes the piece thinner, which allows it to bend. Now, your once-solid material can form a radius or even an 'S' shape.
How to (kerf) bend wood to your will
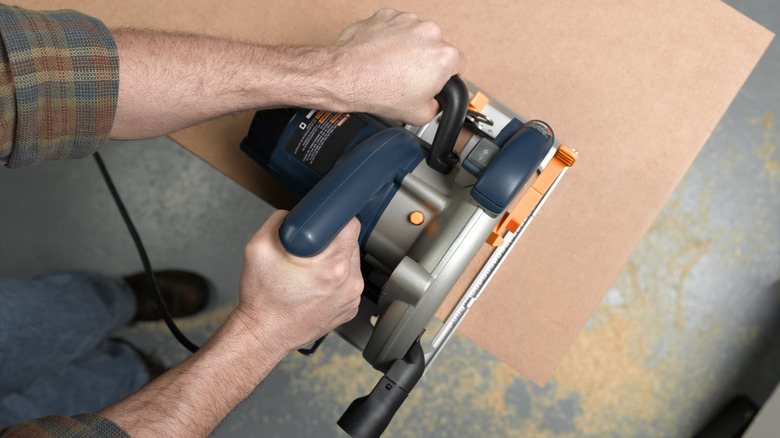
Kerf bending is an easy enough method to try the next time you're in your shop. You don't even need to have a design in mind, and it doesn't have to be as big as a table — it could be a small decor item instead. To begin, choose your tool. Almost any saw will work, such as a table saw, radial arm saw, or sliding miter saw — even a hand saw will do the job. Whatever you pick, make sure you can consistently control the depth and spacing of the kerf. Most circular saws have everything you need and can be used safely for around-the-house projects.
On a piece of scrap, measure and mark your cutlines. Set the depth of your blade to make a deep kerf in the wood, but not so deep to go all the way through. Make your cut using a straightedge and leave no less than 1/16 inch material on the opposite side, so it's still sturdy. Then move the saw over to your next cutline. Repeat this process making uniform grooves until you have the number of cuts that allow for the bend you want. Once tested on your scrap material, do the same for the piece of wood being used for your project.
Tips for kerf cutting
The depth and spacing of the cuts will affect the overall radius. The wood will bend more easily the deeper the cut, but it also becomes weaker. The spacing of the cuts has more to do with how much the piece will bend. Widely-spaced kerfs make a shallow bend, while those spaced close together create a tighter radius. It's easy and inexpensive to test on scrap material to find the radius you want, but online calculators like Block Layer can help you figure out the math.
Plywood is a valid alternative to hardwood. It works just as well and is a lot cheaper. Plus, you can use the plies to eyeball your blade depth — no measuring required. The wood, once kerf-cut, will bend in either direction — concave or convex. Whether the kerfs are ultimately on the inside or outside of the curve, you can glue on a thin layer to cover them up. To glue up your bent wood for rounded projects, lay it out on a flat surface and squeeze glue in the grooves. Then bend it to the desired shape and clamp it in place using straps until it's dry.