How To Maximize Storage Space In An Unfinished Shed With A Built-In DIY
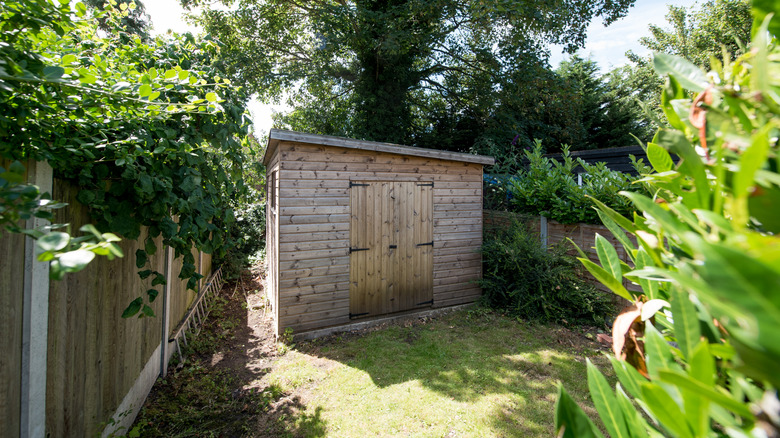
Backyard or garden sheds are a great way to store your outdoor tools, gardening equipment, seasonal items, and more. However, it's easy for items to overwhelm the small space, especially if you don't have a storage system to keep your items in place. It's always frustrating trying to dig out a particular tool, and if other items are not secured, it can even become a bit dangerous. Whether you're trying to avoid a cartoon-like moment of being bumped on the head by a garden tool or simply want to avoid the frustration of sifting through a mess of supplies, it's important to have an effective way to store items in your shed.
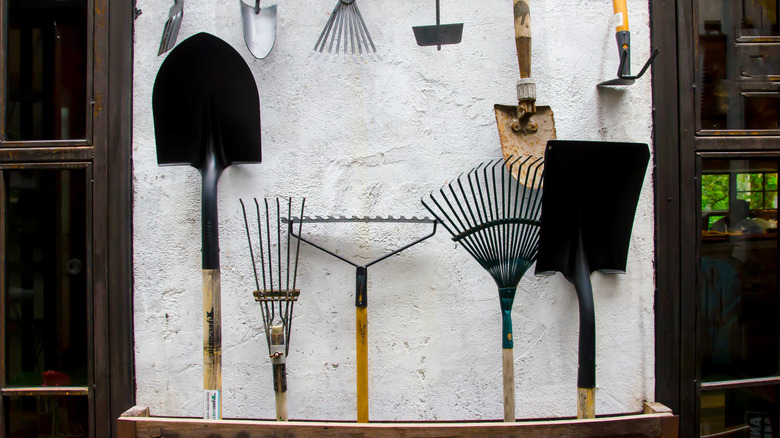
TikTok user @mortenson_custom_const shows a great way to DIY a storage system for a shed with open studs. The project utilizes the gaps between the studs to create an extremely space-efficient storage solution for tall tools such as shovels, rakes, brooms, and hoes. Plus, the list of supplies needed is fairly short and can be adjusted to suit your needs. To complete a basic version of the storage system, all you need is some wood planks, corrugated aluminum, a hole saw, and some screws. Whether you have just built or fixed up a shed, if you are looking for the best way to make the most of it and keep all of your items tidy, easily accessible, and out of the way, then this DIY shed storage system is worth a try.
How to DIY a shed storage system
Start by measuring the studs, particularly the space between open studs and how far the studs protrude from the wall. Using these measurements, cut your desired number of wood planks so they fit between the studs like a shelf without sticking out too far. Next, use a hole saw attached to a drill to create holes in the shelf at regular intervals. The holes should fit the handles of the tools you plan to store, so vary the holes' sizes and shapes depending on your tools. Also, take note of any particularly bulky equipment you want to store; you may need to bore the holes further from the wall or from each other to accommodate. Once you create the holes, sand them until the edges are smooth to make removing and replacing tools easier.
From here, all you need to do is secure your shelf pieces to the surrounding studs. There are a few ways to do this, but one option is to use screws to secure small wooden blocks to the studs that hold up the shelf, then secure the shelf to the wooden blocks. For a cleaner finished look, attach a piece of corrugated aluminum or some horizontal wood planks underneath the shelf to hide the bottom parts of the handles. Use another wood plank to cover the seam.
Organizing your shed
With these basic steps, you can customize your storage so it works perfectly for you. Move shelves up or down between open studs to fit items of different heights, and experiment with a variety of hole sizes and shapes. If moving tools in and out of the system is too difficult, widen the opening using two hole saws mounted on a single arbor: One in the current hole size and one in the desired. The small hole saw should protrude further and be placed inside the hole before you begin drilling. Alternatively, change the holes into notches to slot the items in rather than lifting and guiding them through a hole. Although this doesn't work with the corrugated aluminum feature, it's a more accessible option for bulkier and heavier items. Of course, you can always have both styles throughout your shed. Either way, you should know how to choose the most durable wood for your outdoor shed.
With your large tools moved out of the way, you can move on to organizing smaller tools with smaller holes. You could also stack shelves on top of one another in an opening, place them above the larger tool storage systems, or combine this DIY with pegboards, classic shelves, various hooks, and other tips and tricks for organizing gardening tools so your green thumb can flourish. Now, your unfinished shed should finally be the functional space you need.