Mistakes Everyone Makes When Painting Behind The Toilet
We may receive a commission on purchases made from links.
If you've been searching for the best tips for perfectly painting your bathroom, then you know a lot goes into the job — from choosing the appropriate type of paint for a humid space to filling in any dents or dings on the wall before you get started. You're likely also trying to determine the best way to paint in such a small space, especially that extra tight area behind the toilet. If you're worried that something could go wrong when trying to apply a coat behind the tank, you're not alone.
In fact, this is one part of painting the bathroom that can trip up a lot of DIYers. Not only could the finish on the wall look sloppy, but you could end up getting paint all over the toilet or make extra work for yourself in the future. If you're ready to learn more about these mistakes — and how you can avoid them to ensure your paint job turns out looking stellar — read on.
Deciding that you'll just skip painting behind the toilet
When you think about the hassle of painting behind a toilet, you might start to wonder if it's even worth the trouble. If you're sticking with a color that is similar to what's already there, is anyone really going to notice? And even if it's a different shade, the wall is basically covered by the huge tank, so what's the big deal if you just leave it alone?
Unfortunately, while it might simplify your task, doing so will be a big mistake. Once the rest of the bathroom has a fresh coat, the old color behind the toilet is going to stand out. Even spotting a small sliver of the previous paint can ruin the professional look you're going for, making it look like your bathroom got the infamous "landlord special."
Also, topping walls with a fresh coat of paint helps to give them better protection against moisture damage. If you don't cover the section behind the toilet, then you're making it more likely for that area to become damaged by water. When you think about how humid a bathroom is, it's easy to understand the importance of taking any steps you can to reduce the risk of moisture damage.
Failing to remove the tank before painting

Since it's necessary to paint behind the toilet, the best way to simplify the task is to simply remove the tank so you can easily access the wall. Not doing so will make you resort to all sorts of contorting moves or potentially sloppy painting hacks, complicating the process.
Fortunately, removing the tank is a relatively easy task. You'll easily make up the few minutes you'll spend taking it off when you're able to paint so much more freely. Start by turning off the water line (it should be located along the wall behind the unit). Then, flush the toilet to empty the tank and use an old rag to sop up any water that doesn't drain. Now, you're ready to loosen and lift off the tank, which is as simple as untwisting the wing nuts connecting the tank to the toilet body, disconnecting the water line, and pulling off the tub. Place it on an old towel or drop cloth, and you're good to go. While removing the tank isn't an overly complex job, if you are not comfortable with it or don't feel that you have the strength, you could consider hiring a plumber to help you.
Not using a paint pad if the gap is ultra-tight
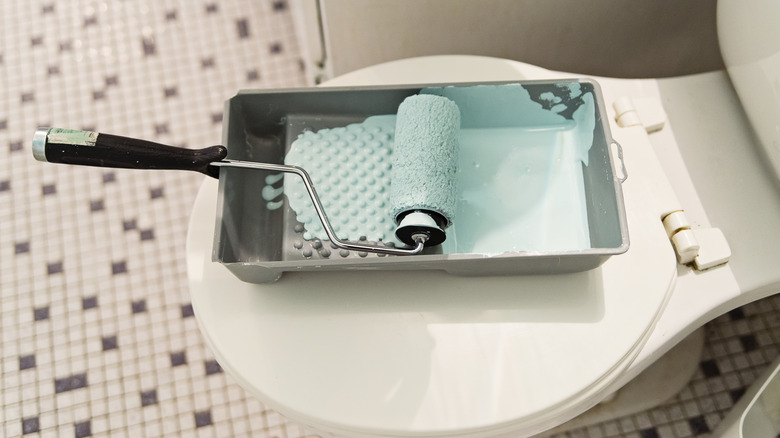
If you're going to be stubborn and leave the toilet tank in place, then you don't want to make the mistake of overlooking a paint pad as the best tool for the job. Even mini rollers are about 1-inch thick, so they won't even be a suitable solution for a very narrow gap, and you'll end up making a mess or leaving a portion of the wall unpainted.
So, to avoid these issues, you need to invest in the right tools for painting behind a toilet. For example, consider purchasing a paint pad, such as the Shur-Line Paint Pad. These tools feature a very slim design with a soft head that allows you to spread the color over a hard-to-reach area. You can simply slide the tool between the tank and the wall to cover the area. The Paint Behind Toilet Tool Nylon Brush is a similar product that was designed specifically for this task. It has an extendable handle to help you reach into those tight spaces and make sure that they get covered with the new wall color. Or, if you want to save money, you can also make a DIY tool by taping a microfiber cloth to the end of a paint stirrer and using it in the same way you would use a store-bought pad.
Thinking you can paint without covering the toilet
As you're getting ready to paint behind the toilet, you're likely planning to work very carefully to avoid making a mess. However, even the best intentions can fall short. If you don't cover the toilet, you're running the risk of inadvertently covering it with paint. The last thing you want in your refreshed bathroom is for the commode to become an eyesore with splotches on it.
Instead, it is essential to add a few minutes to your prep time to cover the basin. Fortunately, there's a simple hack that will help you paint behind the toilet without making a mess. Because of the size and shape of the base, especially with the tank removed, it is easy to cover using a large black trash bag. Be sure to use some painter's tape or masking tape to keep the bag from lifting up as you work and move around the room.
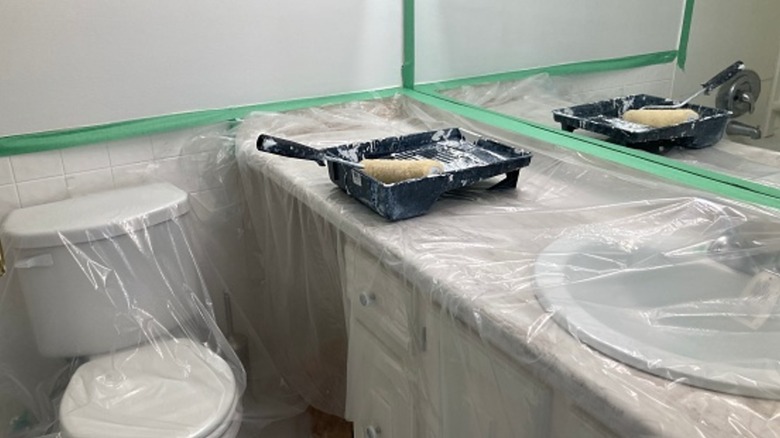
Failing to cover and tape off the floors and baseboards
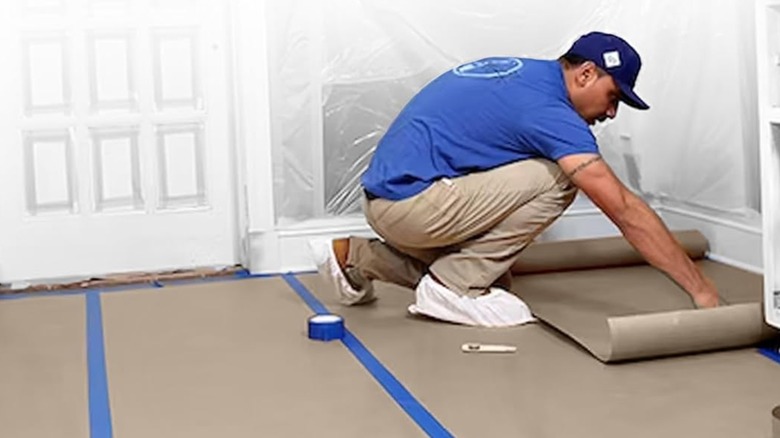
The toilet isn't the only thing in the bathroom that you need to protect. Failing to cover and tape off the floor and the baseboards is another mistake that you're likely to regret. This is an important step when painting any space, but it is even more crucial now. When you're working in such a tight space, it is going to be more challenging to avoid accidentally dripping paint. There are several things you should never paint in the bathroom, including the floor. Removing spills and splatters from the tile (and especially grout) will be a time-consuming task, and you may not even be able to get all of the paint off.
Save yourself the headache by protecting the floors and baseboards. Rosin paper will be a better choice than a drop cloth since you'll be able to lay it completely flat and even tape it into place. Drop cloths are big, and you'll have trouble getting them to lay flat without bunching up in a small bathroom. Plus, with the toilet in the way, you won't be able to easily cover the entire floor. With rosin paper, you can cut sections to tape around all sides to ensure even coverage. While you have the painter's tape out to secure the rosin paper, don't forget to also put some around the baseboards to prevent them from getting splattered.
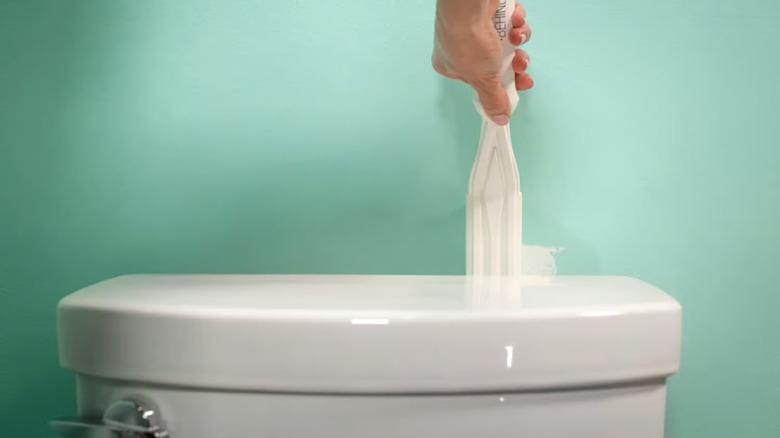
Forgetting to clean the wall to remove mold and mildew before painting
Your prep work should involve more than simply removing the tank, covering the floor and toilet, and taping sections off. One mistake you may make is failing to clean the wall before painting. There is likely a lot of dust and other debris covering the surface. If you simply paint over the dust, the paint may not adhere properly, or you might get a gritty texture on the walls. Cleaning behind the toilet itself is especially important, since this is an area that is common to get neglected during your regular cleaning routine.
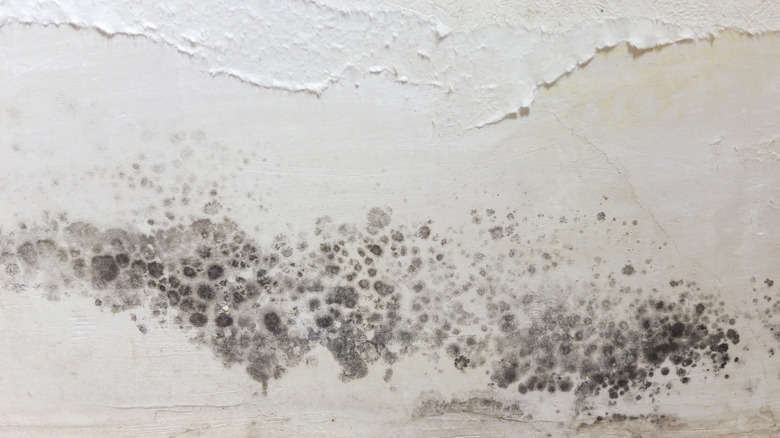
Dust and dirt may not be the only things lurking on the wall behind the toilet. Bathrooms are very humid and can create the ideal environment for mold and mildew to grow. Simply painting over mold and mildew can be a very serious mistake that can also impact the paint's ability to properly adhere to a wall. But, even more than that, covering it with paint won't kill the organisms. They'll keep growing, will likely reemerge, and will continue to pose a health risk to anyone using the bathroom and breathing in the spores.
Proper prep is key. If there is no mold or mildew present, you can wipe the walls with a damp rag or sponge. If there is mold or mildew, clean the wall with a mixture of bleach and water (about 1 cup of bleach for each gallon of water). Then, before painting the wall, be sure to also apply a coat of a mold-killing primer, such as the Zinsser Mold Killing Primer.
Choosing a paint finish that will require frequent touch-ups
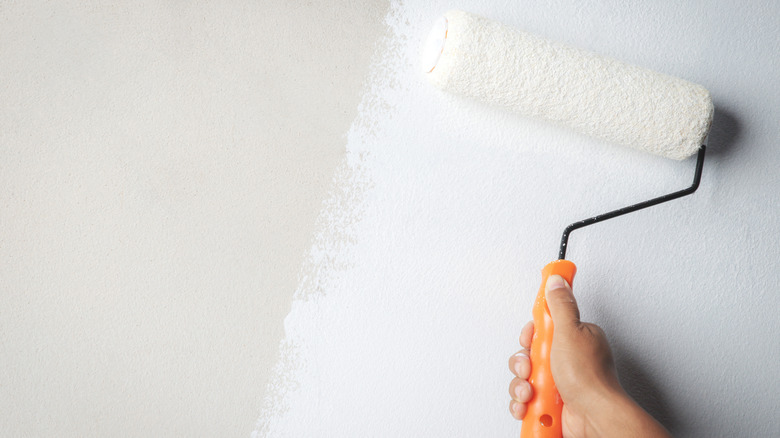
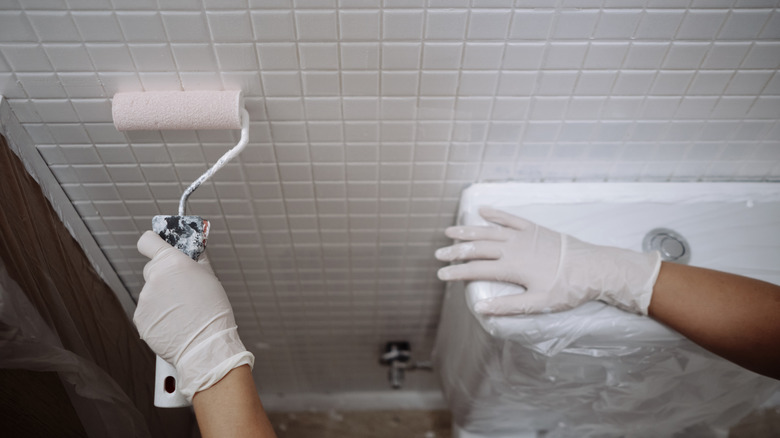
Certain paint finishes just aren't a good fit for a humid environment such as a bathroom. For example, if you opt for an eggshell or matte finish, you're likely going to end up regretting the decision in the near future, as they are porous. With so much water, steam, and humidity in the bathroom, porous paint is less than ideal. Absorbing moisture can cause the paint to peel. You'll find that you frequently need to touch-up the finish to keep the desired look for your space. This can be an annoyance for all the walls, but can be particularly tedious behind the toilet. Think about all the steps you need to take to paint behind it in the first place — do you really want to have to do that over and over again when touch-ups are necessary?
Save yourself the hassle by opting for a semi-gloss, high-gloss, or satin finish paint. Unlike the more matte finishes, these won't absorb moisture. Instead, they can actually repel the water, because their glossy sheen acts as a protective layer. Not only will the paint look better, but with its moisture-repelling formula, you'll also be less likely to end up with a mold or mildew problem.