Give An Old Chandelier New Life With A Color Swap
We may receive a commission on purchases made from links.
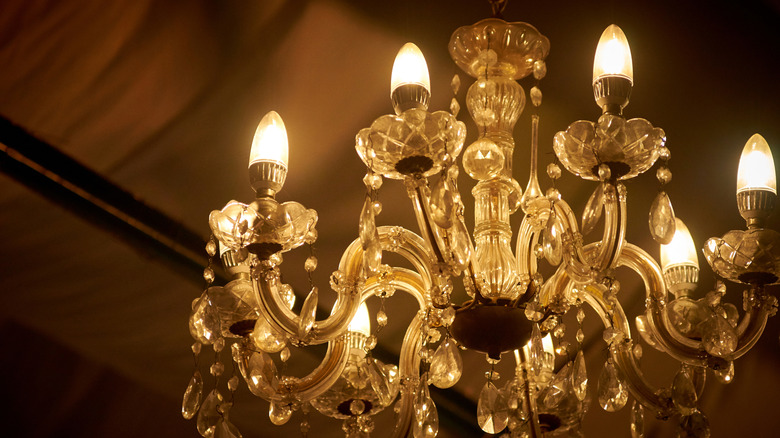
If your crystal chandelier has lost its sparkle, or you have recently thrifted the perfect one but the color doesn't quite fit your space, don't give up on it just yet! Instead of splurging on a brand-new light fixture, why not try refreshing your existing chandelier with a simple color-swap upcycle. Over time, crystal chandeliers can start to look dull. Failing to keep up with cleaning is one of the mistakes almost everyone makes when buying a chandelier, but even if your chandelier shines, you might feel like it just isn't right for your home's vibe. The crystals themselves may be the culprit. But here's the good news: using alcohol ink, a sponge, gloves, and a bit of heat, you can transform your chandelier into a striking statement piece that matches your dream interior style, all without breaking the bank.
Clear crystals can feel too harsh, formal, or just plain boring. Adding a tinge of color can give the chandelier a more laid-back, vintage, or playful look. With a few supplies and a little creativity, you can easily refresh your crystal chandelier by giving the glass crystals a vibrant color makeover — no need to waste money buying a new chandelier.
Use alcohol ink and heat to upgrade your chandelier
The process to color your crystal chandelier is straightforward, cost-effective, and fun, offering a dramatic transformation in no time. To start, you'll need alcohol ink, your sponge, and an oven. First, remove each crystal with pliers. Clean your crystals with mild soap and some warm water to remove any dust. Once they're dry, apply the alcohol ink to the glass crystals with a sponge brush, gently dabbing the surface until you get the desired color saturation. Set the crystals on a baking sheet and put them in the oven while it's still cold. Set the oven to 350°F and let the crystals "bake" for 30 minutes after reaching this temperature, allowing the ink to fully set into the glass. After turning off the oven, leave the crystals inside for another 20 minutes to cool slowly. It's always wise to pay close attention while the crystals are heating because thermal shock may happen when you put glassware in the oven.
The key here is the slow, controlled heating process, which helps set the color and prevent cracking. Alcohol ink contains pigments suspended in alcohol, which dry quickly and adhere to smooth surfaces. The heat from the oven allows the ink to fuse more deeply with the glass, making it more resilient and less likely to wear off over time or bleed. If you decide you're not happy with the results, you can simply soak the crystals in an alcohol solution to remove the color or rub the crystal with a clean cloth and some isopropyl alcohol.
Customizing your chandelier with different applicators and techniques

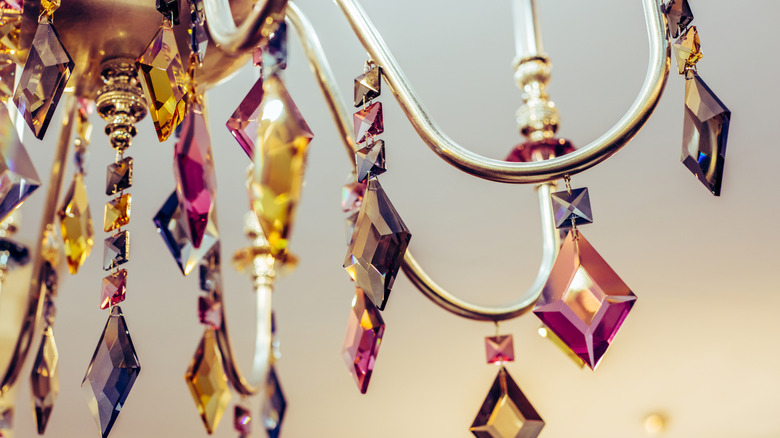
The beauty of this alcohol ink project is how easily it can be customized to fit your personal style. You can mix different colors to get specific hues, or even create a beautiful color gradient for a seamless transition between shades. Painting each crystal a different shade or layering colors can give you a stunning two-tone effect, adding depth and dimension to your chandelier. If you want something even more unique, consider swapping the sponge for a spray bottle for a speckled, organic look. You could also use alcohol ink markers to create intricate designs that add character and personal flair to each crystal.
One of the best parts of this DIY is that it won't break the bank. A Set of 20 Piccassio Alcohol Ink Colors can be found for less than $20, and most of the other materials you need are things you likely already have at home. This DIY hack is a simple yet effective way to create a custom, high-end chandelier for less! If you want even more inspiration for customizing your light fixtures, explore these entryway chandeliers that look cool and modern (instead of fussy and outdated).