Give An Old Lampshade New Life With Leftover Scraps You Weren't Using Anyway
We may receive a commission on purchases made from links.
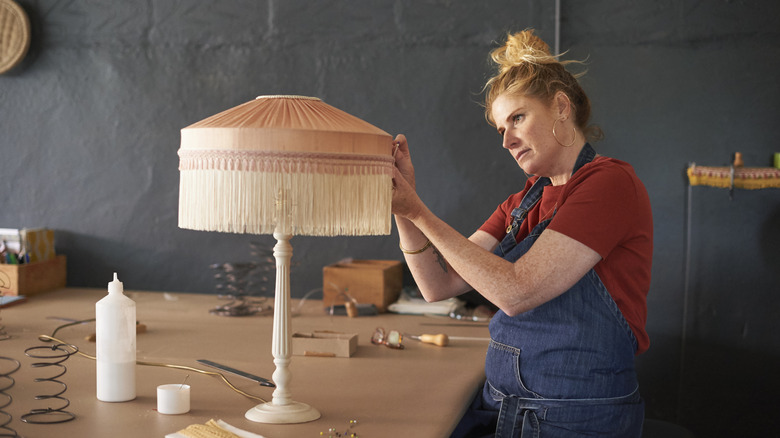
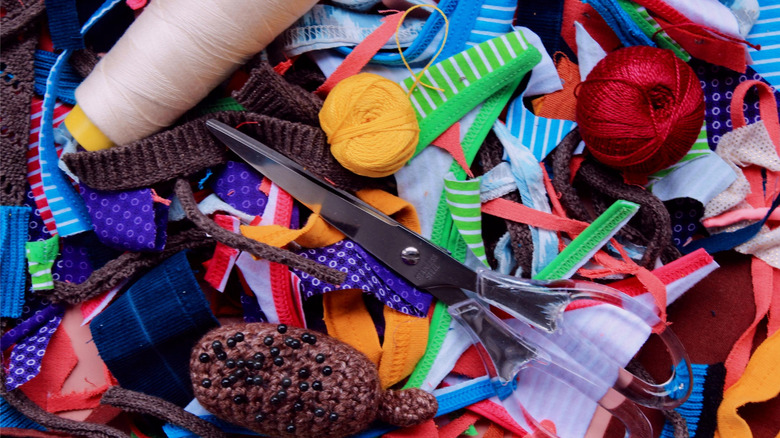
A leftover scrap of wallpaper or fabric is the decor equivalent of that really big cardboard box you've been saving for something special. It's too good to throw away and too random to do anything with until you really, really need it. If that's your predicament, you might want to take a hint from YouTuber @TheCraftedLife. She used some random scraps of fabric, fabric tape, and hot glue to cover and completely transform the shade of an old lamp.
This DIY idea helps your decorating efforts for a couple of reasons. It upcycles not only old scraps, but old accessories like the lamp, too. If you have more than one accessory to makeover, that's even better. This DIY technique is a great way to make two non-matching lamps look more like they belong together. Glue scraps made from the same material onto the lamps, and they'll look more like a matched set.
Additionally, the project can be completed in a couple of hours and with no complicated tools. A hot glue gun and scissors for cutting the scraps are pretty much it. This levels the playing field a bit. Experienced and inexperienced crafters alike can use up those errant craft supplies that are just waiting for new life when they undertake this refurb project.
Refurbishing the lampshade
The project starts with taking the measurements of the lamp shade. It's possible to get the right numbers for this DIY by wrapping a fabric tape measure around the shade. However, you can also lay down some craft paper and trace around the shade to create a pattern. Once the pattern is done, cut it out so that you can measure the other materials you'll use for this project.
Be aware that cutting some fabrics will result in frayed edges. Left as is, the fabric will probably look sloppy once it's glued onto the shade. You can hide the frayed edges by folding them down and then gluing them into place. This technique creates a hem that hides the fray. You can, in turn, hide the hem in the back of the lampshade to keep it out of sight once you're done with the DIY.
Finally, remember to pull the fabric or wallpaper tightly around the lampshade before you glue it. This gets rid of any wrinkles and makes the material look more tailored. You can keep it taut by clamping it in place while the glue dries. Some Kalerr binder clips could work well here because they close so tightly when you release the clamp.
Solving the challenges that arise with this project
Sometimes, you'll run into a problem where you don't have enough of one material to cover the whole shade. However, that doesn't mean you're out of luck. Instead, you need to get creative with the design. For example, you could incorporate different textiles in your home by making a two-toned shade using two different, but complementary pieces of wallpaper and/or fabric. This could be a lampshade that's black on one side and white on the other, or it could feature a cool blue-and-black paisley print on the bottom portion of the shade and a solid black piece of fabric on the top. You can use a bit of decorative fabric tape can to cover the edges where the different pieces meet.
There is a word of caution here, though, if you do mix materials. Try not to mix options that don't make sense together, particularly if you plan on sewing them together before attaching them to the lamp. For example, a heavy black wool and trendy fabric like silk would probably look out of place with each other. The wool seems a bit heavy and winterish. The silk, on the other hand, evokes lightness, effervescence even. In other words, their visual and physical weights look out of sync. If you're trying to create symmetry in your home, pairing like with like — or as close as you can come to it — is probably a better bet for this hack.

