Extend Your Kitchen Island Width With A Wood DIY Add-On
When your kitchen counter space no longer cuts it, you'll be pleased to know it doesn't take a major overhaul to get some extra utility from it. Islands are key kitchen features, supplying comfortable room to eat, work, and prep food for the family meal. But one benefit that flies under the radar is how easy they can be to resize as your needs change. Rather than break it down and rebuild it from the ground up, you may be able to extend your island's usable surface with a stylish and straightforward build using only a few pieces of wood countertop.
The concept is simple: Cut a wood slab matching your island's width, and set it on the edge to make the island deeper. The extension creates a new dining bar while retaining the island's original counter space. A waterfall on one or both sides of the extension supports it, with bevelled ends connecting the sides to the top at 90 degrees.
Extra counter space isn't the only advantage this addition brings to the kitchen. The wood slabs that work perfectly for this project also make it easy to create a stunning statement by mixing different countertop materials. Stone and wood counters mesh beautifully with natural tones and textures. Create a balanced look that catches the eye. Blend dark granite with lighter woods for a dramatic contrast, or subtle, attractive marble with rich hardwoods that exude high-end character. Countless combos can work with various materials, so grab samples from your home improvement store, and see which ones will give you the ideal aesthetic.
Assembling your DIY kitchen island extender

The attractive minimalist appearance of this DIY extender also takes minimal effort to achieve. Measure the counter's width, and cut your wood counter to match. Since you'll need a bevelled edge for the joint meeting the waterfall side, you'll have to account for the 45-degree cut. For instance, if your counter is 60 inches wide and your wood slab is an inch thick, you'll have to measure it to 61 inches to accommodate the angled edge. Likewise, measure from the floor to the top of the countertop to get the measurement for the board on the side, and add the necessary amount for the bevelled cut.
Cut the 45-degree bevel in your wood pieces with a table saw, which is easy if you know the basics of a speed square or have a digital angle finder. Once cut, combine the countertop and the side using wood glue. For a stronger joint, you may want to prime the cut ends with glue sizing (50/50 mix of water and PVA glue). Brush the mixture onto the bevel ends, and let it soak in and dry before gluing the pieces together. Alternatively, you can use a heavy-duty epoxy instead of wood glue and skip the sizing step.
If you have minor gaps in the joint, you may be able to crush the edge in gently with the side of a screwdriver and sand it smooth. Fill larger joints with matching wood filler, or use an easy DIY wood filler you can make at home. After that, fix the new counter into place by screwing an L-bracket into the island frame and the side of the extension.
Finishing the design for better looks and more function
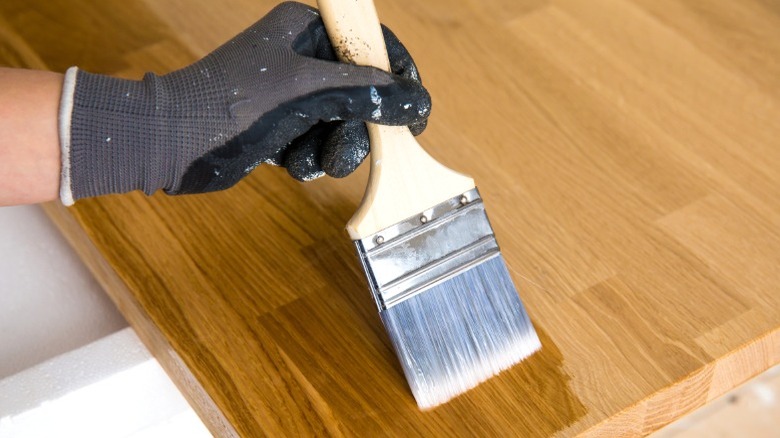
There are plenty of details to address to improve this basic DIY island extension. Here's a brand-new dining and work surface, so you should treat it appropriately to make it last. Contact paper covers are a neat option to create a unique aesthetic. To keep the natural look, you can also use sealers, like polyurethane or epoxy, that create a durable shield. If you plan to use your butcher block surface for food prep, try a penetrating sealer like tung or mineral oil. Using an oil like these will protect the wood's beauty without creating a film that might flake when you use a knife on it.
Another finishing touch to carefully consider is the edge shape. You can apply one of several common countertop edge styles to enhance the appeal. For subtlety and simplicity, a basic roundover bit on a router will make a cleanly rolled edge. Removing the sharp corner will reduce the chance of chipping or bodily injuries from impact, which may be crucial in a house with kids.
With the form taken care of, you can get into the fun of functionality. Do you have space to add hanging hooks or shelves on the sides to solve your kitchen storage needs? How about a hinged, flip-down counter addition to give you an on-demand work surface? If you want to test your DIY skills, you could even try making the new countertop extendable with side-mounted casters on the inside of the side walls. With these, the countertop can cover the island when you need space to move around it or roll and extend out to maximize the usable counter space.