Ditch The Horizontal Shiplap & Try Joanna Gaines' Chic Idea To Transform Your Space

Shiplap skyrocketed to the top of the home decor trends for a reason: the clean yet rustic take on the modern farmhouse brought warmth to every type of home. Joanna Gaines, host of HGTV's "Fixer Upper," is the reigning queen of shiplap, helping popularize the trend. But Gaines isn't afraid to shift her perspective — vertically, that is. In Season 5, Episode 14 of "Fixer Upper," Gaines ditches the horizontal shiplap and installs it vertically in the home's kitchen. The result? The same clean lines and charm of shiplap that elevates the modern farmhouse look with a stylish twist. (Seriously, it's so good that you'll finally stop wondering if shiplap is really going out of style.)
Installing shiplap vertically doesn't just bring polish to the room. Because the panels run up and down, the eye naturally looks up. This is a nifty trick to lift low ceilings and make a small room feel taller — a great idea if your home's ceilings feel cramped or the rooms feel compact. But how do you actually make it work in your house? Let's break down the top tips to transform your space with vertical shiplap.
Top tips to use vertical shiplap to brighten your home
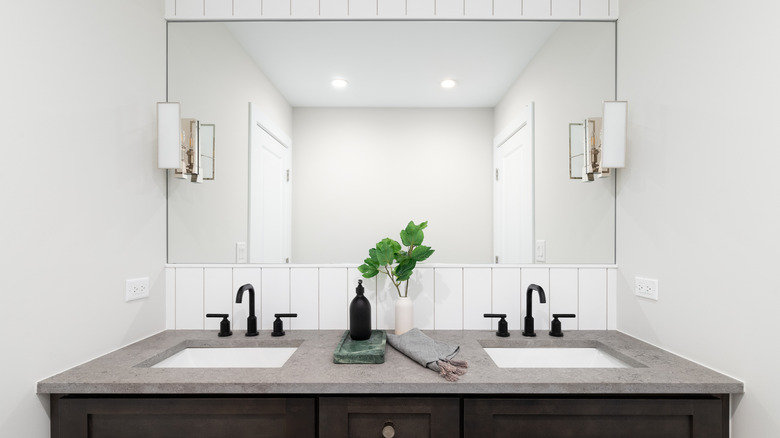
Vertical shiplap can add a sense of timelessness and elegance to any room, but it really shines in helping brighten a tight, compact space. If you are trying to make your small room look bigger, color-matching your walls and baseboards is a solid strategy, but adding vertical shiplap to the walls before painting will boost the feeling of spaciousness. When it comes to color, applying a light neutral paint — think white, beige, or gray — can help create an airy feeling. This is especially helpful if you're trying to lighten naturally dark corners of the house, like laundry rooms or basements. If you're leaning more toward painting the shiplap a darker color, go for it. Look for a paint with a cooler undertone to help create that spacious feeling with the vertical shiplap.
Another way to add vertical shiplap in your home is to use it as a wainscoting. Not only is it a simpler DIY than tackling traditional wainscoting, but it helps bring that sense of classic style and warmth into your space. To help the eye continue to lift up and make small spaces seem larger, use a lighter paint and add details that draw attention up, like oversized art or floor-length curtains.
What you need to know before installing vertical shiplap
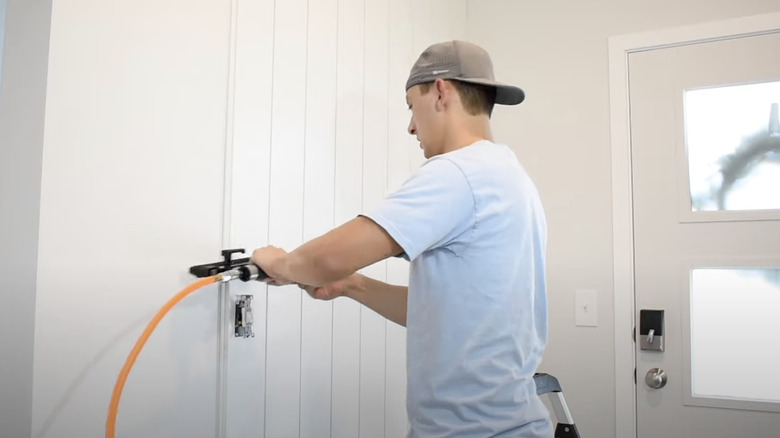
Installing vertical shiplap is a bit different than the traditional horizontal shiplap for one big reason: the studs. When installing horizontal shiplap, you simply have to locate the vertical studs in the wall and nail the shiplap boards in, right? But with vertical shiplap, your boards are running in the same direction as the studs, meaning there's less support for them. Luckily, adding support is fairly straightforward. If you're installing vertical shiplap on drywall, decide whether you want to use constructive adhesive, like Loctite PL Premium Polyurethane Construction Adhesive, or install furring boards parallel to the floor every 24 inches. It all depends on your preference and comfort level. Oh, and if you go the adhesive route, you don't have to use nails as well, but it may be worth the extra effort to keep your wall (and hard work) intact. If your wall doesn't have drywall and the studs are bare, you have two choices: add 2-by-4s between the studs (known as "blocking") or attach frame strips horizontally at 1-foot intervals.
Once you've decided how to support the vertical shiplap boards, choose where to lay your first board. Make sure this one is perfectly level before installing the rest of your boards. It's worth checking twice here versus installing the final board and realizing that everything tilts ever-so-slightly to the left. Work from one side to the other to keep boards level and consistent. On a budget that doesn't include shiplap boards? Create a Fixer Upper-inspired accent wall for less with a clever Dollar Tree hack: foam board.