The Decades-Old Keyhole Garden Trend Is Regaining Popularity - Here's How To Build One
We may receive a commission on purchases made from links.
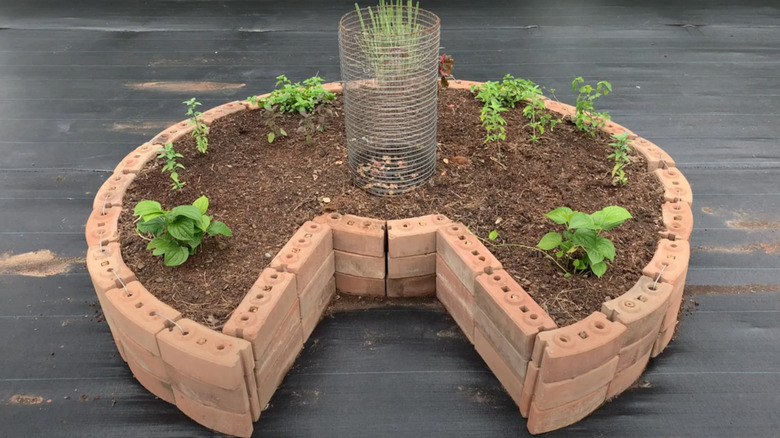
There's a buzz in gardening circles about a garden design that originated in Africa in the 1990s known as keyhole gardening. A keyhole garden is a raised, circular bed with a wedge-shaped cutout leading to a compost section in the middle. It is easy to maintain, uses minimal water, and is self-fertilizing. You simply add compostable material to the middle and water the bed through that section. This washes all the good nutrients into the bed, making the soil rich and fertile. The design is simple, and you can often use materials you have on hand to build one.
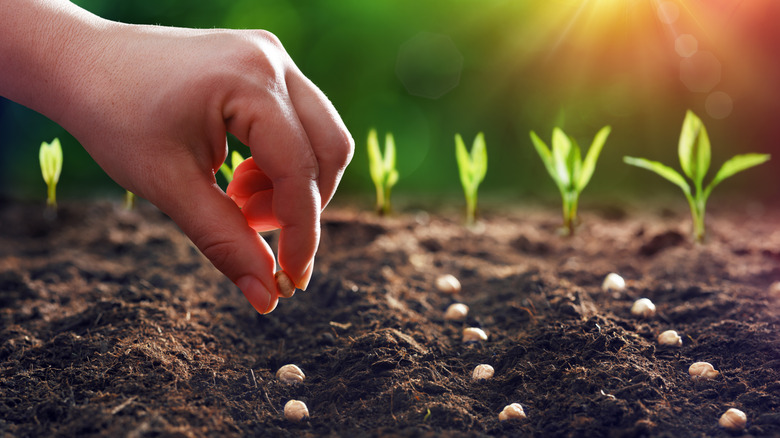
Apart from checking all the sustainability boxes, a keyhole garden uses space efficiently and gives you easy access to your plants for removing weeds and checking for pests or diseases. They work well for planting seeds, such as the Back to the Roots Organic Seed Bundle, or seedlings from your local garden center. You can use other shapes too, though a circle allows you to reach the entire bed.
This type of garden is ideal for urban gardeners working within small yards, as they don't take up much space and create a neat, organized bed. Bigger yards benefit too, as this clever design cuts down on trips back and forth to your compost heap. Saving water is a key factor in how to make your garden more sustainable, according to an expert. Add a shallow, pebble-lined irrigation ditch from a downpipe to your keyhole garden to cut down on manual watering and use every drop.
Building your keyhole garden: What you need and how to do it
To build your garden, start by choosing a location that is mostly flat and gets a good bit of sun. Mark out a circle on the ground approximately 6 feet in diameter. An easy way to do this is by hammering a stake in the center, tying a 3-foot length of string to it, and using it as a guide to mark out your circle with ecofriendly, washable spray chalk. Next, mark your access wedge, making sure it's wide enough for you to get to the central section easily.
With your planning done, gather your edging materials. Feel free to use what you have lying around, though if you want a bed that looks beautiful, pick out materials that complement the rest of the garden. Stones, tree slices, logs, bricks, or timber all work well for this purpose.
Build the outside wall by layering your chosen material around the marked circle and wedge. Keep going until you've reached a height that suits you. This can be as low as a single brick or right up to waist height. When deciding how tall you want your garden to be, think of how much soil you have to work with. You can always buy extra, such as this FoxFarm Happy Frog Potting Soil, which is suitable for outdoor use. Also, ask yourself how much bending and stretching you want to do while working the bed.
Building your keyhole garden's powerhouse — the compost section
The next step is to create the all-important compost section in the middle. Put the center structure in place before filling your garden with soil. To build it, make a tube that stands taller than your external structure and is approximately 25% of the diameter of your raised garden. For a 6-foot bed, this will be about 18 inches. It's important to use a permeable material that allows the nutrient-rich moisture to soak into the surrounding soil. NLKSICM 3 Foot Chicken Wire Fencing is a good choice, as it has a double-thick galvanized layer which is rust-resistant. Even an old laundry basket with the bottom cut out can make a great compost section.
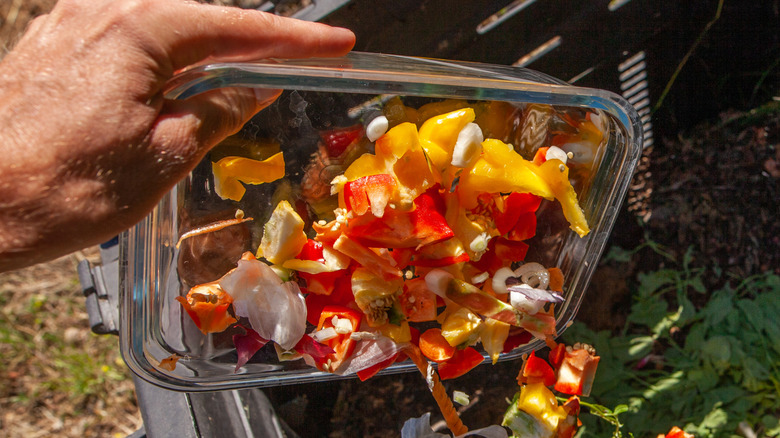
Once this is in position, begin creating an ideal composting environment. To stop weeds and grass growing through, use cardboard to line the bottom of the entire structure. Then, create a drainage system from the compost structure by placing large stones at the bottom. Fill in the compost section with layers of your compostable matter. If you've just started composting, here's what you should and should not add to your compost.
In the rest of the raised garden structure, add a layer of twigs, wood chunks, or grass. Finally, fill the bed with soil, creating a slight slope away from your central compost basket. With the hard work out of the way, you're ready to begin planting!
Picking your plants — what kind of garden are you going to have?
Traditionally, keyhole gardens were used for planting vegetables, and you can follow the trend by starting with vegetables that will grow year round in the garden. Most vegetables thrive in full sun in soil with a pH of 6.5 to 6.8. To check the pH of the soil, you can get a test meter, like the SONKIR 3-in-1 Soil Moisture/Light/pH Tester for about $11. Your local garden center will have the products you need to correct any imbalances.
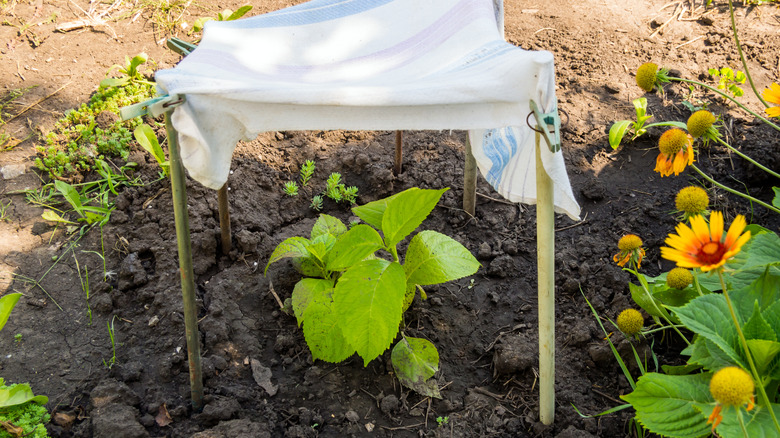
Why not try a keyhole garden for growing herbs? You'll feel like a world-class chef popping out to fetch some homegrown basil for the pasta simmering on the stovetop! Some herbs are easier for beginners to grow than others, so before you pick out your seedlings, arm yourself with knowledge by reading up on the biggest mistakes people make when growing herbs. While most veggies are sun-loving, some herbs are more tender and need shade. If your garden is built in full sun, you can create small shaded areas within the garden by using stakes and a cloth. For larger areas, invest in a shade cloth and attach it using cable ties, string, or wire.
Here's another perfect partner for a keyhole garden that is a little more romantic than pumpkins or parsley. Some brides are growing their own wedding flowers! Keyhole gardens offer a controlled micro-environment that gives a bride the opportunity to grow her blooms from scratch.