Declutter Old Clothes And Turn Them Into The Most Stylish Garland Decor
We may receive a commission on purchases made from links.
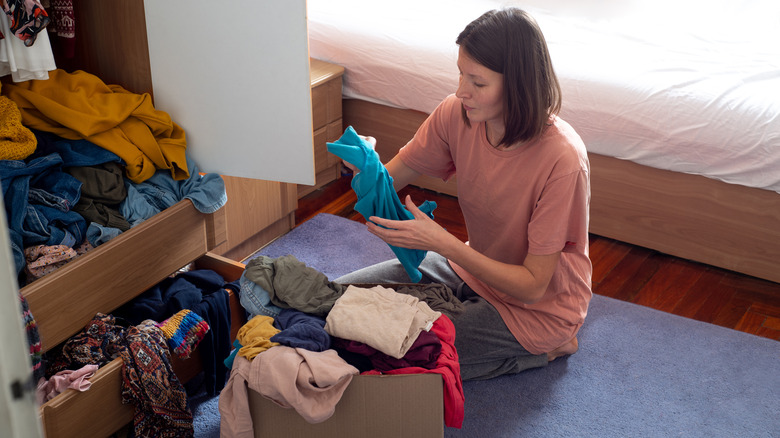
Quick question: When was the last time you decluttered your closet? If your answer is "It's been a while," today's DIY might convince you to finally get it done. We've all been guilty of hoarding clothes that don't even see the light of day. Maybe they are faded or stained, no longer fit, or just don't match your style anymore. Regardless, here's your sign to dig them out of your closet, donate what you can, and turn the rest into charming decorative garlands. All you need to do is slice the garments into strips and tie them around a string. Easy-peasy.
This is a fun DIY project that requires zero sewing skills and is practically free. Not to mention, you get to repurpose old clothing in your home if donation isn't possible. Even old cloth napkins, bedsheets, pillows, and fabric scraps would work. The only catch is that it can take a couple of hours to put everything together. Other than that, this décor idea fits right in with shabby chic, bohemian, vintage, and whimsical spaces — but really, you can display it anywhere that could use a cheery touch.
How to create the cutest garland from old clothes
First, decide how you want your garland to look. Going for an eclectic vibe? Try mixing a bunch of colors and patterns you have on hand. Prefer something a little more subdued? Stick to fabrics in neutral tones. Or, let's say you're decorating for a party. In that case, you could customize your color scheme according to the theme. Think pink and yellow hues for a summery event, or orange and black for a cheap and easy Halloween decoration you can DIY. Meanwhile, Christmastime might call for old clothes in white, green, and red.
Next up, gather your chosen candidates, a sturdy string (like the Leecogo Cotton Twine String), and a pair of scissors. Cut the fabric into about 1-inch thick strips. You can eyeball this, since they don't have to be the exact same size. Have some pieces slightly thicker and others slightly longer. This will give the garland a bit of variety. Although, we will say, cutting your strips shorter will create a fluffier garland.
Once you've gathered a hundred strips or so, cut the string to your desired length. Then, get assembling. Tie each strip around the string (a simple overhand knot will do). Repeat until you've covered it entirely. Come time to display your fabric garland, hang it from the living room mantle or drape it along a shelf. It can also serve as an adorable piece of wall art for a kid's room, or in the case of Instagram user @hbgoodie, a super cute way to decorate her children's bunk bed.