Reuse Tea Bags To Make Beautiful Collage Greeting Cards
We may receive a commission on purchases made from links.
Back before modern commercial dye existed, people turned to natural materials, like tea leaves and coffee grounds, to fulfill their crafting needs. These homemade dyes stained everything from handkerchiefs to socks. But just because it's an old-timey technique, that doesn't mean it doesn't have its modern-day uses. You can repurpose a tea bag to fashion a floral-patterned "stained-glass window" design for a greeting card, which invites the recipient to peek inside where recipes and well-wishes might be found.
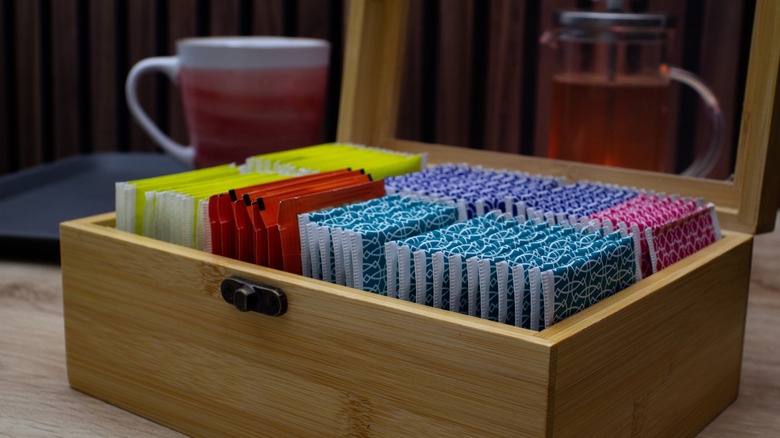
To create the design, you'll need some pressed, dried flowers, which are glued onto the repurposed tea bag. Because the tea bag has been dampened, the tea has had a chance to steep. This stains the bag's paper and creates a mocha-tinged backdrop for the flowers to rest on. You'll also require folded paper cards with the front cut out of them, creating a window pane to show off the decorated tea bag. Making this craft starts with the dampened tea bags. If you want the stained-glass collage to be on the darker side, then go with black tea. This gives the tea bag paper a stronger tint. Otherwise, feel free to experiment with different types of teas to get an assortment of paper colors. As for the tools you need to construct the card, have on hand glue, a small paint brush, a bowl of water, and an X-Acto Knife.
How to make the tea-stained greeting card
This craft is one of the more creative ways you can upcycle a tea bag. Once the tea has a chance to steep, you'll remove the tiny staple at the top, which holds the bag together in order to take it apart. Because the tea bag paper is so delicate, it'll tear easily — something you'll need to be aware of when you're pulling the wet bag apart.
You'll also want to keep the size of the deconstructed tea bag in mind as you're cutting out the greeting card's window pane. For practice, you may want to take apart one tea bag, unfold it, and then allow it to dry. You can place the dried tea bag paper over the card stock to get an idea of how big the window needs to be. This ensures that you'll have enough room on the inside of the greeting card to glue the stained-glass collage onto the card. Remember that if you're planning on using dried flowers for the collage, you'll need to prep those ahead of time. Drying flowers can take anywhere from a couple of days to a couple of weeks.
Gluing the flowers to the tea bag is a two-step process. First, glue the dried flowers onto the tag bag paper. Once that's dry, place another tea-stained bag on top of that. This creates a flower sandwich of sorts with the dried flowers being sandwiched between the two pieces of paper. This part is then glued onto the card.
Ways to level up the project
When you're making this craft, you're also not limited to dried flowers as decorative elements. All kinds of seeds would look cute on the greeting card, particularly if you intend to stuff the inside of it with seed packets or your grandma's favorite pumpkin pie recipe. To that end, dried pumpkin, sunflower, or chia seeds would be a nice decorative touch. On a related but different note, you can choose flora elements that match the seeds' theme – i.e. put pumpkin flowers and pumpkin seeds together on the front of the card to decorate it.
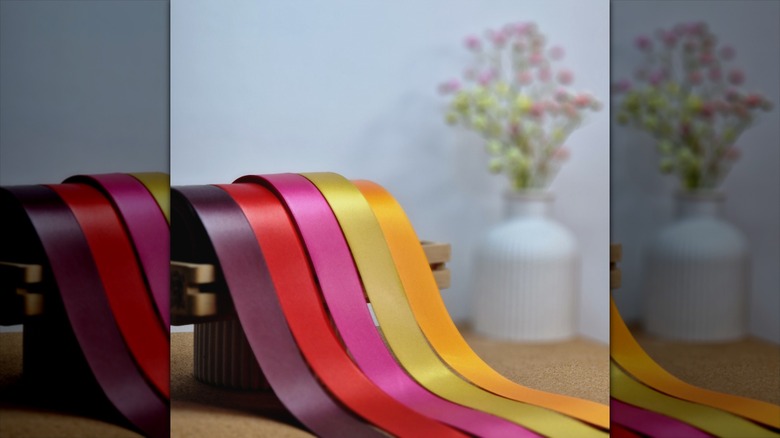
Other decorative elements like ribbons, glitter, sequins, and stickers have their place on this DIY card, too. Let's take the pumpkin flowers example one step further. To complement the flowers, you can repurpose some ribbon you have that happens to match the color of the flowers. Glue the ribbon around the window pane to accent the fall vibe of the card. A sprinkle of orange glitter spread generously across the front and back of the card stock finishes the look.