DIY A Topiary Planter To Control Fast-Spreading Herbs
We may receive a commission on purchases made from links.
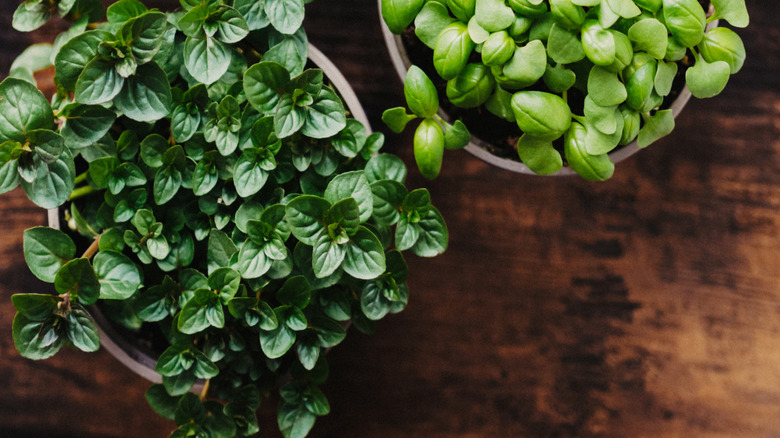
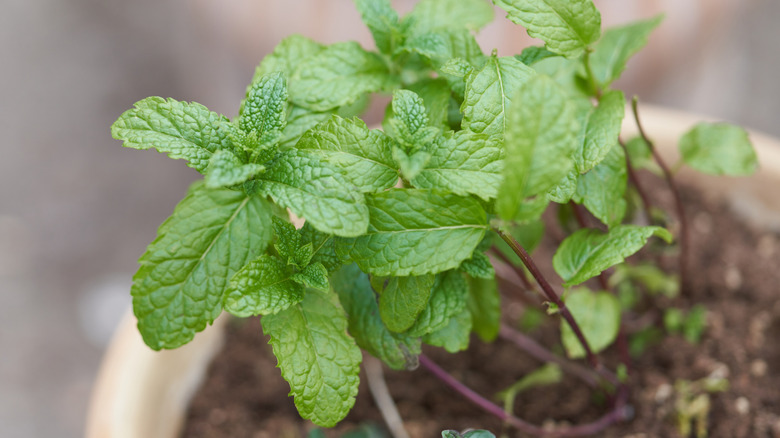
You take your eyes off them for a minute, and they're already taking over the entire garden – anyone who's ever planted fast-spreading herbs will agree that this is a major issue with them. Fast-growing herbs like all types of mint and basil can quickly take over your garden, hoarding nutrients and space. This will inhibit the growth of the neighboring plants they see as competition. But, you can keep your unruly herbs in check with a simple DIY topiary planter that'll be both practical and beautiful for your garden.
In this DIY, you'll be stacking multiple planters to create a beautiful arrangement that'll have your herbs planted in three tiers. This hack works because the herbs are placed in a container that keeps them from spreading through the garden. What's also great about this idea is the added beauty of a topiary planter and its space management. If you've been thinking of introducing topiary into your yard or any other part of your property, this is a great way to do it, as this planter will create a unique aesthetic for your garden. And by stacking the planters rather than putting different herbs in different pots, you create a vertical garden that utilizes vertical space in your yard.
Getting started on your diy topiary planter
To make your three-layer topiary planter, you only need a few materials — planters, good potting soil, and your fast-spreading herbs. For the planters, you'll need five. Three will serve as the main herb containers (20-inch, 16-inch, and 12-inch) while the other two (12-inch and 10-inch) will serve as bases for each upper layer. The HC Companies Caribbean Planter comes in many sizes and colors that you might appreciate for this project. But before we start, we have to emphasize getting the right soil for your herbs. To make things easy for you, target a nutrient-rich potting soil that has good drainage and is of the right pH for the type of herb you're planting.
To start your project, pick a spot in the garden and place the 20-inch planter. Inside it, you'll place a 12-inch planter upside down, which will create the first base. Fill the big planter with potting soil until the one inside is almost completely covered. At this point, place the 16-inch planter on the upturned base of the 12-inch pot to create a second tier. Then continue to fill the bottom layer with soil until it's completely covered. The next step is to place the 10-inch planter upside down inside the 16-inch, then fill the bigger pot with soil until it almost covers the base of the one inside. Place the last 12-inch planter on top and keep pouring soil till the middle layer is full. Be sure to place soil around the top planter to make it stable. Fill the top planter with potting soil, and your garden topiary planter is complete.
Tips for best results with your planter
Before you start planting those herbs in your topiary planter, be sure it's stable so the tiers don't topple. The video suggests running a metal column or rod through the middle of the planter for added stability. You could also consider placing heavy bricks in the center of the upturned pots. Also, ensure to add drain holes to all the pots you'll use for this DIY, even the ones that'll be hidden inside. These holes are really important if you don't want your plants getting root rot from excess water in the soil. The pots inside also have to be very sturdy to be able to hold the weight of the planter, so you can consider reusing strong plastic nursery pots for this purpose.
This topiary planter is so unique that you can use it as a focal point in your garden or patio or as a statement piece on your front porch. You can even place the planter inside your home to bring a little nature indoors. All you need is a good rolling plant stand to help with the move. Making this planter mobile would also make it easier for you to ensure it gets enough sunlight, even if you decide to leave it on your porch or patio. Finally, your planter doesn't need to be plain. Try decorating it with paint or stickers, or let the kids have fun with it to make it look more homey.