How To Upcycle An Old DVD Rack Into An Adorable Planter
Racks filled to the brim with DVDs or CDs used to earn pride of place in our homes. They displayed impressive collections of our impeccable or offbeat tastes. Now, in the age of downloads and streaming, these once wonderful contraptions are hardly better than dust traps. Declutter your living room on the spot by getting rid of that dusty DVD and CD collection and repurposing your rack into a charming planter.
Let's give our home's leafy inhabitants some fancy new digs. DVD and CD racks make handy shelves with little more than paint and a few accessories, if that. Gut its inner dividers, give it some paint, tip it on its side, and screw on some legs. The resulting standing box is eagerly awaiting a grouping of potted beauties. Whip up a craveable copy of this DIY with a set of four mid-century hairpin table legs, wide painter's tape, brushes, pink and white paint, a drill, and a cluster of plants ready to show off. If your set of legs come with wood screws, trade them out for 1 ½ to 2 inch flat-head machine screws in the same width as well as nuts.
New life for a wood rack
If your wood rack is lined with removable slats, take them out. Otherwise, built-in slats won't make too much of a difference as long as they don't run the full width of the rack. Then, sand the surface to help the paint stick, and wipe away the dust. Cover the rack's exterior (excluding the back) with white paint, and let it dry fully. Apply strips of painter's tape width-wise along the slides of the box; space the tape so that the gaps between each strip are the same width as the tape itself. Paint the spaces between the tape strips pink, and let it dry completely before removing the tape. You may need to touch up both color stripes after you peel away the tape.
Next, flip the rack upside down, place the legs' bases on the corners, and mark where the screw holes sit. Drill each hole. When you attach the legs, send the screws through the inside of the rack, and affix the nuts against the leg bases. Finally, protect your project from drippy plants by lining the box with plastic. Fill your stand with plants, and place it in a spot that gets the right amount of sun for the plants living in it. If you're shopping for greenery, check out these six trending houseplants for 2025 that you won't want to miss.
Planter options for other styles of racks
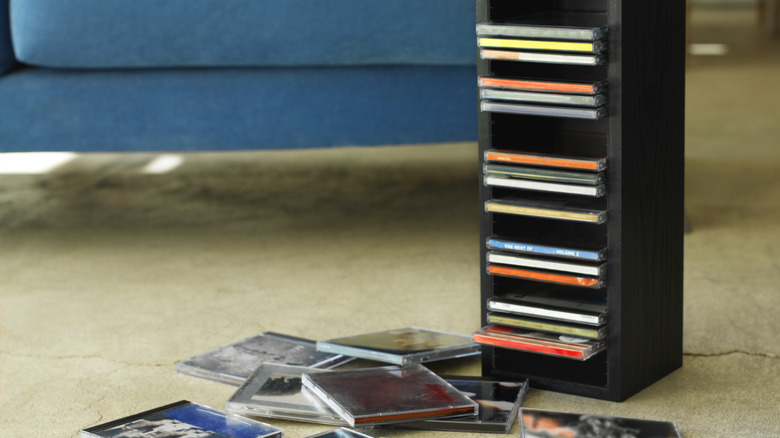
It's easy to reimagine what's essentially a wooden box as other types of storage, but if your stand takes a different form, you don't have to miss out on repurposing the DVD or CD rack around your home and garden. Two common styles of media rack that you may have are a tower divided into several shelves, and a tower with three-sided wire slats to hold each DVD or CD. Although the results are nothing like the striped box on hairpin legs of our first tutorial, you'll still get a second life out of the rack without spending much time or money on the makeover.
Shelf towers are designed to hold several individual stacks of CDs or DVDs on each shelf. Because of this, there's plenty of vertical space between each row. If yours has shelves made up of only a couple of wire slats, top them with a fitted shelf made of sturdy material like a mirror, a small cut of wood, or even a CD case. Give it a facelift with some paint, secure the added shelf pieces to the frame with heavy glue, and place your plants in their new home.
One of the least obviously reusable types of DVD or CD rack is the freestanding kind with individual slats for each movie or album. Revamp this peculiar shape into a planter shelf with nothing more than a few CD cases. Strip them of their liners and labels, and slip four or five into the slots, leaving at least 6 inches for plants between each CD. You can space the cases however will fit your chosen plants best.