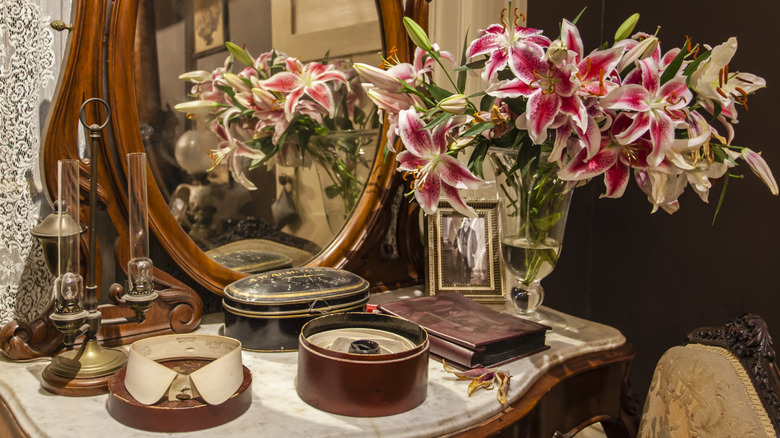
Transform A Dingy, Thrifted Mirror Harp Into An Ornate Entryway Shelf
Often, an antique hand-me-down or thrifted dresser will come with a mirror that attaches by way of a mirror harp. Some mirror harps consist of a piece of wood that sits on the top of a dresser, while others attach to the back of the dresser at both sides, allowing the mirror to tilt up and down. Whether you don't like the style of a mirror harp or want to use the dresser for storage without the mirror, you can detach the harp easily.
Before you discard this old, seemingly useless component, though, there is a unique and beautiful upcycling project you may want to consider. Using your detached mirror harp, sandpaper, wood stain, mounting hardware, picture wire, a wire cutter, and some power tools, you can DIY an elegant, high-end looking shelf that will add an element of sophistication and style to your entryway. The sanding and staining process is simple, and mounting the shelf is even easier. There are also plenty of ways you can customize this DIY to suit your home's decor and improve its functionality.
How to make an entryway shelf from a mirror harp
To start this project, detach your mirror harp from the dresser and remove the mirror. If the harp mounts to the back of the dresser instead of sitting atop, you need to cut a piece of wood to the desired length and width of the shelf and use wood glue and screws to attach the piece to the bottom of the harp. Then it's time to sand all the components until they're smooth. This can be done by hand with a piece of sandpaper, but a card scraper will cut your sanding time in half. After the wood is nice and smooth, apply a coat of wood stain or, if you want a solid color shelf for your entryway, a coat of whatever color paint you like.
Now, attach two D-rings to the back of the mirror frame at an equal height and distance from the edge of the frame. Mark the holes and use a screwdriver to put screws in place. Then cut picture wire to a length that's 4 to 6 inches longer than the distance between the D-rings. To attach the picture wire to the D-rings, use a cow hitch knot. To mount the shelf to your wall, find the studs, drill pilot holes, place wall hooks, and secure them with screws. When marking the height at which the wall hooks will be placed, take into consideration any slack in the picture wire. Now you're finally ready to hang your shelf.
Elevating the look and function of your DIY shelf
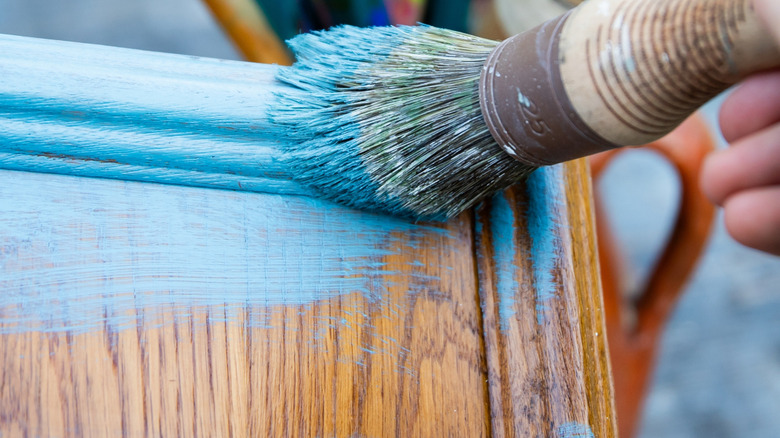
Painting this mirror harp shelf offers a way to customize it to the style of your home. This can be done with a single or multiple colors. For example, you could paint the shelf white and paint the rest of the frame a pale grey for a clean, neutral aesthetic. For a pop of color, you could paint the shelf a vibrant shade of orange and complement the color by choosing a more muted hue of light blue for the rest of the mirror frame.
There are ways to maximize the function of your new entryway shelf, as well. You can mount small hooks to the front or underside of the shelf to hang keys. Your shelf can also double as a stylish coat hanger if you opt for larger hooks on the underside. Alternatively, hooks could be installed on the arms of the frame instead of the shelf.
If you want to take this project in a completely different direction, you don't need to mount the shelf in your entryway. Depending on the size of the mirror harp, it could be placed over a door and decorated with plants. You could also mount it in the kitchen to elevate the look of the area around a microwave cart.