Don't Throw Out Old Teacups. Reuse Them For A Beautiful DIY Backsplash
We may receive a commission on purchases made from links.
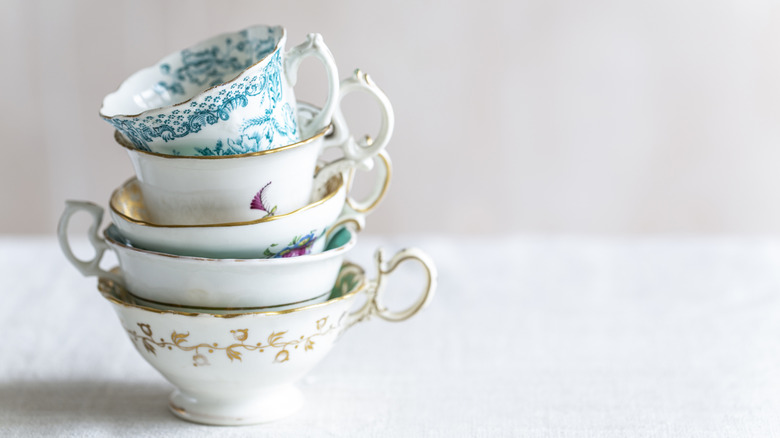
Vintage teacups and mugs often boast some of the most beautiful floral designs. You can spot them easily on the shelves of your favorite thrift store, where they can usually be picked up for around a dollar each. Other great sources include flea markets and garage sales, which often have full tea sets available for a steal. Many of these cups already have some damage like chips, crazing, or cracks, making them perfect for a vast array of clever ways to repurpose old teacups. One popular and fun project creates a whimsical and distinctive backsplash that would be perfect in a cottage-style or maximalist home. All you need are an assortment of teacups or other vintage dishes, some grout and mortar, and a hammer.
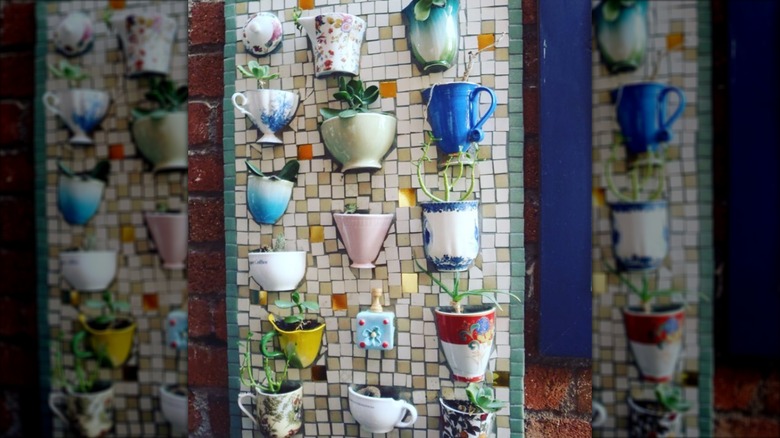
This project is beautiful in large or small doses. You can do an entire segment of backsplash, or combine it with traditional tile in specific areas, as a decorative accent. Since you will be using partial cups that jut out from the wall, you can also arrange them to hold things like small plants or objects.
How to create a teacup mosaic
To break up your cups into mosaic pieces, place them under a towel and smash them up with a hammer, using protective equipment like gloves or goggles to protect your hands and eyes. You can determine how large or small you would like the pieces to be in the final mosaic. Other great sources for pieces for your design include vintage dishware like plates, bowls, and saucers, which break nicely when hammered. You could also add other elements like marble, stones, shells, and other mosaic materials.
If you are applying the pieces directly to the wall with a mortar, plan the layout of your design on a flat surface beforehand. Use a mortar like Custom BLDG's Simple Set Pre-Mixed Mortar or Mapei Mosaic & Glass Tile Mortar, and spread it thickly on the wall with a spatula or palette knife. Embed the pieces of teacup and other ceramics into it. Once you have allowed the pieces to dry in place overnight (depending on the instructions), spread the backsplash with the grout of your choice. Many recommend a sanded grout for mosaic backsplashes due to durability and hold. Choose a grout in your desired shade like Red Devil Pre-Mixed Mosaic Grout in white or SimpleGrout Pre-Mixed Grout in Natural Gray. Use a grout float to apply a heavy coat of grout between the pieces of porcelain, smoothing it over the surface and locking them into place. Allow to dry overnight.
Placing and maintaining a teacup backsplash
Remove the excess grout with a damp rag or sponge, unveiling the beautiful mosaic underneath. If you find yourself with some sharper edges and unevenness, use 220 grit sandpaper to get started, and finish up with 400 grit sandpaper, if you're sanding down the sharp edges by hand. Allow the mosaic to cure for three days before you seal your mosaic backsplash to protect it from moisture and mold common in places like kitchens and bathrooms.
This project works beautifully on a kitchen wall as a traditional backsplash or in other spots in your home, such as above a bathroom vanity, the backing of a small decorative alcove, or covering an unsightly pillar or column. You can even combine it with other cool mosaic projects using vintage dishes, including DIY mosaic tables and beautiful coffee mug wall art. For a renter friendly DIY version, create your mosaic on a tile backer board and then mount it to the wall.