The Trendy Bathroom Renovation You Might Want To Rethink Trying In Your Home

Microcement, also known as polished cement, is one of the trendiest new materials taking over interior spaces. Available in a wide range of colors, it suits many design styles, from earthy bohemian to modern industrial. Microcement can be applied over a variety of surfaces or even all around the room for a cohesive, continuous look. This material is known for its quick installation and is generally more cost-effective than traditional wall tiles. If you're planning an affordable, trendy, and speedy bathroom remodel, you might think that microcement is the right choice for your bathroom, but there are a few factors to note before you pick up the trowel. In order to hold up long-term in the bathroom, this material requires some very thorough and precise wall preparation — and even then, you could be dissatisfied with the results.
Because of its easygoing reputation, many people may assume that they can apply microcement to bare walls or even DIY microcement over existing tile. In reality, it's very important to follow the correct installation steps and start with the right base. Poor preparation and mixing can lead to problems with the material's final texture, durability, cracking, and chipping.
Microcement installation isn't as easy as it seems
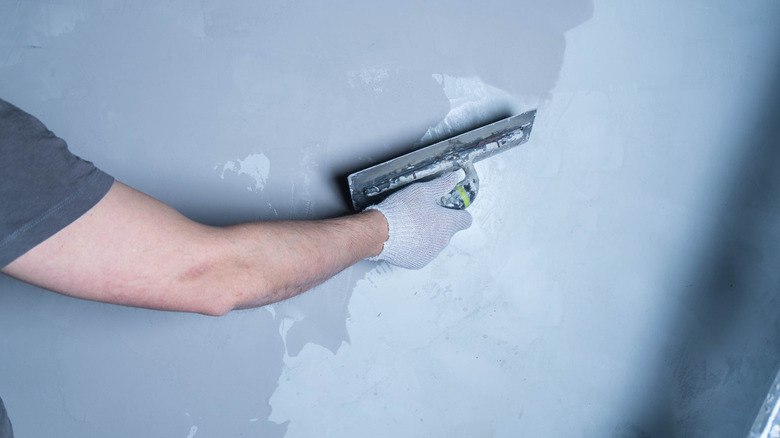
Microcement itself goes up fairly quickly; it's the preparation that's cumbersome. Applying microcement over existing tile may seem like a clever way to avoid costly demolition, and it is technically possible, but it can be very difficult to pull off successfully. Because they'll need to be filled and smoothed prior to applying microcement, tile grout lines can make the transformation especially challenging. If they aren't properly filled, you'll end up with bumpy lines visible through the surface.
Even with regular bare walls or concrete board, DIYing a microcement finish could bring you subpar results. Trowel application can result in an uneven surface. Improper pigment mixing or using multiple batches could leave the surface discolored in different places.
The temperature and humidity of the room can also impact the timing and materials needed during the installation process. This is because it's crucial that microcement dries completely between each layer. Any moisture trapped within the material can weaken it or cause visible discoloration. For wet spaces like the shower, it's also vital to install a waterproof membrane behind the microcement and finish with a concrete sealer that's safe for indoor use.
Even after it's installed, microcement has some drawbacks
For the most part, microcement holds up well in bathrooms, even amid the high humidity and temperature fluctuations. That said, despite being water-resistant once sealed, microcement can still develop mold if it's kept in a constantly moist, poorly ventilated area. Microcement is easy to clean, but can be damaged by bleach, acids, and abrasive cleaners. If your self-care routine involves waxing, massage oils, red wine, or hair dye, you may want to reconsider microcement, as this material is prone to staining.
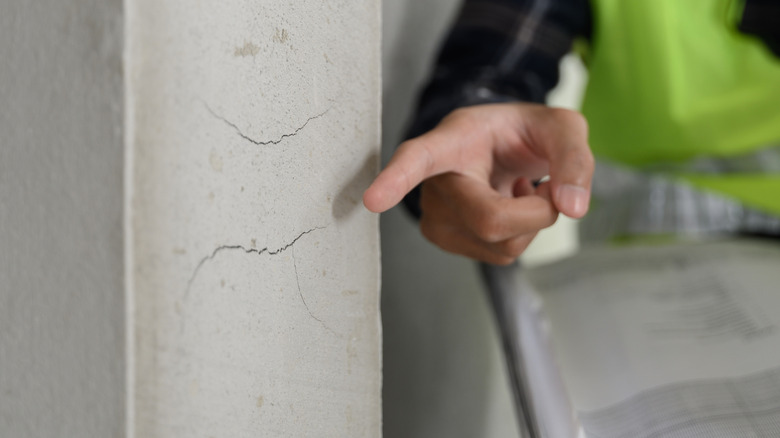
Low-quality microcement is likely to develops crack eventually or become damaged by an accidental bump. If it's applied directly over a concrete substrate (or another surface with built-in expansion joints), microcement can crack as the material beneath it naturally swells and shrinks. Fixing a crack or a chip isn't as simple as filling it in; a large patch of the wall will need to be repaired to keep a smooth, unblemished look. With all of these factors to consider, it may be worth it to explore other ways to cut the cost of your bathroom remodel.