Turn A Pool Noodle Into A Luxurious Wall Sconce With A Simple DIY
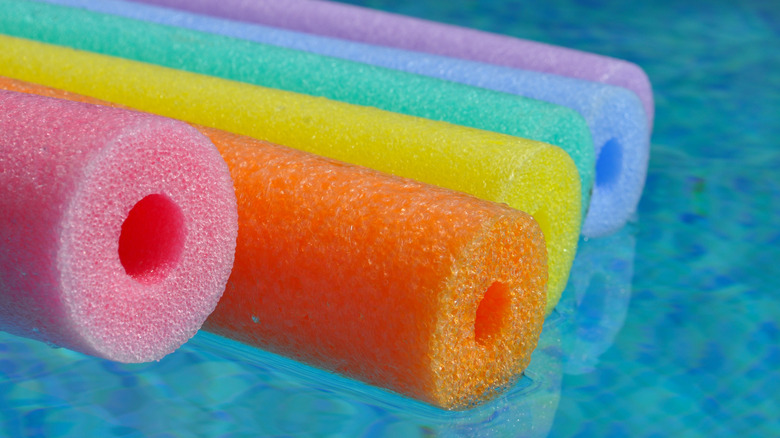
Money-saving decor DIYs with luxe results are rarely simple. Ones that are attractive and easy to pull off are rare. Sometimes, when the materials cost you pennies, the time involved makes it hardly worth the money saved. Get yourself some swanky new lighting with little more than a pool noodle and some strip lighting. A lightweight cylinder with gilded ends and a softly lit midsection is modern, classy, and utterly surprising, especially given its budget ingredients.
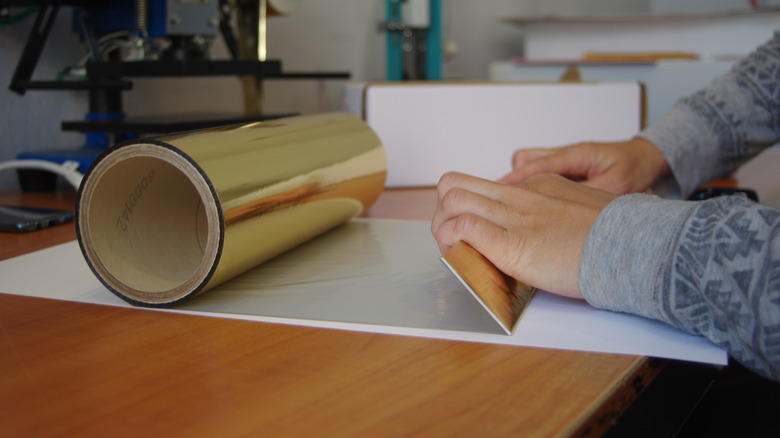
This pool noodle hack will bring a gorgeous glow to any space that could use some sparkle. For this project, you'll need a white pool noodle, gold adhesive contact paper, a flexible white chopping mat, a wood strip 2 inches wide and 24 inches long, black paint, a remote cuttable USB light strip, and a cylindrical USB-charging battery pack. Good choices for these two items are the abtong USB Powered LED Strip Lights and the EnergyQC Portable Charger.
Pick up a chopping mat like the Cotton Fly Flexible Plastic Cutting Mat, which is white and translucent since this will sit over the lighting element. If gold accents aren't your cup of tea, try finding contact paper with another finish. Consider other metallics, faux stone, a matte solid color, or a bold pattern. To assemble your light, grab some heavy-duty glue, a serrated knife, a paintbrush, and some hardware like D-rings or sawtooth hangers.
Bring your noodle to light
Instagram user Kendra Davis shows how to transform your supplies into chic wall lighting. First, you'll be dividing your noodle into three sections: two matching ends covered in contact paper and one illuminated section you'll be wrapping with the white chopping mat. To make the most of the lighting element, wrap your cutting mat widthwise around the fixture. The Cotton Fly cutting mats are 15 inches long, giving you a 15-inch-long light section. Center this piece on the noodle (but don't attach it yet) and adjust the lengths of the end sections accordingly.
Paint your wood strip and secure the hanging hardware to the back once it's dry. Cut a 15-inch piece of strip lighting. Cover each end of the pool noodle with contact paper. This will help you be sure you're cutting the right length of light strip to fit into the gap between the two gold-covered ends. Reinforce the seams on the contact paper with heavy glue. If you don't keep E6000 in your home, it's time to get yourself a tube. This glue is ultra strong, versatile, and ideal for bonding two different materials together.
Trim off a bit of the lighting strip that matches the length between the two contact paper-covered ends of the pool noodle. Center and glue the lighting piece onto the wood strip. Serrated knives are among the best tools to use when cutting a pool noodle. Grab your knife (carefully) and use it to slice away a section of the pool noodle that's 1 inch wide and 15 inches long. Only cut through to the hollow center. To keep the contact paper seams hidden, cut the same side of the noodle as the seams.
Finishing touches
Send the light cord through the hole you cut in the noodle. Make sure to send it toward what will be the lower end of the light since you'll need to access the battery pack easily for recharging. Check the direction you've placed your hanging hardware. Work it down the hollow center until the USB plug comes out the end. Edge the painted wooden strip in a generous amount of glue, and press the pool noodle seam-side down against it. Make sure that the cutaway section of the noodle matches up with the light strip. Let the glue dry and cure before moving on to the next steps.
If necessary, trim the cutting mat lengthwise to about 1 inch more than the circumference of both the noodle and the wood strip. Edge the area on the noodle with glue, wrap the mat around the section, and generously glue the overlapping bit. Tie a few bits of cord around the mat to hold it in place as it dries. Before hanging up your shining creation, you need to carve out a spot where the battery pack will live. With your knife, cut away a section of the back of the noodle's end where the light's cord comes out. Make it just a bit smaller than the battery pack.
Connect the cord and the pack, and slide the pack into the cut. The cut's narrowness may hold the pack in place by itself. Otherwise, a small piece of clear packing tape over the end of the noodle should do the trick without being obvious. Hang up your light and enjoy the glow.

