What Is The Double Cup Seedling Method And Could It Help Your Plants?
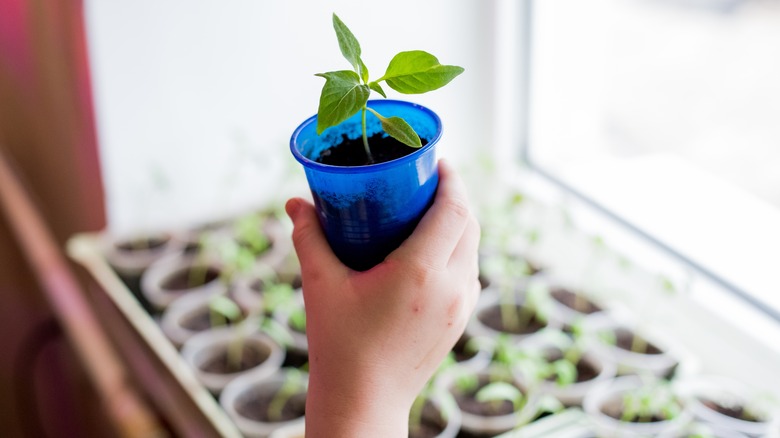
Starting seeds indoors is a great way to grow your garden, but seeds can be finicky. To provide the perfect conditions for your seeds to thrive, you may want to consider using the double cup method. This process of starting seeds uses two nested plastic cups per seedling. By putting a spacer (such as pebbles) between the cups, you can water the seedlings from the bottom. This prevents them from drying out, which can prevent germination.
Using 16-ounce plastic cups gives each seedling plenty of room to grow, so there's less chance they'll become "leggy" — a condition that can happen if sprouts are too crowded or don't get enough light. You'll know it's happening if your seedlings look tall and pale rather than bushy and strong. The cups are also easy to move around, so you can make sure your sprouts have plenty of light even if you don't have official grow lights.
Putting a baggie over each cup set increases the humidity level and creates a mini-greenhouse for each plant. You can duplicate the conditions of a professional nursery just by raiding your kitchen drawers. And you don't have to feel bad about using plastic because you can reuse the entire setup. After you transplant your seedlings, wash your cups and sanitize them in a 1:9 solution of chlorine bleach to water. Rinse well and save for next year.
How to set up and transplant double-cup seedlings
To get started, you'll need two plastic cups per seedling (such as red Solo cups), seed starting media, small pebbles, a permanent marker, and plastic baggies. Label your cups and poke drainage holes in one of them. Fill the cup with seed starting mix and add two to three seeds, planting larger seeds to a depth of about twice their diameter. If your seeds are very small, such as tomato seeds, press them into the mix and barely cover them. Some seeds need light to germinate and should not be buried — check the back of your seed packet.
Place a few small pebbles in the second cup and insert the first cup. Pour water into the outer cup for the soil to soak up. Put a baggie over the cup and keep it warm — around 65 to 75 degrees Fahrenheit — until it sprouts. Then remove the baggie and put the seedling under a grow light or in a sunny spot.
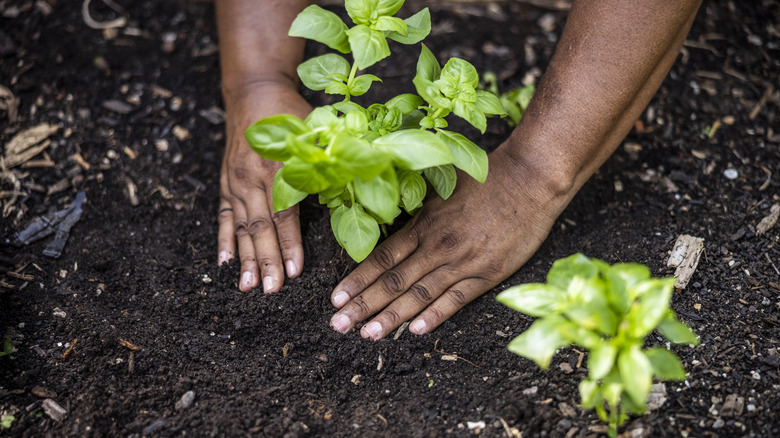
Once you see the first true leaves, you're ready to start transplanting the seedlings. Before doing so, however, be sure to harden off the delicate plants. On the big day, water your seedlings and your garden before you start transplanting. Dig a hole that's deep enough to cover your seedlings. Add some fertilizer or DIY compost to the bottom of the hole and mix in some soil. Squeeze the cup gently to loosen the seedling. Put your hand over the top of the cup and gently dump out the plant. Place the seedling in the hole and loosely mound dirt around it. Water your transplant thoroughly.