The Boho-Chic Alternative To Buying A Headboard Is One Simple DIY Away
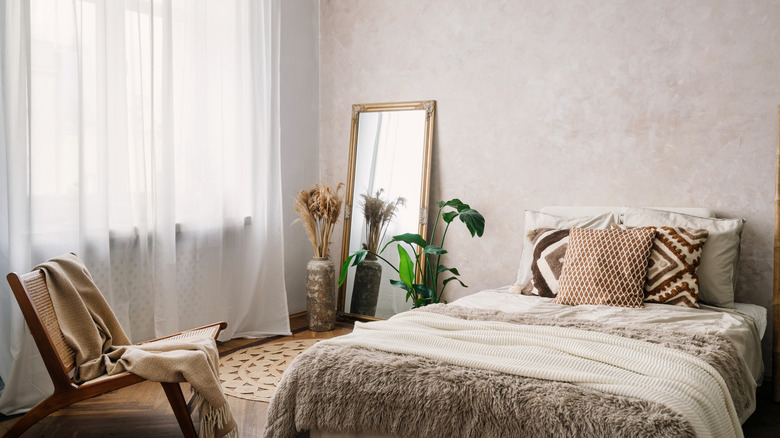
Boho-chic is an eclectic, stylish aesthetic that combines free-spirited, relaxed, and artistic elements with global influences. It's characterized by vibrant colors, interesting patterns, and layered textures. Often, boho-chic furniture will incorporate natural materials like rattan and jute, as well as upholstery that features intricate patterns. Incorporating the boho-chic look into your bedroom can help create a warm, comfortable atmosphere. Unfortunately, a bohemian-style headboard can run anywhere from a few hundred dollars to over a thousand, depending on the size of your bed. There is a way, though, to DIY a boho-chic alternative using a rug, some cardboard, scissors, industrial-strength glue, and a hot glue gun. To secure the headboard to the wall, you'll also need some command strips.
This is a creative way to bring the bohemian look into your bedroom that helps you avoid spending hundreds on a new headboard and lugging heavy furniture around. Another great thing about this DIY is that you can choose the rug that fits with your room's existing decor and your personality, transforming the look of your bedroom into something truly unique. If you have an area rug you no longer use, you can even clean it and upcycle it for this project to save even more money.
How to make your boho-chic headboard
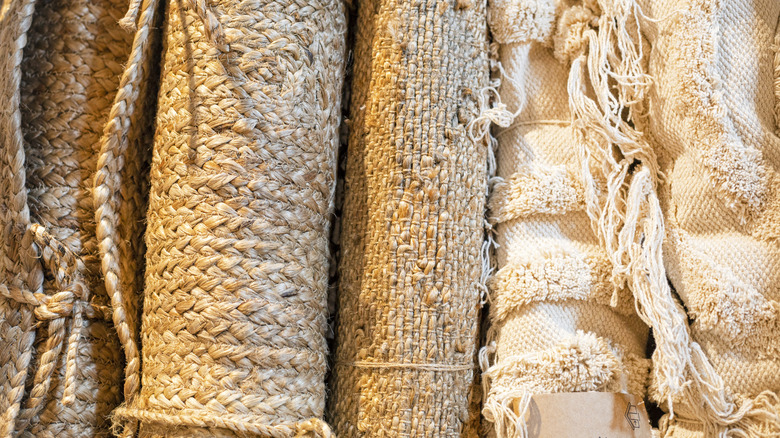
The first thing you need to do is choose the right size rug and pattern. If you don't want to have to cut the rug, choose a rug whose length matches the width of your mattress. For example, a twin-size mattress is about 3 feet wide, so you would want to find a rug this length. You should also consider how tall you would like the headboard to be. For a reserved aesthetic, you might choose a slender rug or even a small runner. If you want something bold and regal, a larger rug might work. Whatever rug you choose, be sure you have enough cardboard to serve as the backing.
When you've picked out your rug, cut your cardboard to the size of the rug, taking care that none of it peeks out from the edges. You can do this by cutting the cardboard about an inch or so smaller than the rug on each side. Then, attach the underside of the rug to the cardboard backing using industrial-strength glue, adding a strip of hot glue around the edges. When the glue is dry, and you're ready to put the headboard in place, adhere command strips to the corners and edges of the cardboard backing and press it onto your wall. If you want to ensure your creative and budget-friendly headboard stays in place, add some industrial-strength glue to the side of the command strips facing the cardboard.
Solving the wrong-size-rug issue
If the rug you want for your project is too big or small, there are ways to solve this while further customizing your new boho-chic headboard. If the pattern rug you like is too small, it's possible to use multiple rugs to create a tessellated pattern. You would do this by gluing multiple rugs to your cardboard backing. Your rugs should cover the cardboard backing at the edges, and any gaps between the rugs can be addressed by painting the cardboard a complementary color or using hot glue to adhere matching fabric to it.
If you chose a rug that's perfect for a queen-size bed and only have a full or a twin, there is a way to fix that as well. For this process, you need a box cutter. Measure the amount of rug that needs to be removed and cut that from near the edge of the rug using two cuts. Remove the piece of rug you cut out, hold the remaining edges together with tape, apply a strip of hot glue, and allow it to dry. Since your rug will be glued to a cardboard backing, you could simply glue the edge strip of the rug directly to the cardboard. Using this method, you can cut the rug to size while keeping the edges. (A simpler idea that will hide part of a large rug is to secure it to the wall at a lower point.)