How To Turn A Basic IKEA Frame Into A Cozy Bookshelf With An Easy DIY
We may receive a commission on purchases made from links.
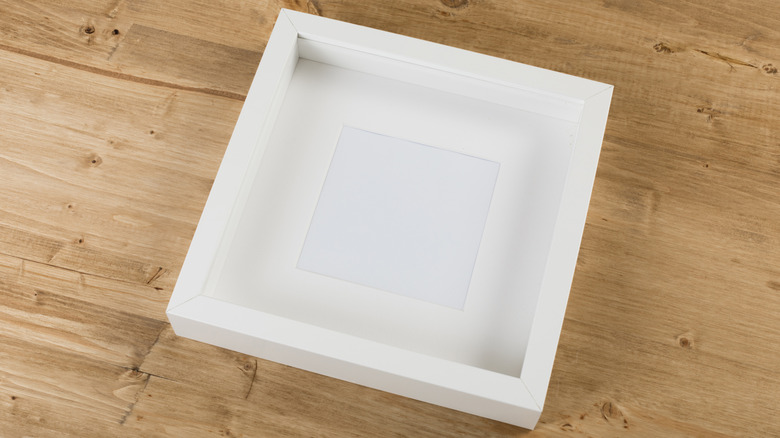
Hanging wall decor is one of the simplest ways to make any living space feel homey. While you can find creative ways to decorate your space without framed art, another way to finish a room is to double decoration with styled storage. While it may be tempting to run to the nearest store to purchase decor at full price, taking on a DIY project is often a much more budget-friendly option. For a fun way to pair decoration with storage, transform a $9.99 IKEA SANNAHED picture frame — which comes in white, black, red, birch, oak, and walnut effects — from a decor basic to a customizable accent bookshelf using just wood glue and two pieces of wood.
To build the shelf, remove the cardboard backing, mat, and plastic front protection so you are only left with the frame. Measure the inner width of the frame, which should be about 9 ¾ inches. Cut a 1-inch-by-2-inch piece of wood to this length and a thinner piece of trim to 10 ¾ inches. This is a smart way to use leftover wood scraps, or ask to have the pieces cut at the home improvement store you purchase them from. Either stain or paint the wood pieces to match the frame or leave them bare for a contrasting look. Once dry, use a wood glue, like Titebond wood glue, to adhere the 1-by-2 to the interior of the frame, creating the upper shelf, and glue the trim piece to the exterior of the frame about halfway between the upper shelf and the bottom of the frame, providing a cradle for the books.
Taking the frame from picture holder to bookshelf
To customize the piece, you might consider painting or staining your DIY bookshelf another color entirely to add a stylistic pop to your space. If you go the painting route, keep in mind the trick to painting IKEA furniture's difficult surfaces. Depending on your decorating needs, add more shelves to the frame or purchase the SANNAHED frame in a larger size to store magazines, coffee table books, and larger accent pieces. For added personalization, try lining the interior with fairy lights for a warm glow or use cool-toned under-cabinet lights for a more modern effect.
Something else to consider as you're customizing your frame is where and how to hang the shelf. If you're planning on using bigger books or other heavier pieces as part of your decoration, make sure to install the shelf over studs in the wall using screws that are at least 1 ½ inches long. You'll also want to place those heavier items on the bottom shelf, so they rest on the frame itself, not the piece of wood that is glued in place. If you're expecting the shelf to be heavy, it's a good idea to secure the frame with shelf brackets to support the extra weight.