The Budget-Friendly Jewelry Storage Hack That Comes From A Thrift Store Must-Have
We may receive a commission on purchases made from links.
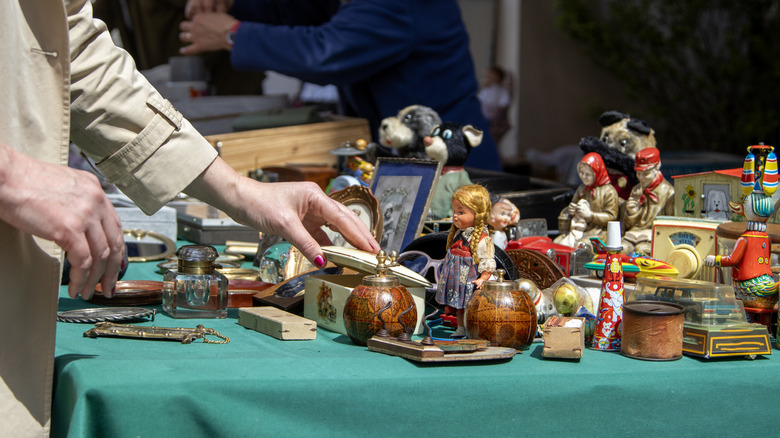
There are items you should never overlook in a thrift store or yard sale, such as frames, animal or human figurines, and trays. These items can be easily refreshed with some spray paint and used anywhere in the home. Trays, in particular, are endlessly useful as a decorative display, functional storage, or for serving food and beverages. All a thrifted tray needs is a good polish or coat of paint, or you can get creative and decoupage your favorite artwork, pattern, or personal photos to the base.
You can also repurpose a thrift store tray into something else entirely. YouTube channel Make it with Mia shows how to turn a thrifted tray into a rustic jewelry stand. This project is very budget-friendly, with components from a thrift store, the Dollar Tree, and your own backyard. This homemade jewelry stand can be modified to match any décor style and color scheme. It's also extremely easy for even the most DIY-challenged, as it only requires some paint and hot glue.
How to make jewelry storage from a thrifted tray
This beautiful thrift store jewelry storage solution starts with the tray. If you can't find a second-hand tray, you can use a Dollar Tree tray such as a square wood tray with handles (try to avoid the plastic options since the hot glue may cause them to melt). You also need three Dollar Tree dowels. One remains at its full 12-inch height, but the others need to be cut down to around 8 and 6 inches for a tiered effect. Paint the tray and dowels the same color of your choice. Once dry, hot glue the dowels standing vertically in the middle of the tray, from smallest to largest. These form the "trunk" of your jewelry tree.
For the branches, you need either three more painted dowels, or you can find sticks in your yard for a more rustic look. Cut them in three separate sizes that are slightly smaller than the vertical dowels and glue them horizontally to the top of the dowels, pairing large with large, etc. These run parallel to the length of the tray. Once the glue is dry, you can hang bracelets, watches, and necklaces from the branches for a tangle-free jewelry display, and store your favorite rings and earrings in the base tray.
How to personalize your jewelry holder
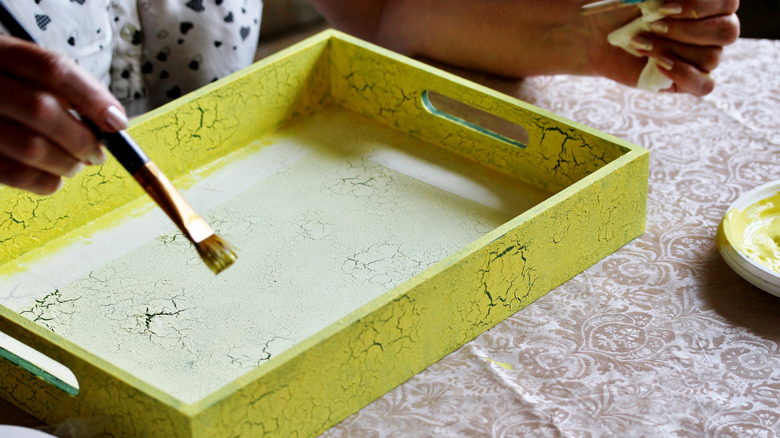
Once you've painted your tray, you can customize it further by lining the base with peel-and-stick contact paper in a fun pattern, or decoupage it with a map, paper napkin, gift wrap, or scrapbooking paper. To decoupage, simply apply Mod Podge to the back of your paper to glue it to the bottom of the tray. Once dry, apply the Mod Podge to the top of the paper and entire tray base using a paint brush. Let it dry completely, then repeat.
You can also play with the size of the tray and use a small vintage-style Funly Mee trinket dish with only one dowel in the center for a space-saving option. In lieu of dowels and/or sticks, try copper pipe or Woodpeckers wooden baluster spindles in varying sizes. If you are going for the rustic look, you can wrap jute string around the bottom fourth of each dowel and use it in an "X" shape to hold the sticks in place at the top (with a touch of hot glue for further stability). Swap the jute for metallic baker's string if your décor leans more sophisticated, or use nautical rope and white or navy paint for a coastal vibe.