DIY A Display Box To Turn Your Favorite Scarf Into Decor

We may receive a commission on purchases made from links.
While framing personal items may sound nice in theory, it's definitely not cheap. This is especially true if you're trying to create a custom frame perfectly fitted to the size of whatever object you want to display. For a more budget-friendly and personal alternative, you can build your own using a few pieces of wood and a couple of odds and ends for less than $50, especially if you already have a few tools lying around.
By making your own frame, you can not only save money, but also get the perfect size and color-match the wood to your scarf. While you can get these same benefits from a custom job, anything above an 8x10 size or things with an unusual design, will cost you quite a bit of money you might not be willing to spend to hang something up.
Just like creating a DIY mirror frame on a budget, building a base for your favorite scarves is somewhat easy and maybe even simpler than this DIY. However, it's always intimidating to try a hobby for the first time. If you're not comfortable making a frame, get a few extra pieces of wood during your shopping trip and test out a few cuts and nailing until you get it to look how you want. It may cost a few dollars more, but it can be worth it to ensure you get a cheap framing option that looks nice. After a bit of practice, you'll have no problem creating a beautiful but simple design you'll be proud to hang in your home.
Creating a frame for your scarves
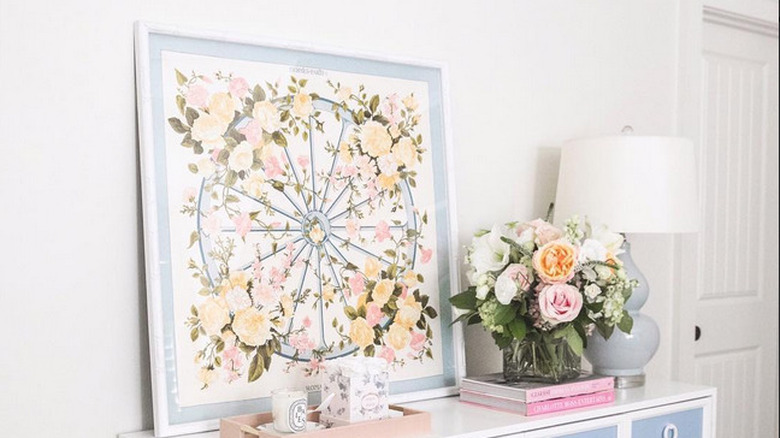
Essentially, this display turns your scarf into a mini framed tapestry. Though the finished product looks intimidating to build, it is simple to make. You will need a piece of plywood, a few planks, frame brackets, caulk, a sturdy wire, some tools, paint, and command strips. It sounds like a lot of work, but it's a lot easier than it looks, as interior design blogger Melanie Lissack shows in the above video.
To start, take the plywood and sand it until it's smooth. Then you can paint or stain it whatever color you want. In the video, Lissack chose her plywood to be a little larger than the scarf all around to better frame it, but you can make it however close to the actual scarf size you want. You'll also take your planks and cut them to be the same length as the sides of the plywood. To have them fit together, cut the corners all at 45-degree angles. Again, paint or stain it whatever color, though you may want to consider this guide to choosing the right frames for your art. Nail the frame and the wood together and seal it in place with some caulk.
The next step is to put the scarf on your frame. For this, you'll use Command strips. Lissack said in the comments that she specifically uses Command Plastic Water-Resistant Refill Strips. These are the sticking materials used often with hooks to hold them in place, but they are also perfect for holding the scarf because they are thin and impossible to see behind the thin fabric.
Take some steps to make this project feel personal
If you want to take it a step further and help your scarf last as long as possible, you can add a piece of protective transparent material. This could be either glass or durable plastic, depending on your price point. The material would protect your fabric by keeping dust off of it and any potential stains or damages. It's another few steps, but not hard to do, though it can raise the cost a little, especially if you go with glass.
Once you learn the basics of making a display box, you can hang almost anything. Don't limit yourself to scarves. Put up amazing pictures or fabrics of any kind. Because you use Command strips to keep the fabric in place, it is possible to change it out as desired to show off different scarves without damaging the fabric. Or, instead of only making one frame, build several, collect some from all your travels, and use them to make trendy wall art ideas for every room in your house.
Another note is that if you don't have the tools for this project on hand, there's no need to panic about having to go out and buy them for a DIY frame. Instead, start by looking at your local library, as many offer far more than just books to rent, and it's possible they may have the tools you need to work on this project. There are also specific tool lending libraries throughout the United States, which may be a drive, but are easier and cheaper than buying your own tools or renting them from a store.