Try A Clever Dollar Tree Plunger Hack To Create Chic Home Décor On A Budget
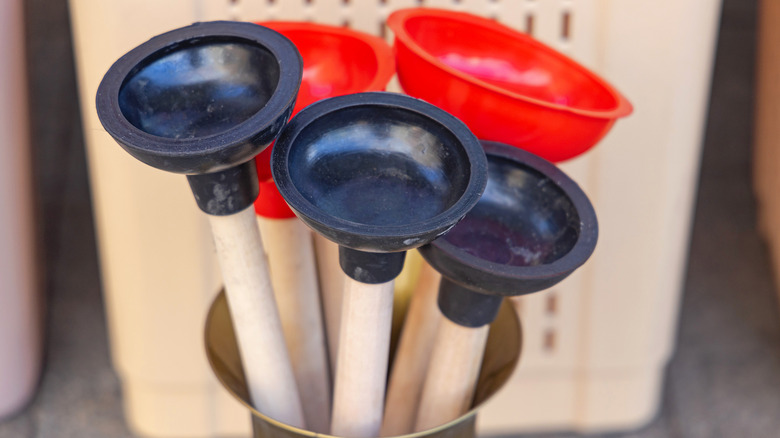
If you love DIY projects or finding ways to get adorable home décor on a budget, you know how great Dollar Tree can be. There are some unexpected items in the store aisles that are just waiting to be discovered and used for a project, such as the toilet plunger. It may sound strange, but the handle is a great piece of wood to use for a wide variety of crafts, including creating a DIY wreath stand like the one by YouTuber KraftsbyKatelyn. This stand can be made using only Dollar Tree or budget items and a few tools, and there are tons of ways to customize it to make it sturdier, fit for displaying different items, and perfect for your home's aesthetic.
To create this DIY wreath stand, you need a thermoplastic toilet plunger, a wooden circle for the base, and a hook of some kind to insert into the plunger so the wreath can hang. For the base, you can repurpose the wooden lid of a candle or an affordable circle wood shape piece. Wood glue or a drill and screws are also necessary, along with any item you have that can create a small hole for the wreath hook. Paint, rope, and other decorative items to customize your project are also important.
How to create a DIY wreath stand
Once you have your materials, start by removing the rubber end from the plunger by unscrewing it and pulling it off so that you just have a wooden cylinder. Next, attach your circle piece for the base: Using a long screw through the center of the circle and into the cylinder is one option, but wood glue is also a strong and long-lasting bonding option. Just be sure to know how long wood glue typically takes to dry (and tips to speed up the process) so that it has time to cure properly. It's also a great opportunity to use up some scrap wood and add character and flair to your base. Rather than purchasing a wooden circle piece, use a square or rectangular block of wood as-is or carve it into another unique shape, such as a hexagon, star, or triangle, for a unique and more geometric result.
Once the base is securely attached to the plunger handle, create a hole and insert the hook. You may be able to create a hole using a drill, but a small needle-like tool might also be strong enough for the wood of a plunger handle. Either way, be careful not to create too large of a hole because the hook should not be loose once inserted. Finally, the stand is assembled, and it is time for painting and decorating.
Customizing your DIY project

When it comes to customizing your wreath stand as you make it, the options are endless. Experiment with different paint colors once you learn how to paint any kind of wood furniture: White, black, and beige are good neutral options, but a bold color that complements the wreath or other item you plan to display would also look beautiful. Or, try leaving the wood bare for a more natural look. Another way to spice things up is by choosing a unique hook: A small one can blend in for a seamless look, but a larger one in a bright gold could also look striking.
But the easiest way to change up the look is by changing the wreath. You can hang a wreath of greenery for a relatively neutral look, such as a DIY rosemary wreath that smells amazing and looks stunning, but you can also brighten up your space with a floral wreath. Fresh wreaths can last for weeks indoors, making them an option. Plus, swapping out wreaths for the seasons and holidays is a wonderful way to keep any room fresh and festive. Even just adding small decorations, such as ribbons or bows in different colors, can keep the project exciting. If you tire of hanging wreaths, any lightweight decorative piece can go on the hook. For instance, try displaying a bundle of dried flowers, an ornament, jewelry, keys, or another DIY craft you have completed. It is a lovely way to display nearly anything.