How To Install Your Own Drop Ceiling Lights
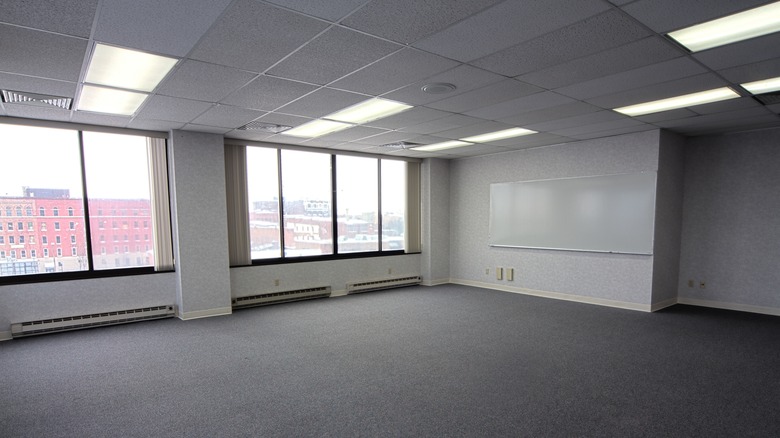
When you think of drop ceilings, you probably think of office buildings, school classrooms, or shopping centers, but there are some situations where you might want a drop ceiling in your home and, along with it, drop ceiling lighting. Basements, attics, garages, and any detached structures are great candidates for drop ceilings. If you do have a space with this style of ceiling, you may be interested in learning how to upgrade drop ceiling tiles for a modern look. No matter the style of tiles, here's everything you need to know in order to successfully install drop ceiling lights on your own, including how to ensure your installation adheres to important regulations.
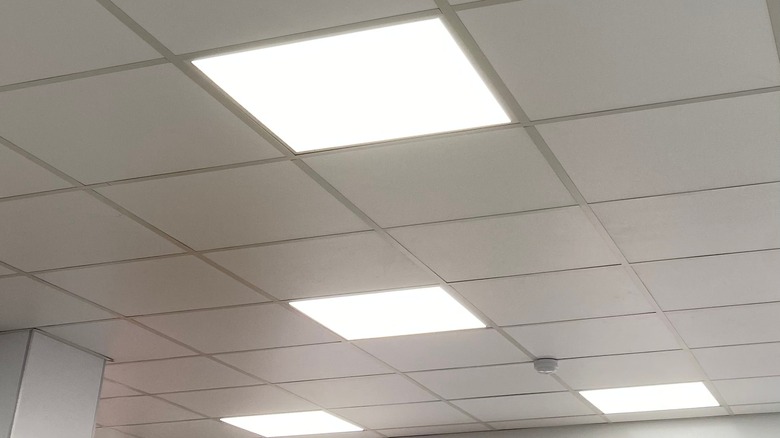
Before you start on your installation project, gather your materials. Be sure to have a circuit tester, wire cutters, a screwdriver, a utility knife, Lumex wiring, and your drop ceiling lights. As you choose your lights, there are a few things to keep in mind. LED recessed fixtures are a good choice for a simple installation and avoiding too much heat. These lights also come in a variety of sizes to fit your ceiling grid and can even have some dimming and color temperature adjustment features. Whether you choose an adjustable fixture or not, you should learn about soft white versus warm white lights so your lighting is suitable for the space. Once you have your materials, it's time to get started on the installation.
How to install the lighting fixtures
The first thing to do when working on any kind of electrical project in your home is to turn off the power. Find the electrical panel and turn off the circuit for the room you plan to work in and double check that it's completely off using a circuit tester. Remove any old lighting fixtures and determine where you want to install the new ones, keeping in mind locations with wiring boxes nearby.
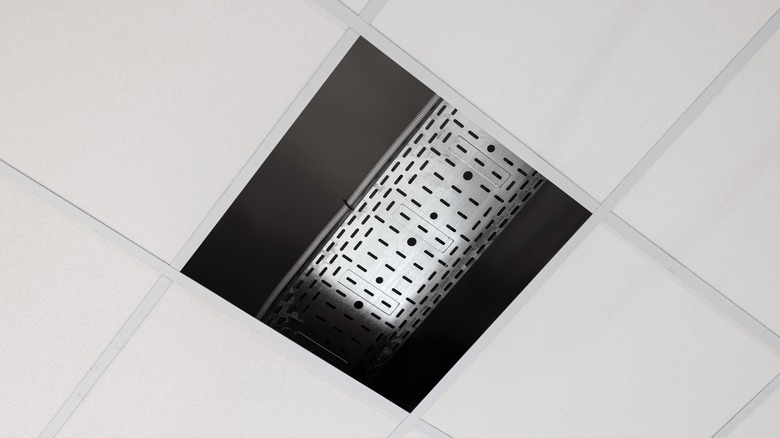
Once you decide where the lighting fixtures will be placed, remove the ceiling tiles from those spaces and locate and access the nearest wiring box. In the box, find the secondary hot wire (often red), which is used for switches. Next, cut your Lumex and use a Lumex staple to secure it near the box. You will need one piece per lighting fixture you plan to install. If you're attaching multiple fixtures to one box, thread the Lumex through the ceiling to the next fixture's location and add a Lumex connector near the end. Use a utility knife to expose a few inches of the wires inside the Lumex.
Now, remove the cover from the junction box on the lighting fixture and identify the wires in the junction box. Pop out a circle on the junction box cover and click the cover into place on the Lumex connector before stripping the wires and splicing the three wires in the Lumex cable to the three wires of the junction box. Finally, put the light in place, and splice the Lumex with all of the corresponding wires in the wiring box.
Drop ceiling light installation tips
Before you start thinking you're all done, check local regulations. In some municipalities, you may have to hire a certified electrician to wire lights. Your area may also require you to add seismic restraints or other additional support to the lights. To do so, use seismic wire and crimps on either side of the lighting fixture to connect the fixture to hangers in the ceiling. Make sure to replace the covers of all of the junction boxes and other wiring boxes before you put all of the tiles back into place and test the lights.
Also keep in mind that if you open the lighting junction box and find more wires than expected, the additional wires are likely for dimming features or emergency lighting. Different models of lighting fixtures will have different features and may need slightly different installations. Read any instructions that come with the specific fixtures you purchase to ensure your installation is correct.
With all of these steps done, your installation should be complete. Drop ceiling lights are relatively simple to install, but the process can also be dangerous and should be done by people with electrical experience. However, if you do have the knowledge and experience and decide to take on this project, it can be completed with just one person. If you're still in the process of finalizing your basement ceiling on a budget or by yourself, check out the cheapest DIYs to finish your basement ceiling while keeping it accessible.