Welcome Spring With Larger-Than-Life-Outdoor Plant-Inspired Decor
Spring is the time of year when your outdoor spaces are reborn with lush plants and blooming flowers. If you're looking to refresh your front or backyard, you might be in the market for a bit of décor that matches the aesthetic of the season. Luckily, there is a neat trick that can help you achieve this look using just a few pieces of plywood and a jigsaw. Larger-than-life wooden tulips are the perfect way to welcome spring and transform your outdoor space with vibrant seasonal décor. And with just a few simple steps, you can have them completely painted and on display in no time. Whether you want a pop of color in your front lawn or a few accent pieces for a backyard barbecue, these simple yet stunning additions will bring your outdoor space to life.
The primary appeal of this trick is its affordability and customizability, allowing you to introduce a variety of shapes and colors that best match your existing décor. They form a freestanding display, meaning you won't need to build additional supports or buy a custom stand in order for it to fit properly. The DIY uses plywood, which costs a little over $20 for a 2-feet by 4-feet piece, and tools that every homeowner should have access to. It provides the perfect framework for a stunning seasonal display that is completely unique to your home. And it is entirely do-able for even the most inexperienced DIYers — just remember to practice using a jigsaw safely before attempting it.
Creating your own wooden tulips
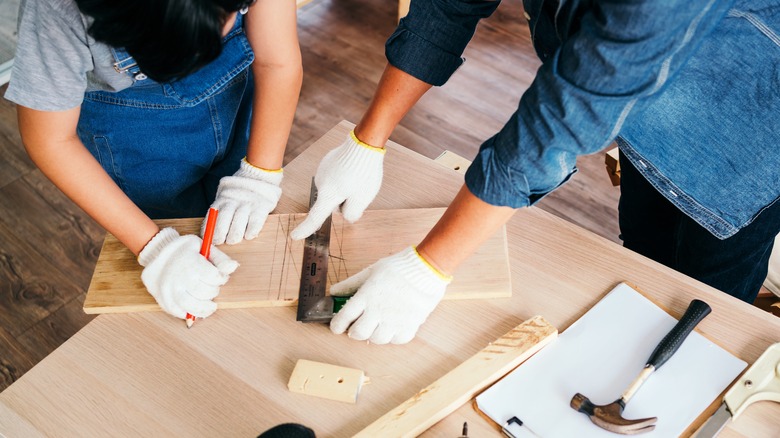
To get yourself started, lay a piece of ½-inch plywood on a flat surface and sketch the outline of your tulip. You will be cutting two tulip shapes that interlock to create a three dimensional shape, using the first piece as a guide to cut the second. This will ensure that both pieces are symmetrical and will stand up on their own when fully assembled. Using your jigsaw, cut the first tulip shape out of the plywood and lay it on an uncut section of wood. Proceed to cut the second shape and lay both of them on a flat surface. You will also need to ensure that the bottom of each tulip is completely straight so that it rests flat on the ground. On one of your tulips, you'll want to cut a 2-inch slit down the center, starting at the top and stopping at the middle. On the other shape, do the exact same process, but starting at the bottom and finishing the slit halfway up your piece. Once you're done, test that the pieces fit seamlessly into one another and you're ready for a bit of customization.
There are plenty of easy tips for painting outdoor furniture and décor, but it starts with choosing the right color. If you made multiple flowers, you can mix and match petal colors to mimic the different shades that are present in real tulips. Seal the paint if you aren't using one suited for outdoor use, and enjoy your décor plucked straight from a fairy tale.
Other plant-inspired décor projects for spring
If you love the idea of refreshing your outdoor space with customized springtime décor, why stop at wooden tulips? Using leftover scrap wood that you might have lying around, you can create a number of other projects that can transform your yard with wooden flora and insects. For alternative flower variants, you can create wooden daisies or sunflowers, bringing in new colors and different shapes. They won't use the same interlocking mechanism as the tulips, but instead fence posts or 2-inch by 4-inch planks as the stem. These can add an element of variety to your existing wooden structures, and provide a playful accent to the tulips.
Alternatively, you can fill your wooden tulip garden with a number of colorful insects that add a touch of realism. Use plywood to carve a series of butterfly wings, securing them with a dowel in the center and a few brackets on the underside. These butterflies can be secured to fencing or siding, or you can mount them on garden stakes to litter throughout your garden. You can also create small wooden ladybugs that accent your newly created flowers with a burst of red. Bumblebees are also a fun option, and an interactive way to teach children about the importance of starting a pollinator garden. If you aren't ready to create a realistic wooden garden, you can always add these extra elements in the future when you have a bit of spare plywood lying around.