Turn Any Boring Wall Into A Functional Design Feature With A Stylish DIY
Walls in many newer homes, typically created from basic drywall, often lack the character and interest that well-wrought wood paneled and plaster walls have in much older homes. This can mean that they don't really add much to the space and décor of the room they define, losing a rich opportunity to create another design layer for a more cohesive look. While many homeowners deal with plain walls by adding large scale art, gallery walls, wallpaper, or paneled accent walls, a unique approach not only gives you a fun rustic wood accent wall, but provides slender shelves that can be used for displaying décor and artwork.
This project for a beautiful wood accent wall uses inexpensive lumber and paneling segments to create a fun look that can be completely customized to your décor. Since the paneling and the exterior frame attach to the walls with nails, the holes can easily be refilled, making it a rental-friendly way to add some interest to your walls. It also gives your space the look of built-in shelves between the studs without having to break open the wall to create them.
Building a faux stud shelving accent wall
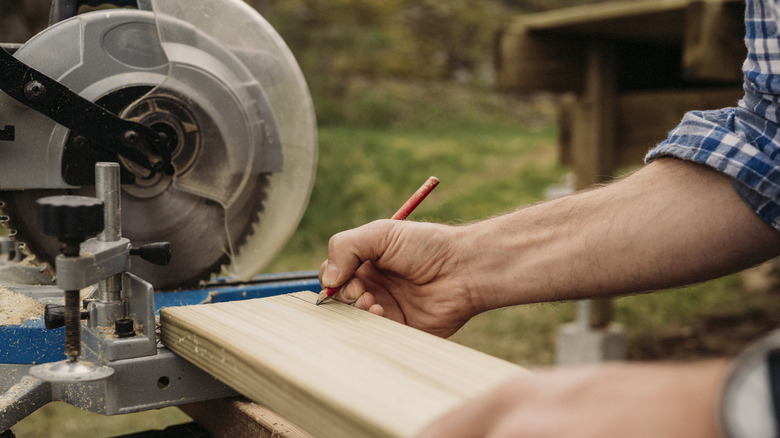
To create your wood accent wall with shelves, you will need to start with a blank wall, removing any existing trim or baseboards. Cover the surface of the walls with paneling that will serve as the backdrop of your shelves. You can install individual planks or larger pre-made segments that attach to the studs with nails. Oher great materials for backing the faux stud shelves include plywood, cork, shiplap, and other materials that create interesting backing texture. For the fake vertical studs, you can use two-by-four-inch planks, or, as in the above video, two-by-three-inch salvaged boards.
Create a frame with one-by-three-inch planks along the ceiling, floor, and in the corners to hide where the paneling meets the wall. These top and bottom boards will hold your faux studs in place firmly if you cut your board slightly larger than the span between them. You could use some pocket holes to attach the joints more firmly. Cut down more one-by-three-inch boards to create the shelves, which you can arrange as desired between the studs, using nails to attach them to the vertical pieces.
While this format works if you want thicker shelves when DIYing a wood accent wall, you can also use more slender pieces of wood if you just want to add the visual look without the bulk of protruding shelves along the wall. Just swap out the one-by-three-inch boards with 1-inch or 2-inch width pieces for a paneled look that is more cosmetic than functional. If you plan to store items on your shelves, you could also install wooden or brass dowels to help keep things from rolling off.
Customizing your accent wall
Use these shelves to frame or hold décor items and artwork between the openings and along the narrow shelves on one side of the room. Or use several walls of shelving to provide storage in a space like a craft room. This accent wall would work wonderfully in a narrow space like an entryway or hallway to add some display surface, or in a bathroom for holding toiletries and other supplies. Try one in a kitchen to hold spices and teas or use it to make a small bedroom more functional by creating strategically placed ledges for overnight essentials.
This project can be completely customized to fit the size of your space as well as your aesthetic. While rustic gray paneling and white boards are a great choice for this project, you can also use other varieties of paneling and natural or stained boards for a different style. For example, a faux brick paneled accent wall with the shelves painted a rich matte black works well for a more industrial look. Or try distressed painted boards on top of a wallpaper backing for a pretty cottage-style vibe. You can also create this effect on a smaller segment of wall with defined borders made of two-by-fours.