The Stylish DIY Wall Bracket You Need For Your Coat Closet
We may receive a commission on purchases made from links.
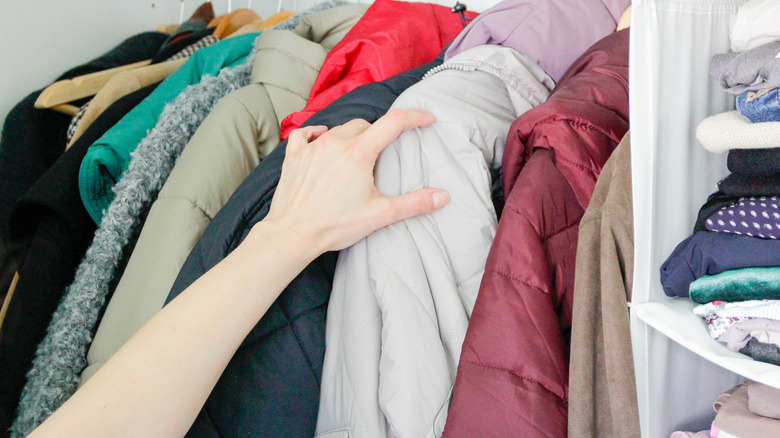
If you're the type of person who loves to go above and beyond to create a unique space, then you're definitely going to want to try this stylish DIY wall bracket for your coat closet that will make better use of your space. The unique design will easily double down as a statement decor piece while also being functional. While you could always buy a unique rack like the Umbra Picket Wall Hook, if you love challenges and adding your own touch to things, then you should definitely DIY this one. Take your customization to the next level by choosing the type of wood, finish, and even the size of the rack.
This project goes beyond creating something functional; it's about blending aesthetics with practicality. It doesn't matter whether you're in search of a space-saving functional upgrade to organize your cramped coat closet or a chic statement piece for your entryway that will add a personal touch, this project can do it all.
Before we get into how to create the wall bracket, here are the materials and tools you'll need to gather: a wooden board that will serve as the base for the bracket, wooden dowels that will act as the flip down hooks, a threaded rod to secure the dowels side by side, two wall brackets, two keyhole hangers, two nuts, eight screws, and rubber end caps to cover the nuts on the ends of the rod for a more professional finish. As for tools, grab a drill and saw.
Securing your hooks and getting your wall bracket ready for use
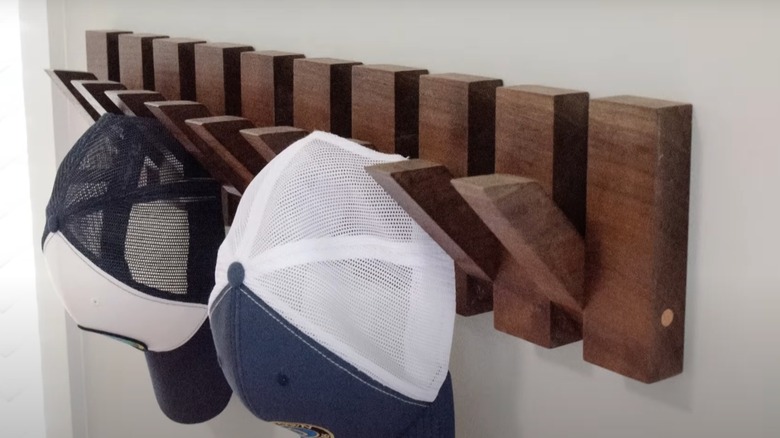
First thing's first, cut the dowels to your liking. If you're worried about cutting dowels perfectly, some say that using a dowel cutting jig can give you perfect dowels every single time. You can opt for a balanced yet stylish look by cutting the dowels into three or four different pairs, similar to Instagram user @qreat_ion's product, or go for a more uniform look. If you're not a fan of using dowels, you could also use square or rectangular wooden slats. A bracket with square wooden slats would look similar to YouTuber Matt Bork's finished product. Feel free to customize it to match your style. When you've cut the dowels into sizes of your liking, you're going to carefully drill holes in each dowel at the same spot. This guarantees nicely aligned dowels when placed on the metal rod. This just might be the most important part of the project, as aligned holes will allow the dowels to flip down smoothly.
Once you're done drilling the holes, grab the metal rod and fasten a nut onto one of the ends of the rod. Then, slide the dowels onto it in the order you'd like and fasten the other nut onto the opposite end of the rod to secure your dowels in place. Give it a more professional finish by adding rubber end caps to cover the nuts on each side.
Cutting and preparing the dowel hooks
Now, it's time to attach the dowels to the baseboard. Just like in the Instagram reel, align the baseboard with the dowels and double check that the ends of the dowels align with the edges of the baseboard. If they don't, you'll want to cut the baseboard accordingly. Next, use the screws to attach the dowels to the baseboard. Four screws will go on the two end dowels, and the last two screws in the middle dowel. The other dowels should be good to use as flip-down hooks.
Flip to the back of the baseboard and grab the last two screws and the two keyhole hangers. Place the keyhole hangers about half an inch away from the set of screws on each end. When you've found the sweet spot, go ahead and screw them in place. Once that's completed, you're finished! Go and hang your wall bracket wherever your heart desires.
You can really personalize this wall bracket by choosing wooden dowels or slats that match your home's aesthetic. If your home has a mid-century modern vibe, go for walnut or oak dowels. If you have a modern farmhouse style home, opt for light-colored woods like birch or maple dowels. If you're working with limited space, this wall bracket will maximize functionality and help keep the space organized. Just remember to avoid the worst errors you can make with your coat closet to really maintain a neat and functional space.