The Essential Step That Novices Forget When Putting Up Wallpaper (And They Seriously Regret It)
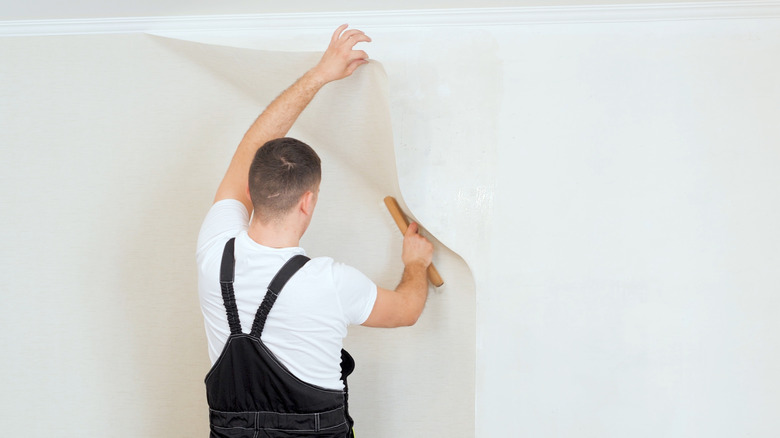
Wallpaper is a simple and effective way to bring personality and pops of color or pattern to any room. So picture this: you pick out the wallpaper you want, spend hours applying it, take a step back to admire your work, and... it's crooked. There's an easy way to avoid this; all it takes is a quick precautionary measure before you start applying: drawing a plumb line.
The difference between a level line and a plumb line is their orientation. Level lines are horizontal, while plumb lines are the straight vertical lines that you'll use to align your first applied sections of wallpaper. Taking your time to draw these lines can be the difference between a skewed end result and wallpapering your home like a professional. You may think you can use the edges of your wall as an alignment guideline, but your walls might not be perfectly straight. So, if you skip the plumb line step, you may not notice the pattern on your wallpaper is starting to look askew until your wall is halfway covered.
Where to draw your plumb line before wallpapering
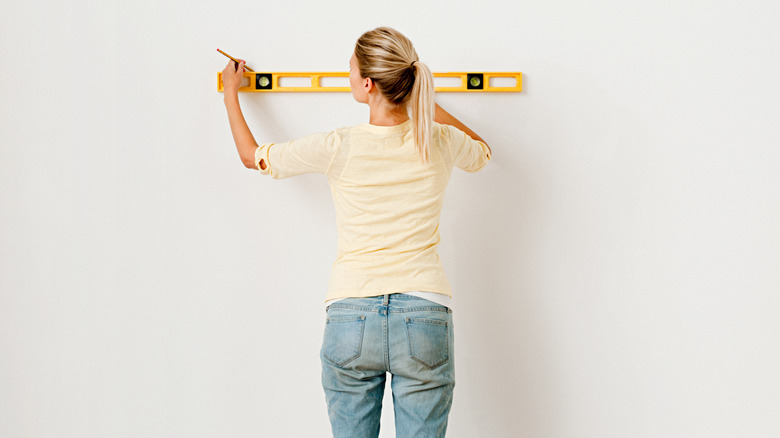
In order to draw your plumb line, you'll need a 4-foot level, a pencil, and the wallpaper you'll be applying. First, pick which side of the wall you'll start your wallpaper application from. Then, measure the width of your first wallpaper panel onto the wall, accounting for overlap with the corner of the wall and the ceiling. Don't worry; you'll cut off the excess at the end of the application process.
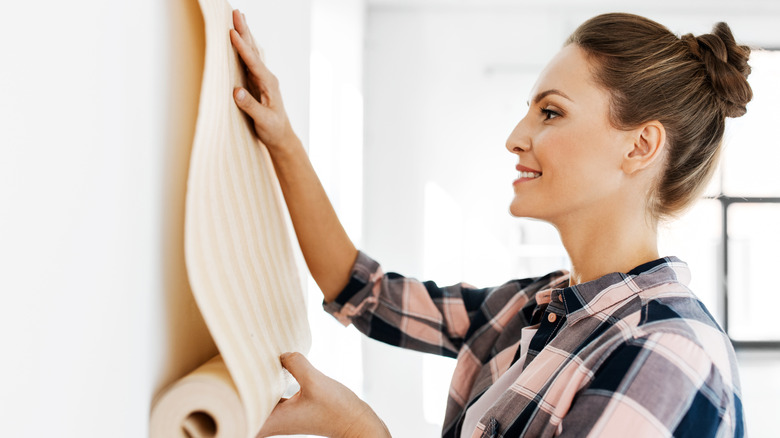
Now, hold your first panel up to the wall, scooting the wallpaper down so you have room to draw a line above it. Keep your level horizontal and draw a line with your pencil until you reach the edge of the wallpaper panel. This is your level line; where it ends, you'll draw the plumb line. Turn your level vertically and draw a small line (lightly!) straight down. Make sure to use a pencil for this step, not a pen or marker, since ink can bleed through the wallpaper once it's applied.
As a bonus tip, if you're starting your application from a corner, move the plumb line back by half an inch. With this extra step, you're guaranteed a bit of overlap with the neighboring wall, which helps your application come out looking cleaner in the end. Now you should have the plumb line you'll need to align your wallpaper perfectly!
How to use your plumb line to apply wallpaper
Once you've drawn your plumb line, now what? Scoot your wallpaper panel back up so it's in position to overlap with the ceiling by about 1 or 2 inches. This will ensure there are no gaps between the wallpaper and the upper edges of the wall it's applied to. Line up the wallpaper's vertical edge with the plumb line. Now you're ready to carefully apply your first panel according to its instructions, whether it's the traditional type applied with paste or peel-and-stick, which works exactly like the name implies.
You should be able to use the edge of your panel to line up the rest of the panels for that particular wall, but for extra perfection, you can draw more plumb lines between panels. If drawing the first line led to the discovery that your walls aren't perfectly straight, this step may be extra helpful for you. At minimum, you'll need to draw a new line every time you start a new wall. With a pencil, level, and a little extra time investment before you start wallpapering, you can avoid the biggest wallpapering mistakes DIYers make and get the flawless application your home deserves!


