How To Add Length To A Wooden Fence Post With A Half-Lap Joint
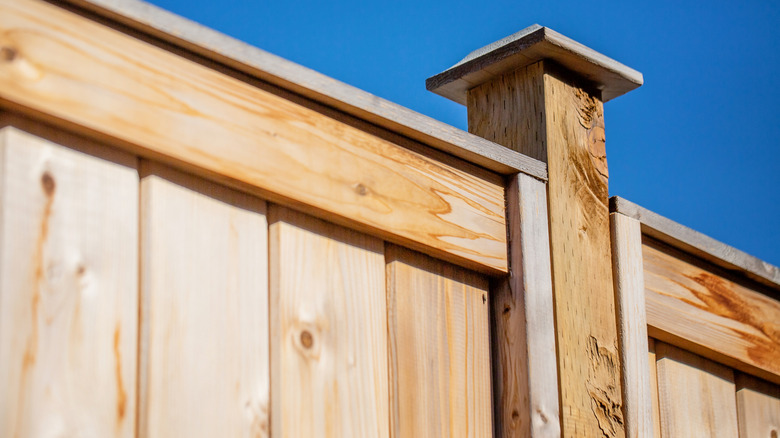
There are two little-discussed axioms of neighborhood life: neighbors are nosy, and everything is noisy. Usually, a thicker fence won't help much, so you decide to build upwards in hopes of blocking more sound, inquisitive glances, and even the occasional mis-kicked football. Then you remember what a good job you did of cementing in your fence posts, proudly declaring that they couldn't be pulled out with a tank. The best approach might be to make your posts taller rather than replacing them. But how?
There are a lot of ways to extend a wooden fence post, and each method has its drawbacks. Specialized hardware might be required, as with sleeves and brackets that claim to let you simply stack posts on top of each other. Or a technique might rely on unusually rot-free wood for stability or longevity. And even when the wood is solid, time and weather have their ways with even the most treated of wood, causing screws to loosen over time. On the other hand, half-lap joints, in which two boards are joined by removing half of each's material where they overlap, are simple and effective. And it's satisfying to see the wood fitting together perfectly; how many woodworking tricks generate ASMR videos, after all?
Getting past the main challenge with fence post lap joints
A half-lap joint is the strongest and most structurally sound approach to extending a fence post. In a woodworker's or carpenter's shop, they'll often be made with a table saw and dado blade, by making many passes with a saw, or with a router. The trouble is that precisely cutting the end of a post cemented into the ground, possibly while standing on a ladder and ignoring the roar of go-kart engines, doesn't lend itself to fine woodworking.
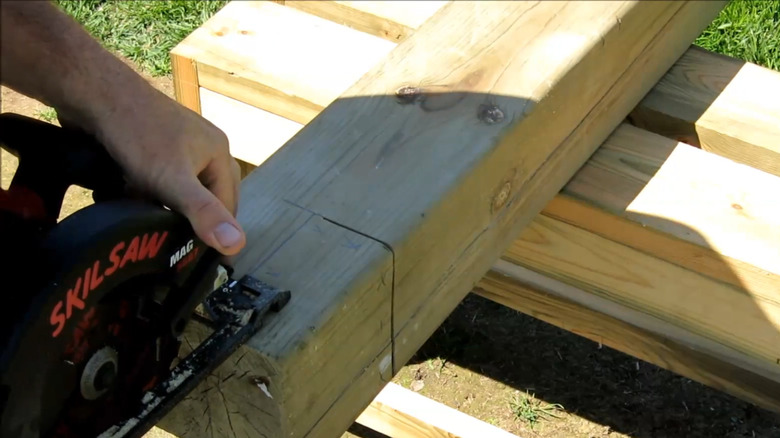
Let us begin with the end in mind. Since you're joining posts along their length rather than at a right angle (technically making this a splice lap joint), you have the luxury of making the half-laps as long as you'd like. Aim for 6 to 8 inches; longer is better, for reasons we'll address later. The easiest and, arguably, best way to accomplish these cuts is to use a circular saw to cut the shoulder of the lap – the new surface that will be parallel to and half the width of your post's end. Now, make two cuts from the end of the post to start forming the cheek — the part of the joint where the posts will overlap, because of the round saw blade and the dimensions of your post, you won't be able to cut all the way through with a circular saw, so grab a handsaw or reciprocating saw to finish your shoulder cuts. The process is well-illustrated in a YouTuber Jim Dockrell's video tutorial..
How to join the two posts
Once you have them accurately cut, what's left is the relatively pleasant work of putting the two pieces of fence post together. Ideally, you have longish shoulders on your half-lap joints, which you'll be gluing together. Glued lap joints perform better with increased overlap area, demonstrating better tensile strength and flexural rigidity, though there's a negligible effect on compressive strength. Don't be too fussy about making the cuts perfect because slightly rough surfaces glue together more strongly than smoothly planed wood surfaces. It's widely known that wood glue is so strong that joints fail in the adjacent wood, not within the glue itself. Since you're working outdoors, take note of the weather. In humid circumstances, consider using a polyurethane glue rather than the usual PVA wood glue. Polyurethane glue loses less strength than PVA glue under moist conditions (and, in fact, is stronger when wood has a somewhat high moisture content of around 20%), though both are strong.
You can reinforce the post extension with corrosion-proof screws, but it's better to use bolts that run all the way through the joint. It's useful to do this while the glue dries since clamping is necessary for using wood glue effectively. A galvanized carriage bolt every few inches is good, and using a fender washer on the hidden nut side of the bolt will improve strength. For a four-inch post, use a bolt at least a ⅜ inch thick or a thicker bolt for thicker posts. Finish with a fence post cap to protect your extension from the elements.

