How To DIY Microcement Over Existing Tile For A Budget-Friendly Upgrade
Replacing old tile can take quite a bit of time and money. In addition to paying as much as $4 per square foot to remove old tiles, the cost to newly tile a bathroom can easily reach $1,500. What's more, the process can prove labor-intensive and messy, as the correct way to remove ceramic tiles involves several steps and a lot of cleanup.
If you don't have your heart set on the aesthetic that tile provides, you can simply cover it up with microcement rather than going through the trouble of ripping it up. This cost-cutting alternative works on both existing floors and walls, is fast, is easy to do, and requires no demolition or construction. In short, the process requires only three main steps, starting with applying an acrylic polymer primer. This coating is essential to help create a strong bond between the microcement and the tiles underneath. Next, you'll pour two to three layers of concrete microtopping or microcement, which is most readily available in natural-looking grey and white. However, some brands do offer a wider range of subdued hues, while others still have gone all out with bright pinks and greens.
Once the microcement is poured and set, you'll finish it off with a couple of layers of clear acrylic sealer to protect your DIY, and that's it. The cost of materials to cover a 300-square-foot surface this way is only around $180, and the result is durable and easy to maintain with a pH-neutral cleaner.
How to apply microcement directly on top of old tiles
Once you've decided that microcement is the right choice for your bathroom or kitchen, it's imperative to check there are no issues with your flooring or wall before getting started. Any cracks or loose tiles need to be fixed first in order to create a flat surface for the microcement. A deep clean is also essential to eliminate dirt and mildew. Scrub the tiles and grout thoroughly with a brush and a DIY paste made from 3/4 cup baking soda mixed with 1/4 cup hydrogen peroxide and 1 tablespoon of dish soap. Rinse off the solution, and allow the surface to dry fully before getting to work.
While not necessary, it's a good idea to fill in grout lines with spackling in order to create a totally smooth base. Another optional step is to add a layer of fiberglass mesh on top of the tile to help reinforce your finished project. DIY TikToker homewiththe_buckinghams used a paint roller and the primer to attach the mesh directly to the tile. If you're covering a floor rather than a wall, an extendable paint roller can make things easier.
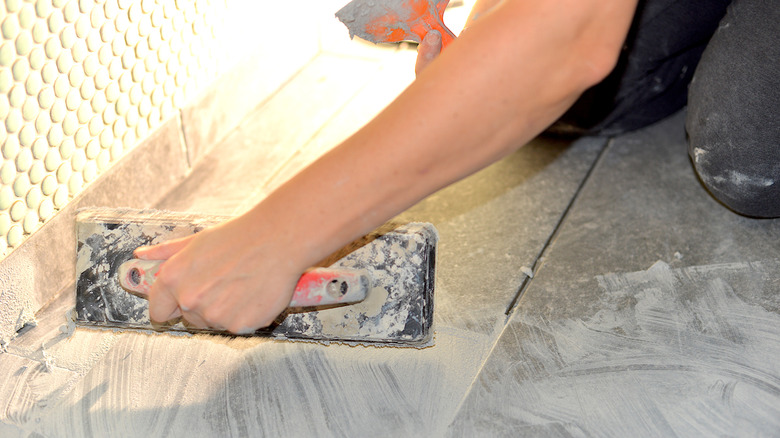
Next, use a trowel to apply the first layer of microcement. This base coat doesn't need to have any color to it — the second coat is the one that should have your desired pigment. Work slowly to ensure the coats are thin and spread evenly because once they are set, any imperfections will be difficult to fix. Once the microcement is dry, sanding can help smooth the surface before applying the sealer with a paint roller to finish.
